How to Create a Climate Change Infographic in Adobe InDesign
Posted on: Mar 18, 2020Fussell, G. (2019). How to Create a Climate Change Infographic in Adobe InDesign: Envato Tuts+. Retrieved from https://design.tutsplus.com/tutorials/how-to-create-a-climate-change-infographic-in-indesign–cms-30031
Final Product Image
 What You’ll Be Creating
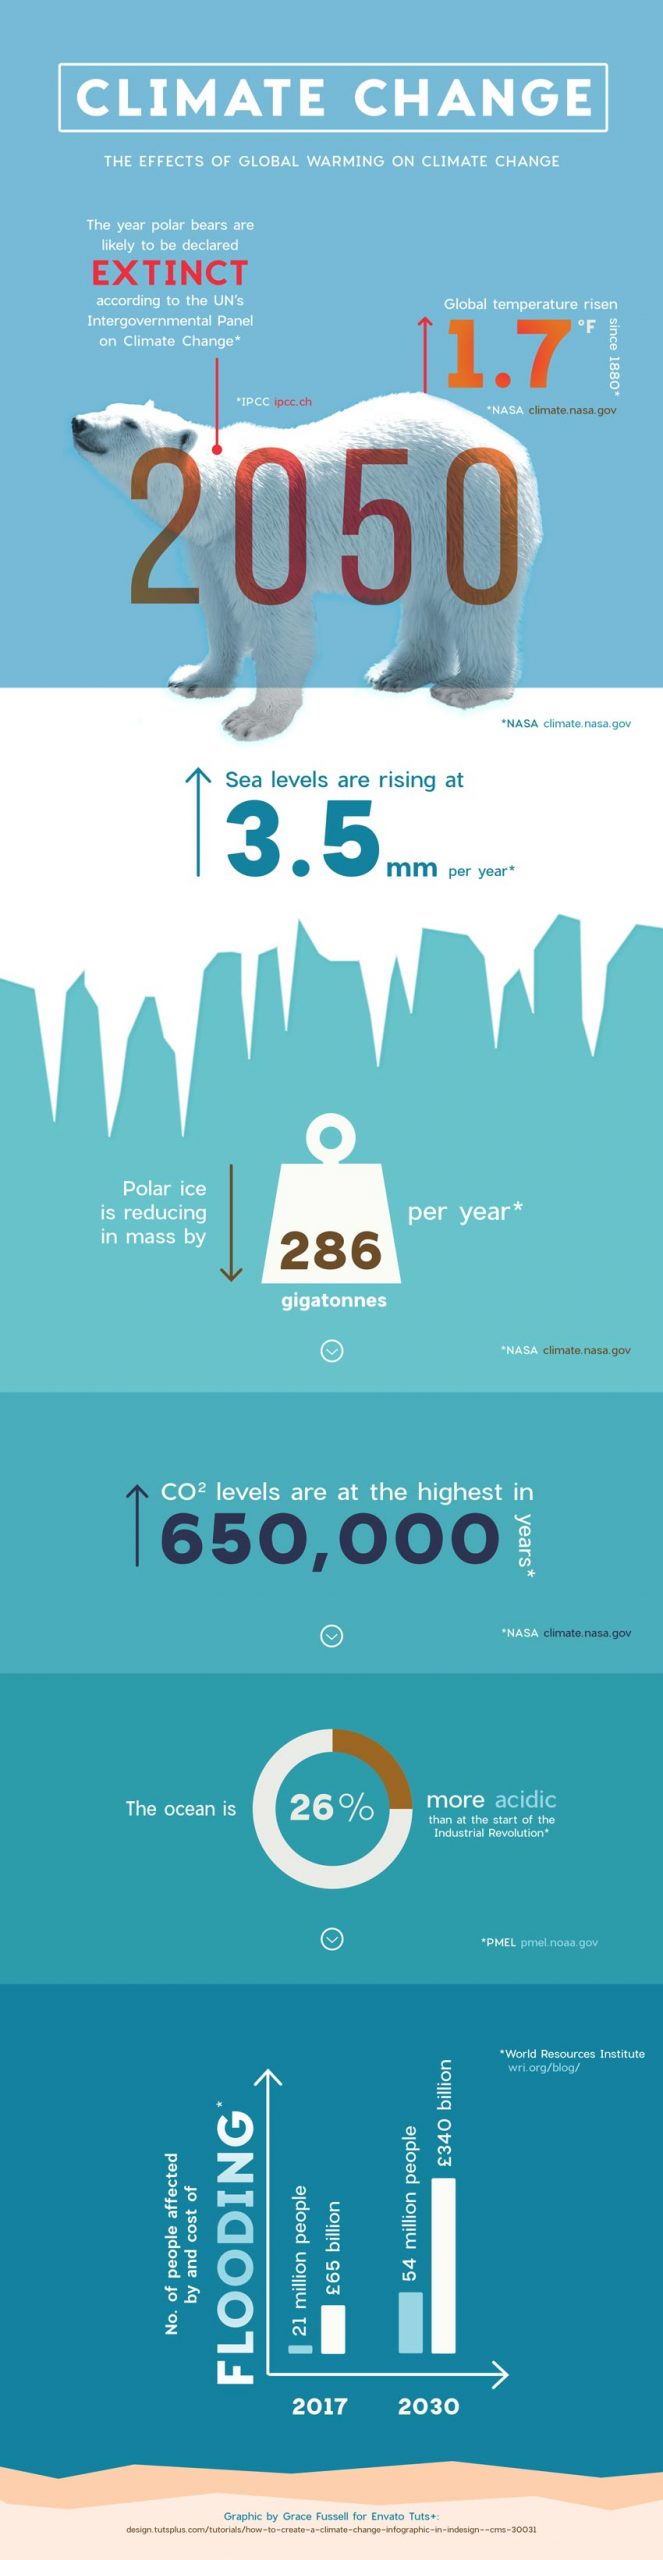
Help spread awareness about the effects of global warming with this informative climate change infographic. Easily adaptable to your own choice of facts and stats, this is a great template for creating a unique design.
We’ll set up the layout in Adobe InDesign and prepare it for sharing online, on social media, or Pinterest.
What You’ll Need to Create Your Infographic
- Adobe InDesign
- Adobe Photoshop
- Adobe Illustrator (optional for pie-chart graphics)
Additionally, download the following assets:
- Polar bear photo
- Fonts: Charlevoix Pro in Regular and Bold
- Icons: Find or create alternatives to this weight vector icon set
Optional additional icons:
1. How to Set Up Your Infographic Document
- Open InDesign, navigate to File > New > Document, and set the Intent to Web.
- Width: 1800 px
- Height: 6950 px
- Organize layers:
- Rename Layer 1 to
Background. - Add two more layers:
PhotoandTypography. - Lock all layers except
Background.
- Rename Layer 1 to
- Create a color palette in Swatches:
Add colors using these RGB values:- R=251, G=252, B=247
- R=224, G=110, B=9
- R=229, G=35, B=47
2. How to Build Up a Background on Your Layout
- Use the Rectangle Tool to divide the layout into sections.
- Add gradient fills:
- Top: Pale sea-blue to deep blue.
- Bottom: Dark peach to beige for a sandy effect.
- Create an iceberg effect using the Pen Tool with a Paper fill and textured stroke.
3. How to Edit the Photo for Your Infographic
- Open the polar bear photo in Photoshop.
- Isolate the bear using the Lasso Tool and Refine Edge.
- Convert to black and white using Channel Mixer.
- Save as a
.psdfile and place in your InDesign layout.- Apply transparency effects like Hard Light.
4. How to Format Typography for Your Infographic
- Add a title:
- Font: Charlevoix Pro Bold
- Size: 140 pt
- Align: Center
-
Highlight key data with large text sizes and contrasting colors.
- Create sections for facts using hierarchy and consistent formatting.
Ready to customize? Share your infographic online to help spread awareness about climate change!
You can create ‘pointers’ for items of text by using the Line Tool (). In the Stroke panel, set the Type to CircleSolid.

Credits: Source for all statistics available upon request.
Step 5
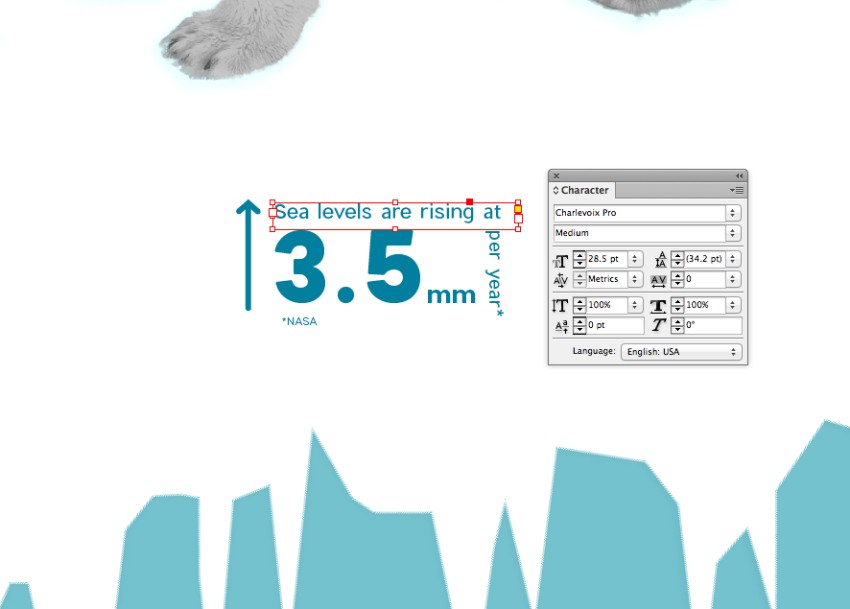
You can create arrows by using the Line Tool and Stroke panel. However, I generally prefer using the Line Tool to create both the stem and arrowhead for precise proportions.
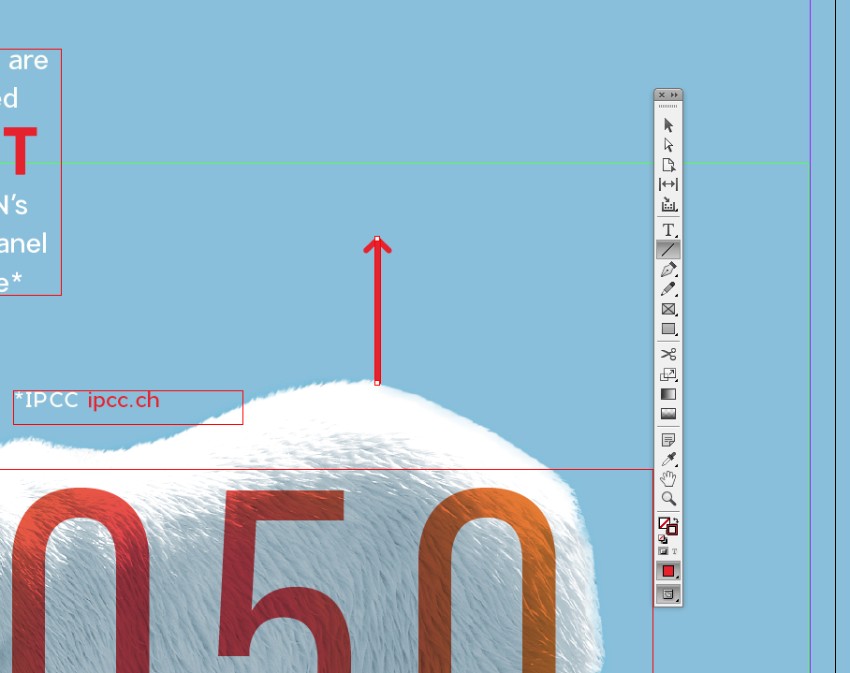
Here, I created an arrow to the right of the polar bear and set a statistic in Charlevoix Pro Bold within a text frame. The Font Color was adjusted to Heat Gradient for added emphasis.
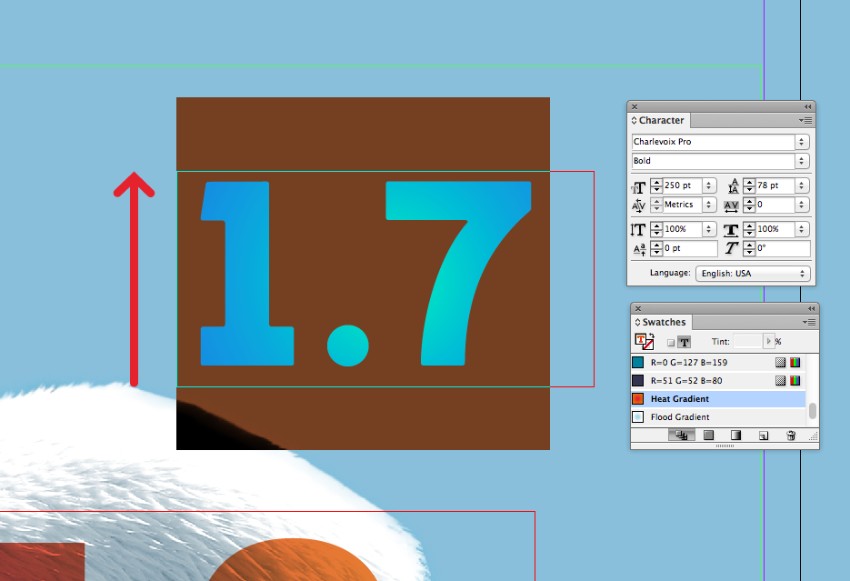
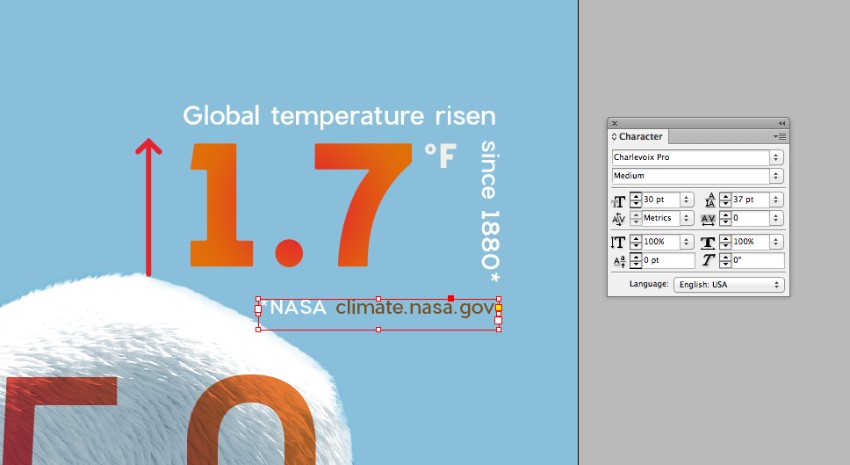
Additional text surrounding the key statistic is styled with Charlevoix Pro Regular and the [Paper] Font Color for balance.
Step 6
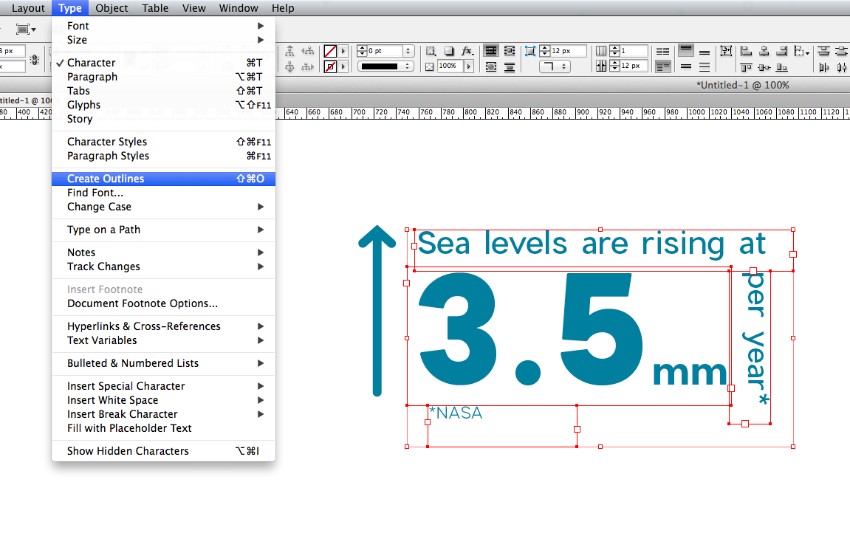
After designing one statistic, copy and paste it to replicate for others. Place the elements onto the infographic sections, adjusting the content and Font Color as needed.
Once satisfied, vectorize the text by selecting Type > Create Outlines. Note: This locks the formatting, so keep a backup copy of editable text for adjustments.
Step 7
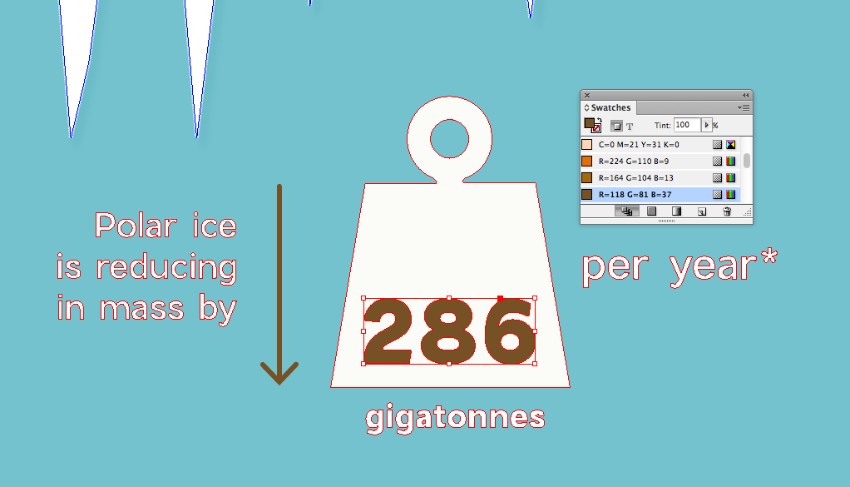
Enhance your infographic by adding icons. Open a vector set in Illustrator, then copy and paste desired icons. Adjust icon Fill to match your design.
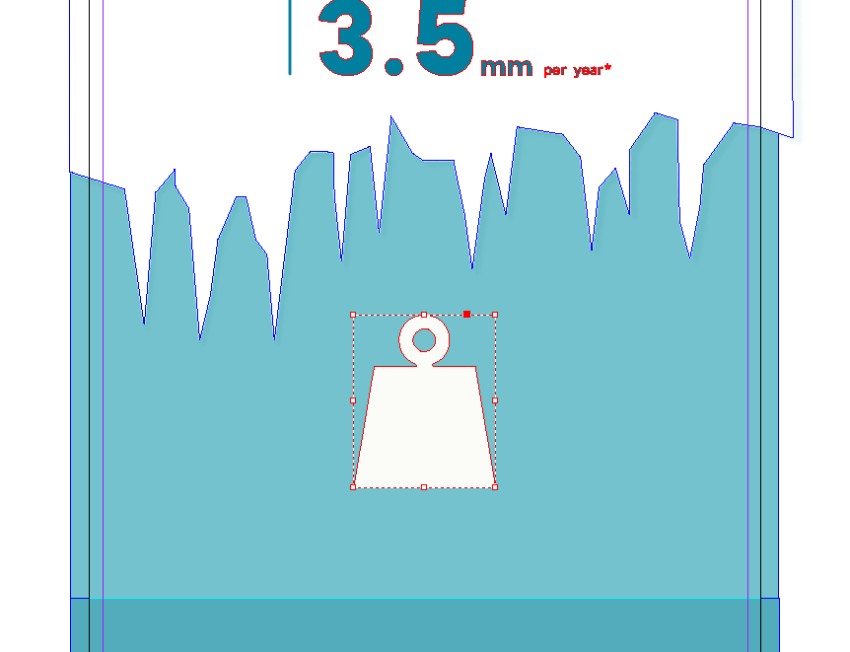
Pair icons with arrows, text, and contrasting key figures for emphasis.
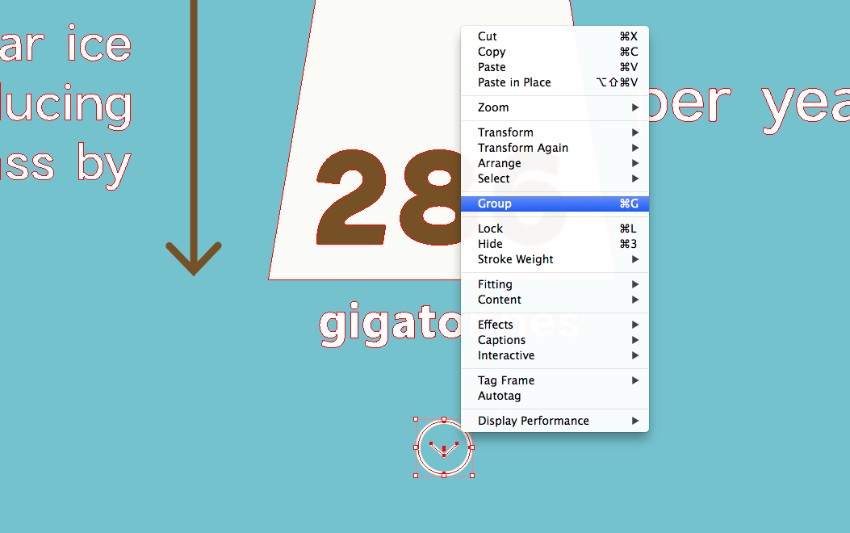
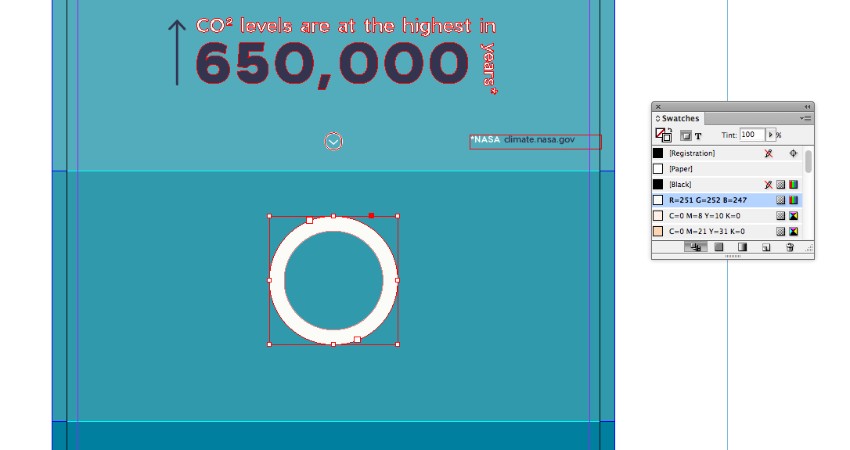
Step 8
Create section arrow icons with the Ellipse Tool (L) and Shift key for a circle. Use the Pen Tool (P) for a simple arrowhead within the circle.
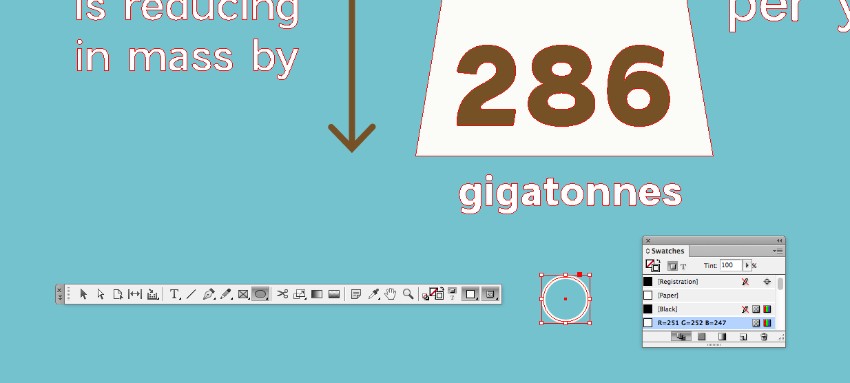
Group the elements (Right-Click > Group) for easy replication.
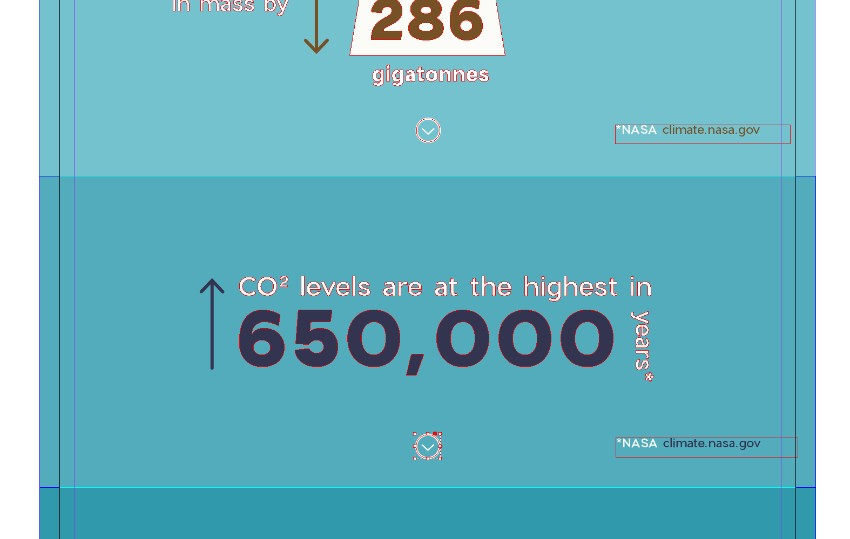
Build up the infographic with varied Font Colors for contrast and interest.
Step 9
Continue to refine your infographic, focusing on clarity, visual balance, and informational accuracy.
To create a pie chart, we’ll need the brief help of Illustrator. Minimize your InDesign document, and open up Illustrator.
Use the Ellipse Tool (L) and hold Shift to create a circle on the artboard, setting it to have no fill and a thick stroke (around 50 pt).
Go to Object > Path > Outline Stroke.
Then head up to Edit > Copy.
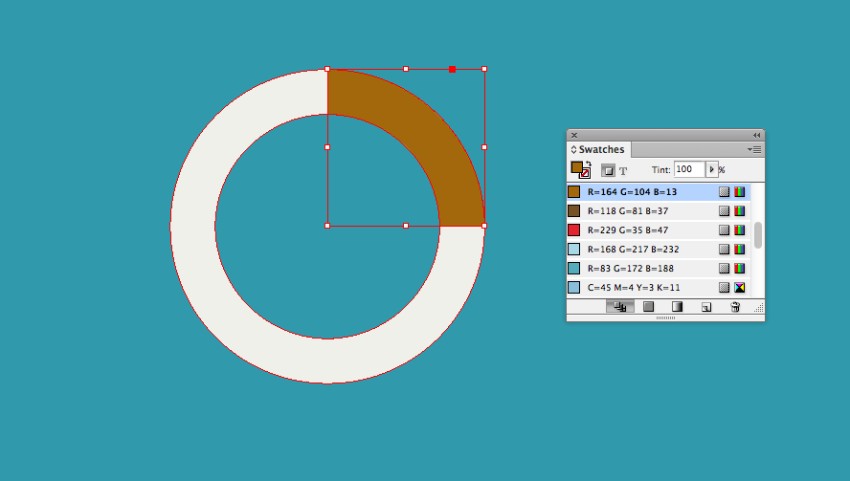
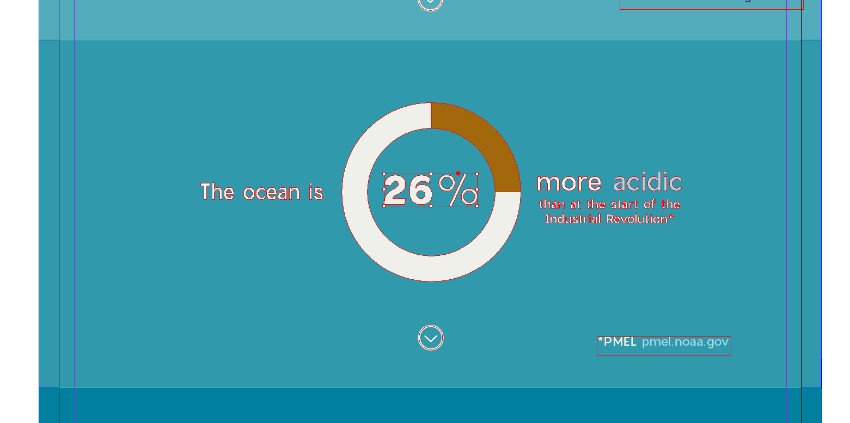
Step 10
Please return to your InDesign document and Edit > Paste the circle onto the page, setting it in the center of a colored section. Adjust the color to a pale swatch.
Edit > Paste, Edit > Paste in Place the circle directly on top of the first, and adjust the color to a contrasting swatch.

Then take the Scissors Tool (C) and snip away at the sides of the circle on top, isolating a section of the ‘pie’ to roughly match the percentage of your statistic.
Step 11
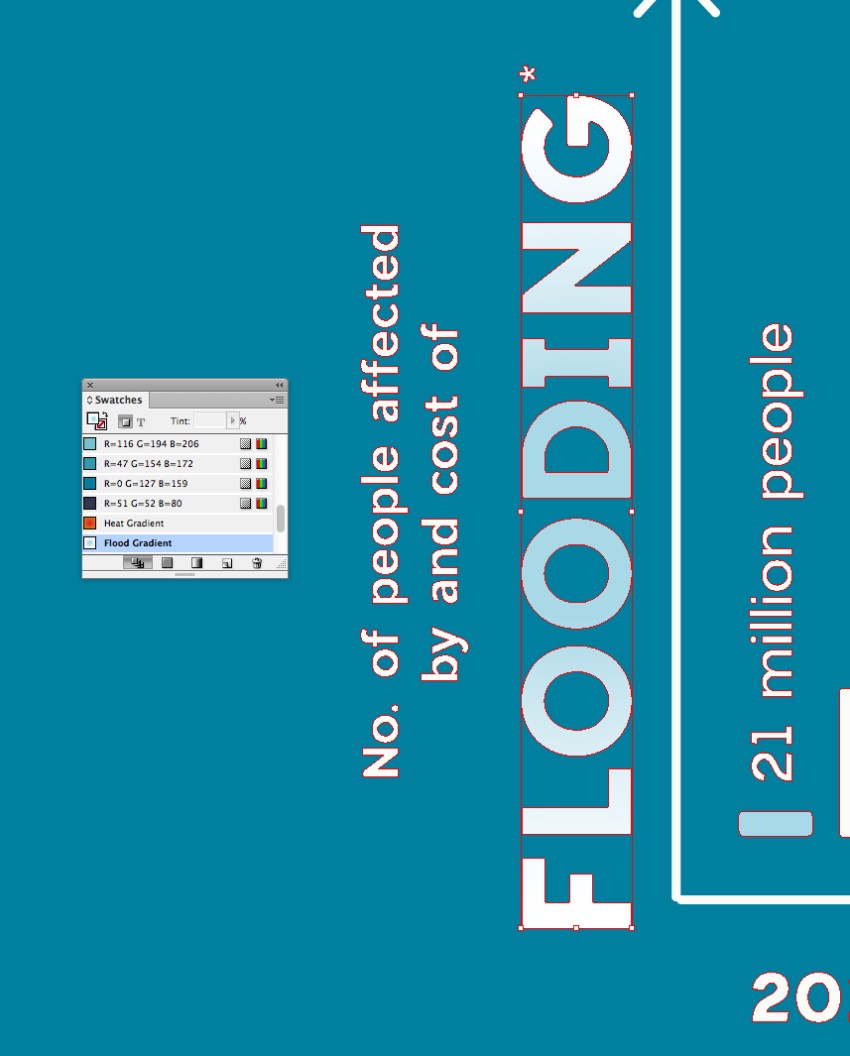
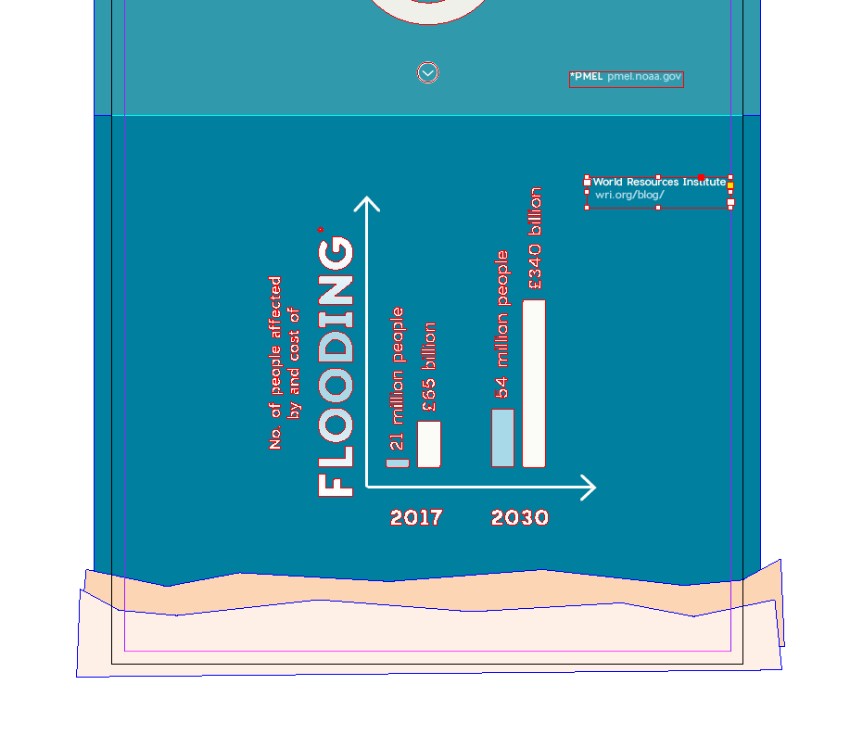
You can also add bar charts to your infographic, which are easier to do directly in InDesign.
First, use the Line Tool () to create two arrows, one pointing upwards and the other pointing right.
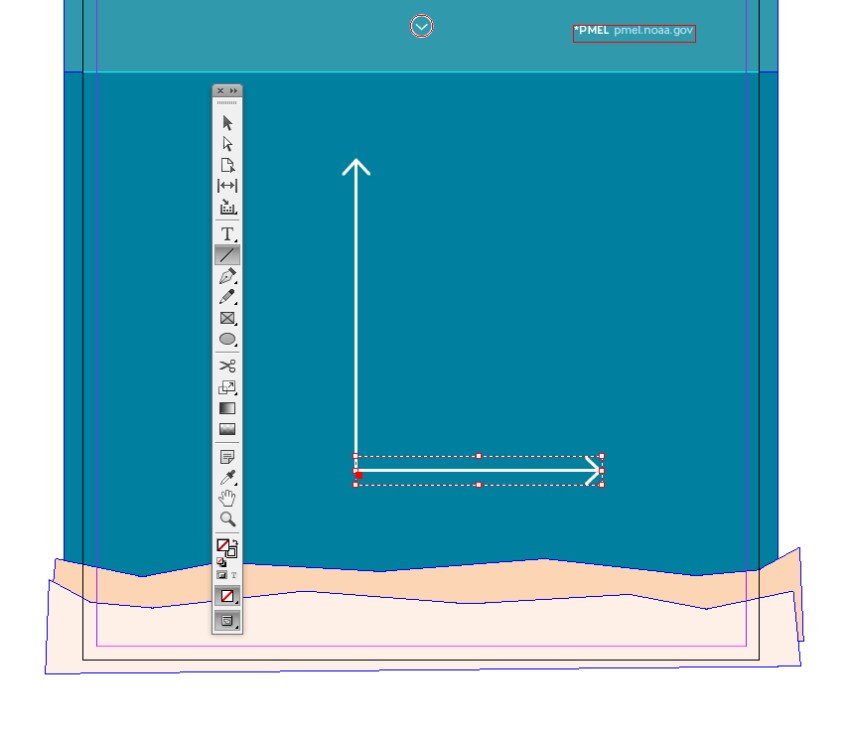
Then use the Rectangle Tool (M) to create ‘bars’ on the chart. You can soften these corners by going to Object > Corner Options and setting the Shape to Rounded.

Add captions under the lower arrow and above each bar if you wish.
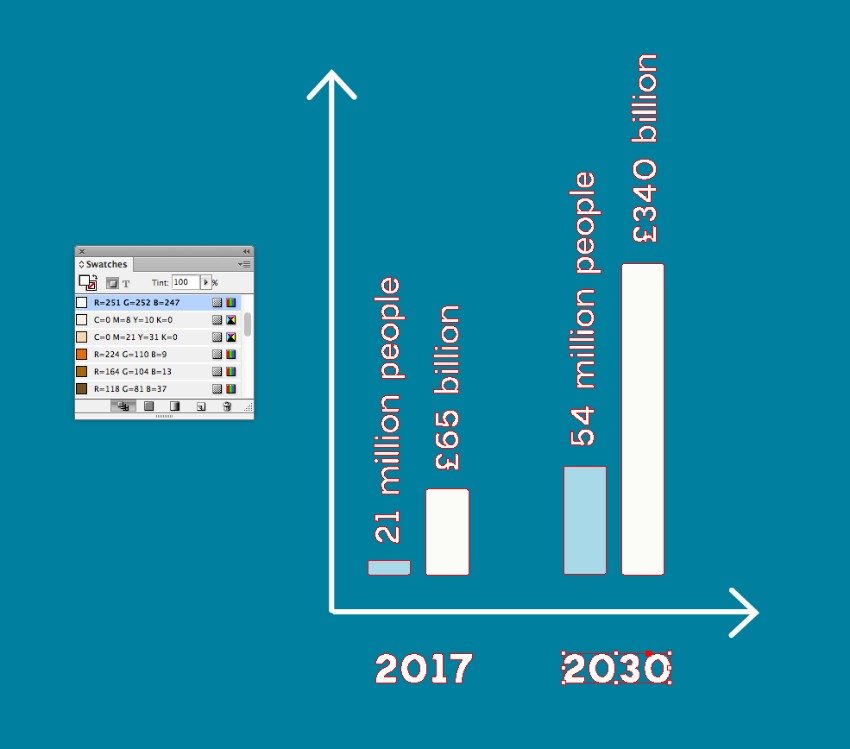
I’ve used the Flood Gradient swatch to make the main title of the bar chart really stand out.
5. How to Export Your Design for Web
Step 1
When you’ve finished your infographic design, make sure to File > Save all your hard work.
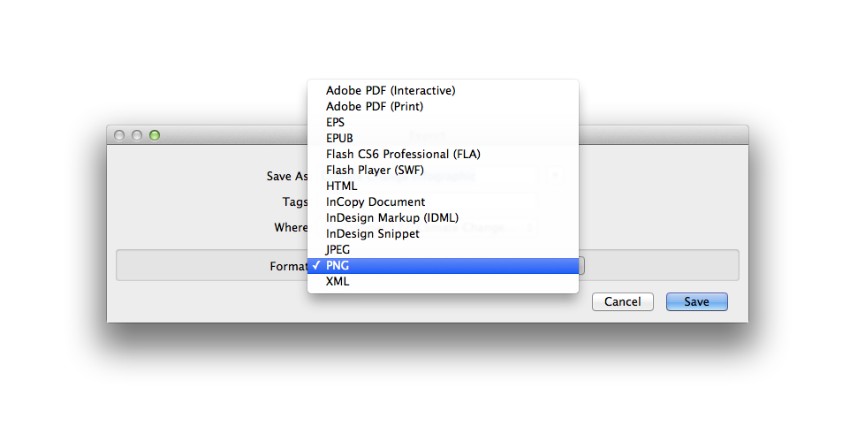
To export the design ready for sharing online, head up to File > Export. Choose JPEG or PNG from the Format menu at the bottom of the window, and give the image a suitable name.
Click Save.
Step 2
In the export options window, you can adjust the image settings to make it suitable for uploading online. Adjust the Quality to Medium or High, set the Resolution to 72 ppi, and ensure the Color Space is set to RGB.
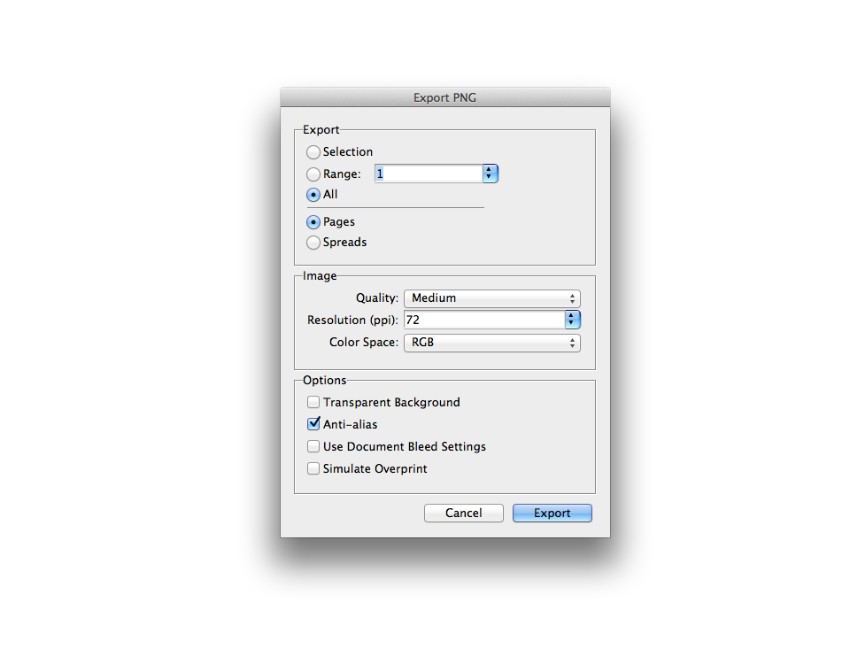
Finally, click Export to create your web-ready image.
Awesome job! Your infographic is finished!
Conclusion: Your Finished Infographic
With your infographic exported, it’s time to get it up online and spread the word about the impact of global warming on climate and environmental change. Or why not print it out and post it up on the noticeboard at your college or workplace?

Fussell, G. (2019). How to Create a Climate Change Infographic in Adobe InDesign: Envato Tuts+. Retrieved from https://design.tutsplus.com/tutorials/how-to-create-a-climate-change-infographic-in-indesign–cms-30031