Redesigning covers for classic and beloved novels is big business in publishing. A well-tuned redesign can help a book reach new audiences across different generations and demographics.
In this tutorial, we’ll dip a toe into the world of classic covers and create a redesigned cover for Moby Dick that’s modern, stylish and surprisingly easy to recreate in Adobe InDesign and Adobe Illustrator.
This is a great tutorial for beginners to InDesign looking to learn more about book cover design and publishing design.
Before we delve into designing our cover for Moby Dick, let’s take a moment to consider what a redesigned cover is and why publishers invest money in commissioning redesigns.
Some novels are long-standing classics and have remained well-loved favorites for centuries or decades. Think of Jane Austen’s Pride & Prejudice, Emily Brontë’s Wuthering Heights, F. Scott Fitzgerald’s The Great Gatsby, or Harper Lee’s To Kill a Mockingbird. These novels have earned a firm place in the annals of literature, but sometimes younger generations either won’t have encountered these classic stories, or have the perception that they are stuffy, outdated or difficult to read.
Publishers introduce redesigned covers for classic novels periodically to inject them with fresh marketing potential and entice a new demographic of readers.
In many ways, redesigning covers for classic books is one of the most interesting, but also most difficult, processes a cover designer will encounter in their career. Their covers must do justice to the original spirit and themes of the book, while giving it a design that’s got a distinctly modern appeal.
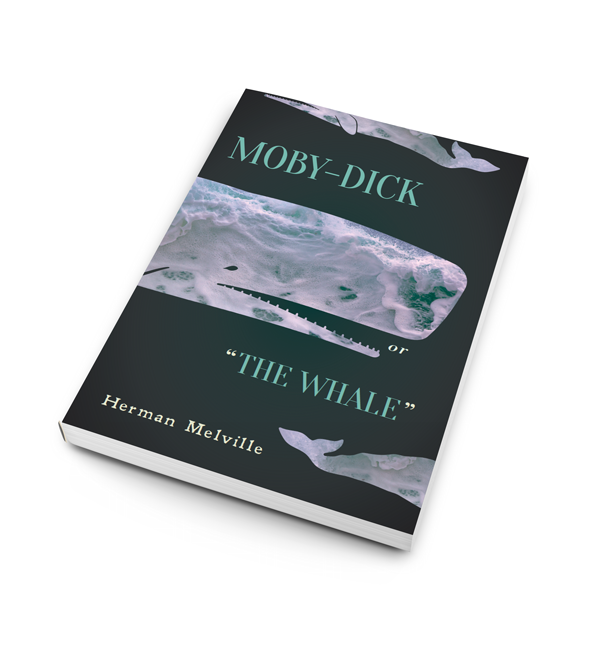
In this tutorial we’ll look at giving Herman Melville’s Moby Dick or “The Whale” a modern makeover. I’ve tried to recreate the mood and theme of the book, with a silhouette of the white sperm whale from the story.
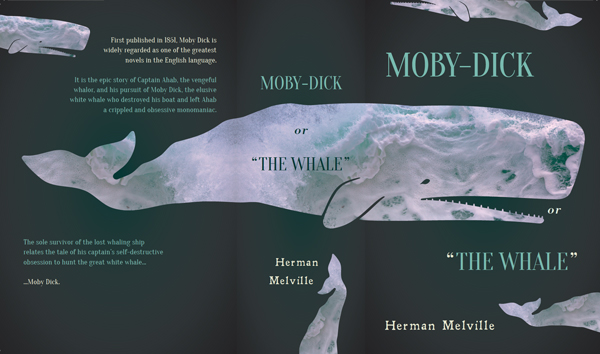
You’ll learn how to set up a paperback version of the cover in Adobe InDesign and create a collage effect with the help of Adobe Illustrator. We’ll bring in a bit of vintage-style typography too, to give the cover an appropriately 19th Century nod.
This design style can be adapted to all sorts of covers—just switch up the silhouette and inside image, as in this cover design for War & Peace.

Ready to get redesigning? Great! Let’s go…
Open up Adobe InDesign.
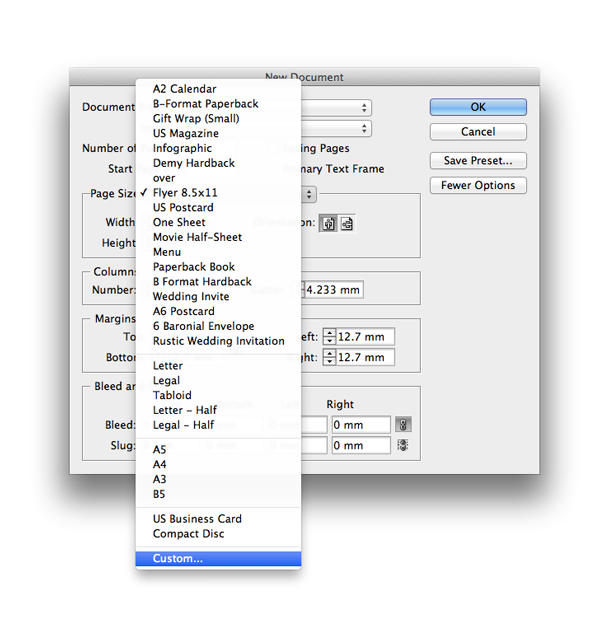
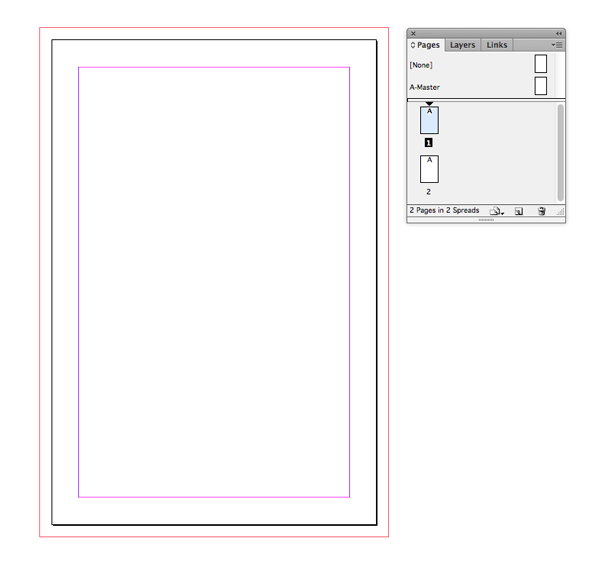
Go to File > New > Document, and set the Intent of the document to Print. Increase the Number of Pages to 2 and deselect Facing Pages. From the Page Size menu, choose Custom.
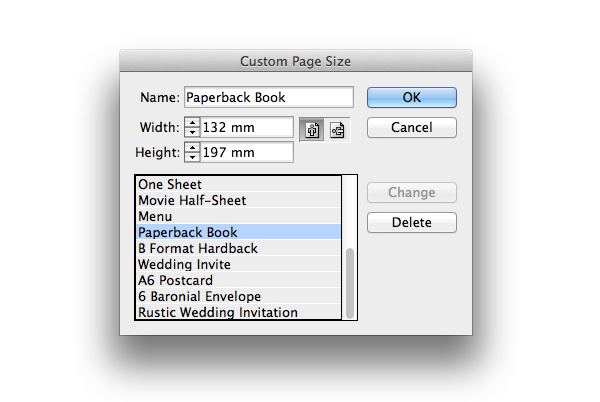
Name the custom size Paperback Book, and set the Width to 132 mm and Height to 197 mm. Click Add and then OK to return to the New Document window.
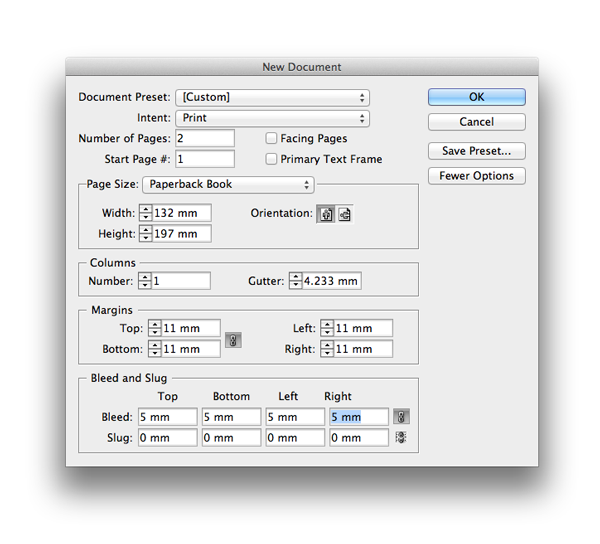
Set the Margins on all sides to 11 mm and the Bleed to 5 mm. Click OK to create the new document.
We’ll work on the front cover design on Page 1—it’s always much easier to work on the front cover design alone at first. Then, a bit later, we’ll expand Page 2 of the document into the full cover, complete with spine and reverse, with the help of the Page Tool.
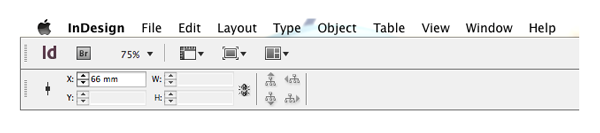
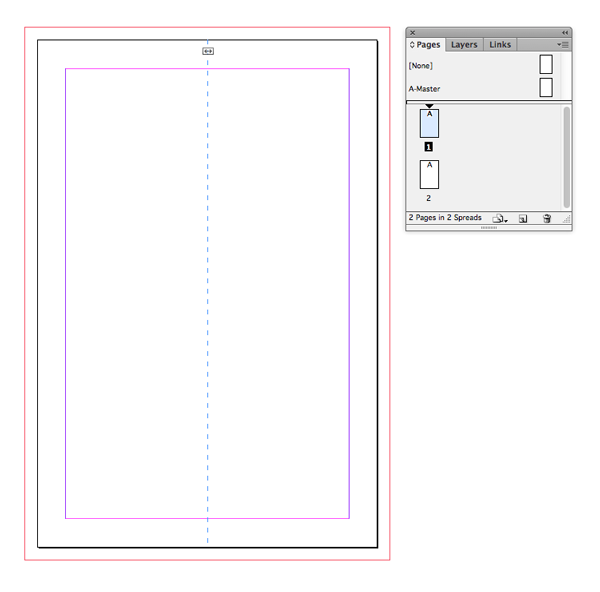
With the rulers visible (View > Show Rulers) click and drag a guide out from the left-hand ruler and drop it onto Page 1 at X position 66 mm, which marks the center point of the page.
To recreate the murky, mysterious ocean setting of Moby Dick, we can give the whole cover a sea-green backdrop. Adding a gradient to the swatch will give the cover a bit more depth and interest.
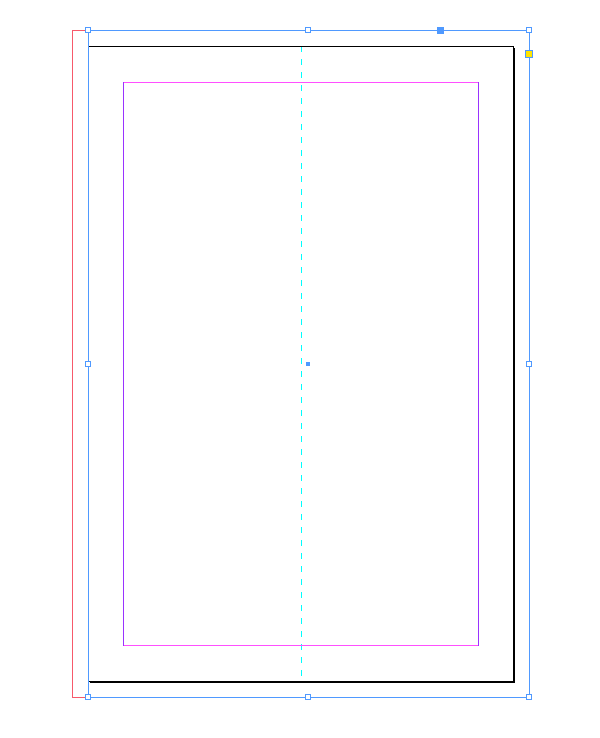
Take the Rectangle Tool (M) and drag onto Page 1, across the whole page, extending up to the edges of the bleed on the top, right and bottom edges of the page. On the left edge, just extend to the edge of the page, not all the way to the bleed.
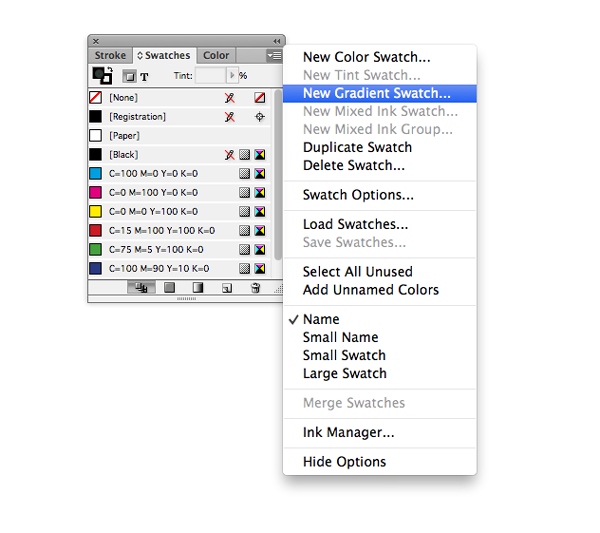
Expand or open the Swatches panel (Window > Color > Swatches).
From the panel’s drop-down menu, choose New Gradient Swatch.
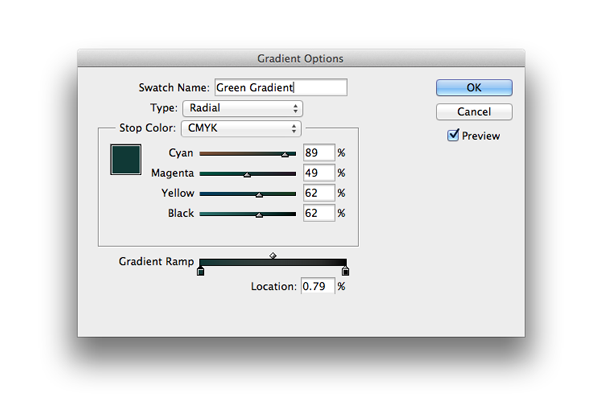
Name the swatch Green Gradient and set the Type to Radial.
Move down to the Gradient Ramp and click on the left-hand stop to be able to edit it. Choose CMYK for the Stop Color and set the levels to C=89 M=49 Y=62 K=62.
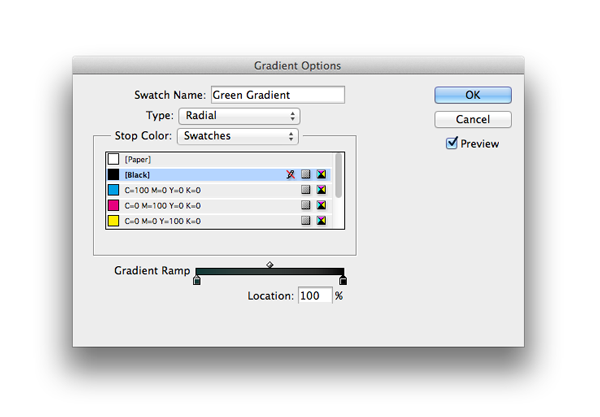
Click on the right-hand stop and adjust the Stop Color to Swatches. Choose [Black] from the list below. Click OK.
Apply the Green Gradient swatch to the Fill Color of the rectangle shape.
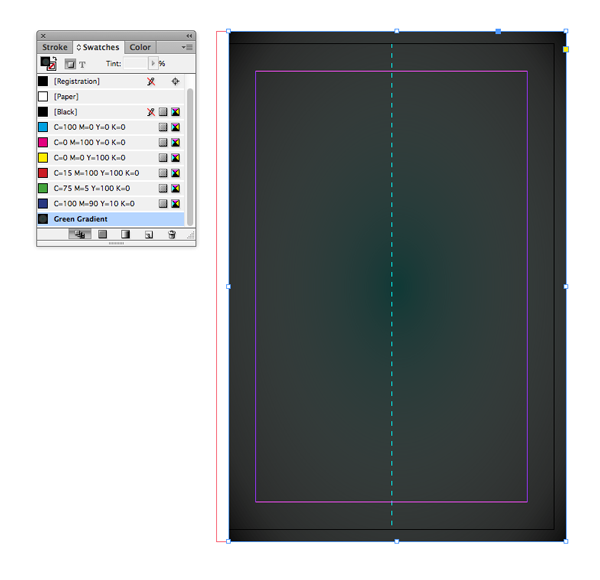
This will apply a lovely subtle gradient to the background of our front cover.

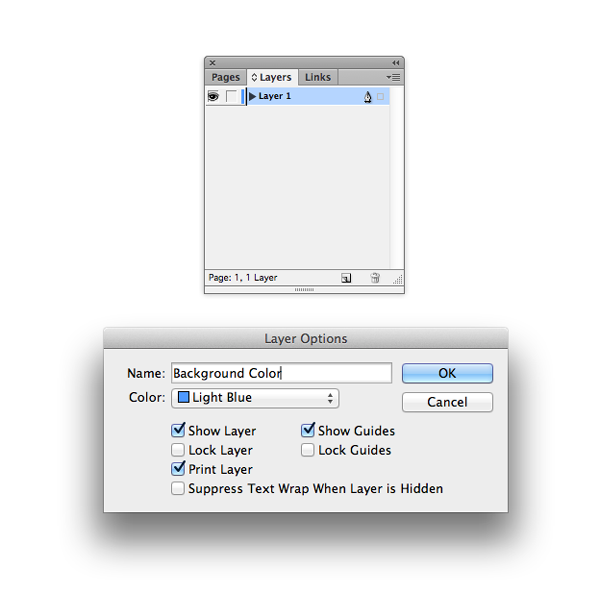
Expand or open the Layers panel (Window > Layers) and double-click on the default Layer 1 name. Rename the layer as Background Color and click OK.
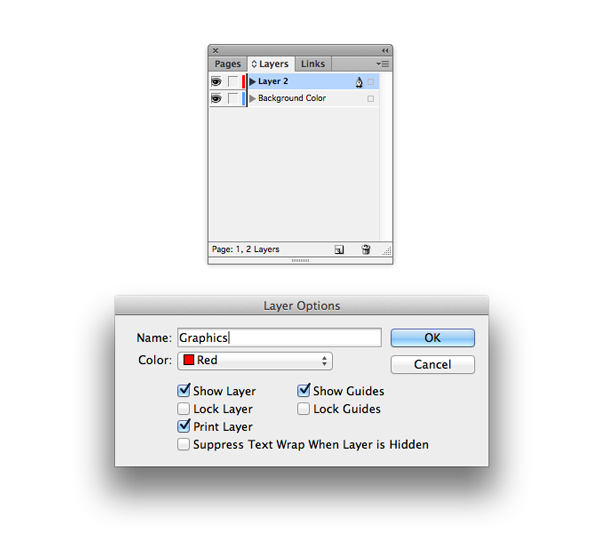
Click on the Create New Layer button at the bottom right of the Layers panel to create a new layer. Double-click, and rename the layer as Graphics.
Lock the bottom layer, Background Color, by clicking in the blank space to the right of the eye icon, next to the name of the layer in the panel.
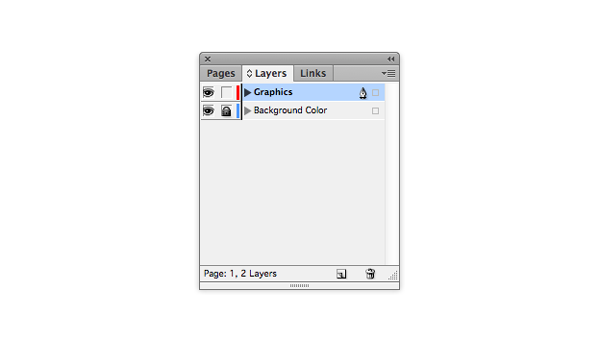
Now we’re ready to start working on our whale graphic!
File > Save As your InDesign document, and minimize InDesign. Open up Adobe Illustrator and create a new document.
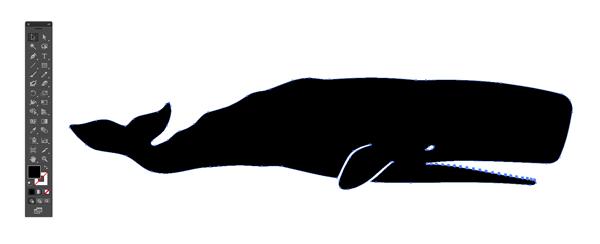
To make our collage-style whale, we need to first create a basic vector silhouette of the whale, and then, a bit later, we’ll fill it with a photo image.

You can either draw the whale manually using the Pen Tool (P) in Illustrator, using photos of whales as a guide, or you can download a ready-made vector image of a sperm whale.
If you choose the latter, you’ll have to remove the stroke color of the sperm whale, get rid of any details and create a very simple black-filled silhouette of the whale shape, as in the example below.
Making sure your whale silhouette has only a simple black fill and no stroke color, select it, and then go up to Edit > Copy in Illustrator.
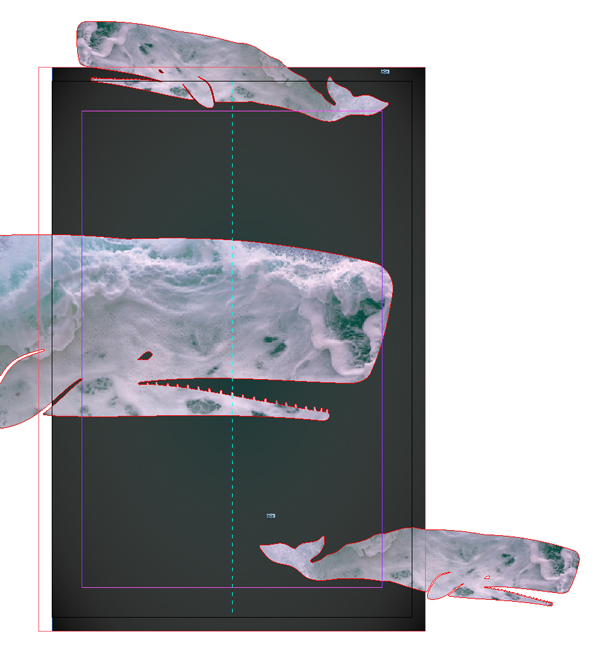
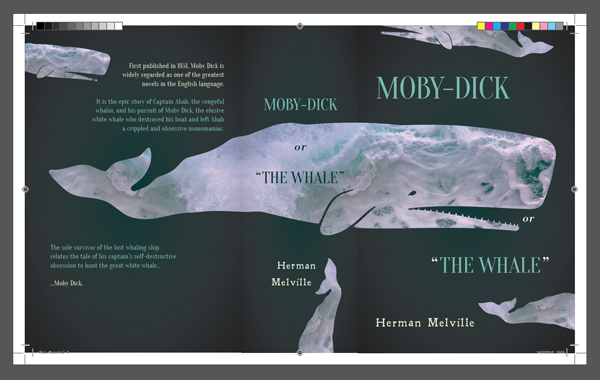
Return to your InDesign document and Edit > Paste the whale onto Page 1 of your document. Hold Shift to adjust the scale of the pasted vector. Expand the whale so that its head fills the center of the page, as shown below, and so that the body extends past the left edge of the page, and past the edge of the pasteboard if needed. We want the whale to extend across the whole cover, including the spine and the reverse of the cover.
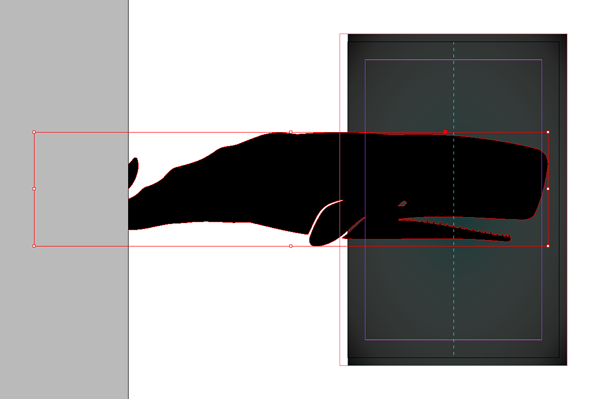
From the Swatches panel (Window > Color > Swatches), set the Fill Color of the vector to [None] to get rid of the black fill.

Download sea image and return to your InDesign document.

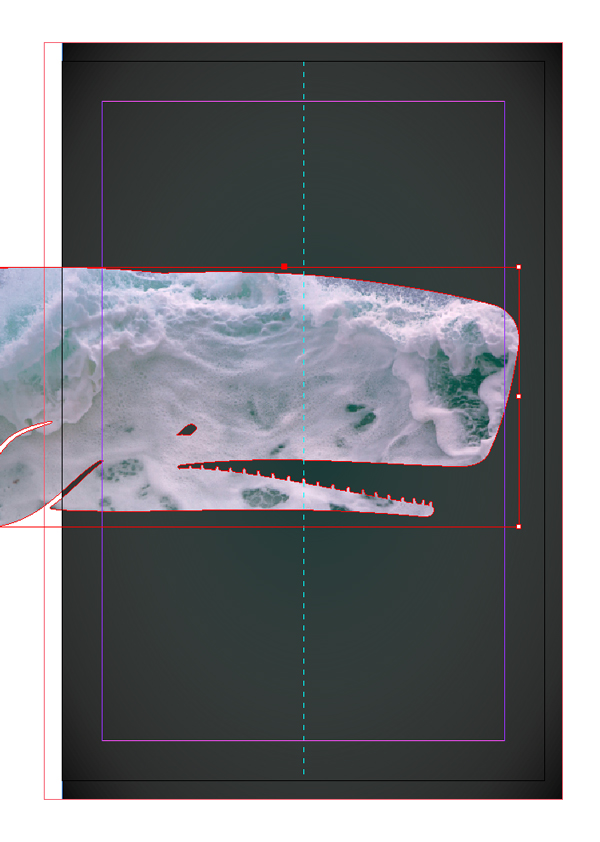
With the whale vector selected, go to File > Place and choose the sea foam image. Click Open. Click on the Fill Frame Proportionally button in the top control panel to size the image to the frame. Double-click inside the whale to manually adjust the scale of the image, holding Shift while you do so, to make sure you’re happy with the effect. Make sure the image extends across the whole of the whale, right up to the edge of its tail.
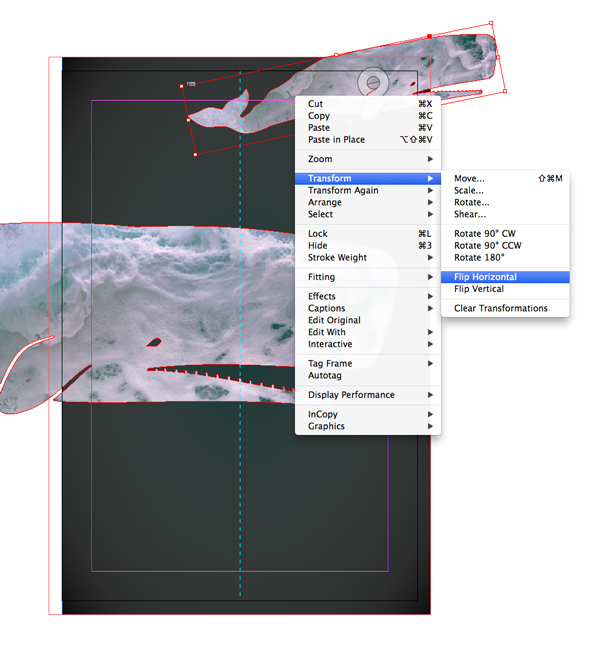
Select the whale and Edit > Copy, Edit > Paste. Hold down Shift and reduce the whale in size until it’s just shy of the width of the page in length. Edit > Copy this smaller whale, so you keep a copy on your clipboard.
Control-Click (Mac) or Right-Click (Windows) > Transform > Flip Horizontal. Position this smaller whale at the top of the page, and allow it to cross over the top edge, so it doesn’t look too perfectly placed. You can rotate it a little too, so it doesn’t look quite as straight.
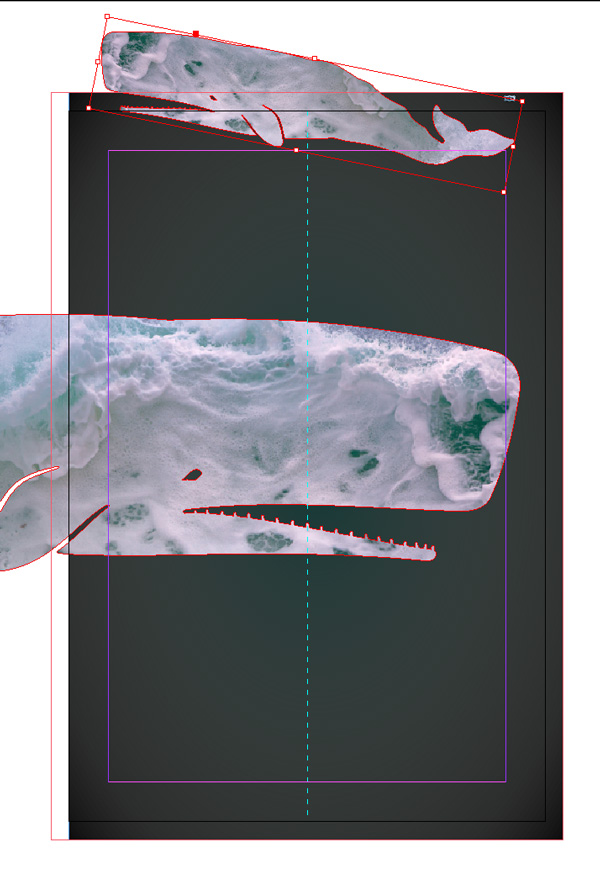
Go to Edit > Paste to paste a copy of the smaller whale again. Position at the bottom-left of the page, just allowing the tail to appear on the page itself, as shown below.
Return to the Layers panel and create a new layer. Rename it Typography.
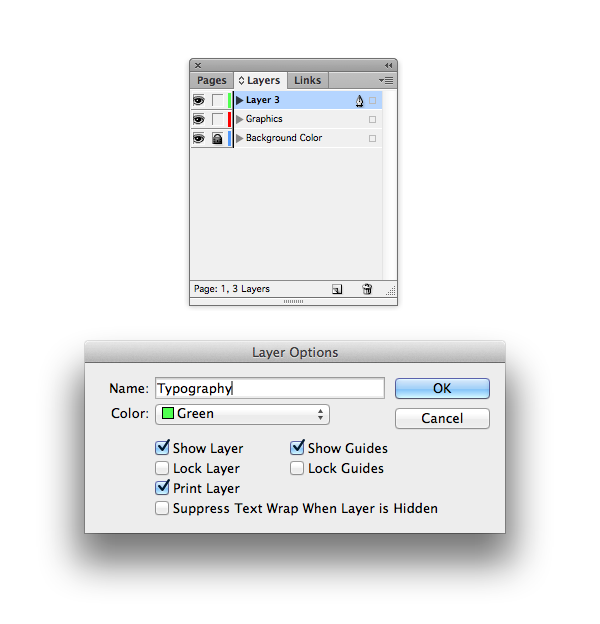
Lock the Graphics layer and click on the Typography layer to activate it.

Download and install these two (free!) fonts:
You’ll also need Bodoni Std, but this should be installed already in your InDesign font list. If it’s not, a great free alternative is BodoniXT.
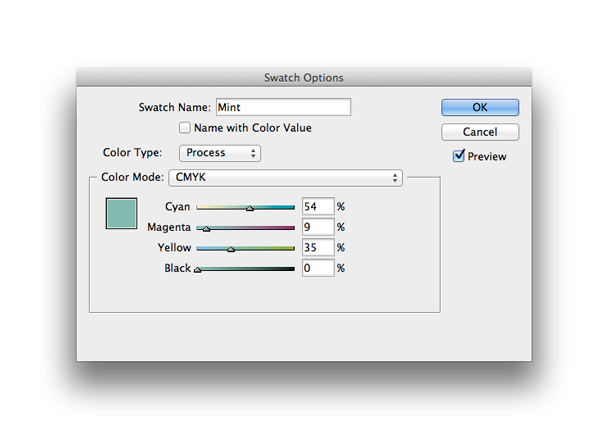
Return to the Swatches panel and click on the New Swatch button at the bottom-right corner of the panel.
Double-click on the new swatch to open up the Swatch Options window. Rename the swatch as Mint, and set the Color Type to Process and Color Mode to CMYK. Set the levels to C=54 M=9 Y=35 K=0.
Click OK to add the revised swatch to the Swatches panel.
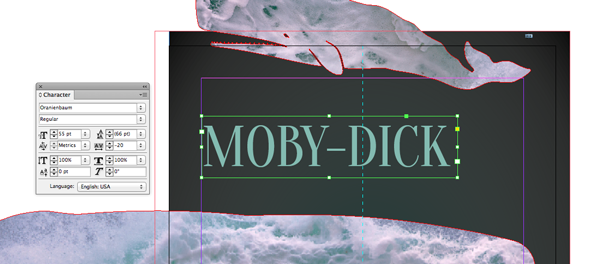
Select the Type Tool (T) and drag onto the top left of Page 1 to create a text frame. Rest the left edge of the frame against the left-hand margin.
Type ‘Moby-Dick’ and, from either the Character Formatting Controls panel running along the top of the workspace or the Character panel (Window > Type & Tables > Character), set the Font to Oranienbaum, Size 55 pt. Reduce the Tracking (space between all letters) to -20, and set the text to uppercase by clicking on the All Caps button in the Controls panel.
Adjust the Font Color to Mint.
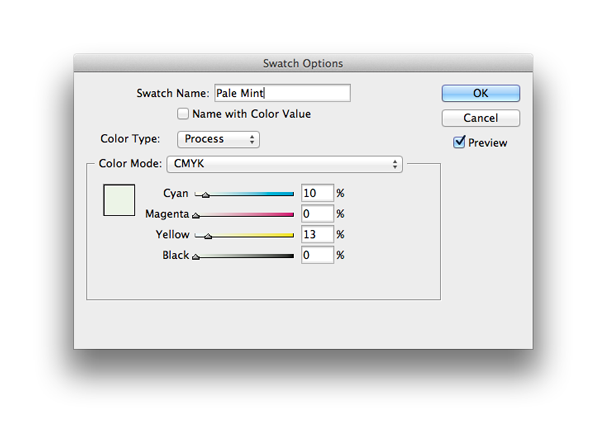
Return to the Swatches panel and create another new CMYK swatch, this time with the values C=10 M=0 Y=13 K=0. Rename the swatch as Pale Mint.
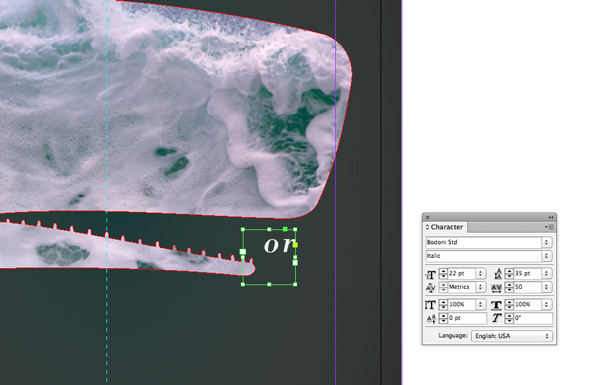
Move down the page, and zoom into the right-hand edge, just where the whale’s mouth should be. Create a new smaller text frame and type in ‘or’.
Set the Font to Bodoni Std, Italic, Size 22 pt, and increase the Tracking to 50. From the Paragraph Formatting Controls panel at the top of the workspace, adjust the text to Align Right.
Set the Font Color to Pale Mint.
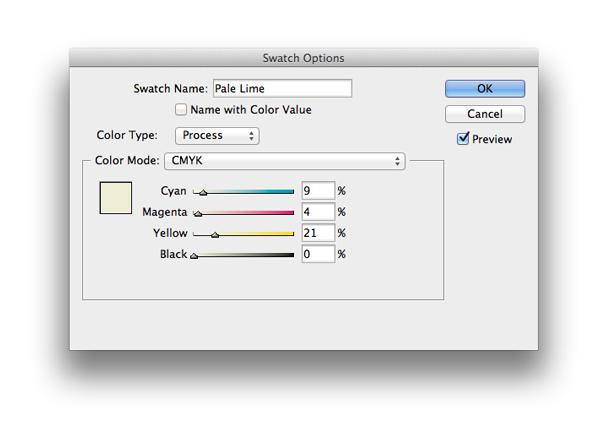
Create another new swatch, this time called Pale Lime, and with the values C=9 M=4 Y=21 K=0.
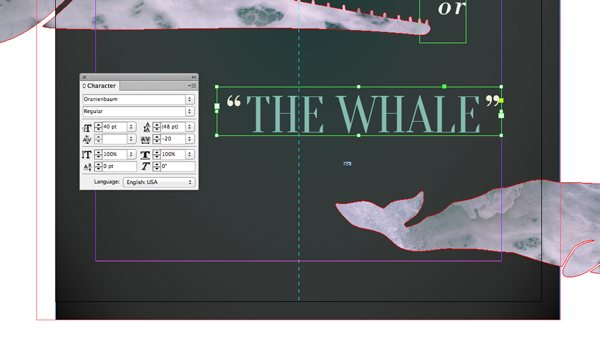
Create a new text frame and position it below the ‘or’ text frame, to the right side of the page. Type in ‘“The Whale”’ and set the Font to Oranienbaum, Size 40 pt, Tracking -20 and All Caps. Set the text to Align Right.
Pull out ‘The Whale’ in the Mint swatch, and the apostrophes in the Pale Lime swatch.
 Of course, you can also export Page 1 of your document as an eBook cover (check the file format requirements of the eBook store before you upload it), but here I’ll walk you through the steps of exporting this as a print-ready file, which is suitable for sending to a professional book-printer.
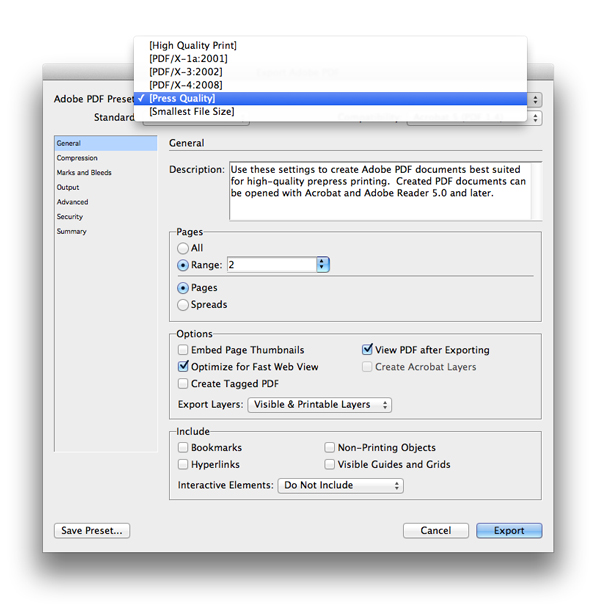
Go to File > Export. Choose Adobe PDF (Print) from the Format drop-down menu. Click Save.
In the Export Adobe PDF window, choose [Press Quality] from the Adobe PDF Preset drop-down menu, and adjust the page range from All to Range: 2, just to export your full cover.
From the left-hand menu in the window, click on Marks and Bleeds. Check All Printer’s Marks and, under Bleed and Slug, Use Document Bleed Settings.
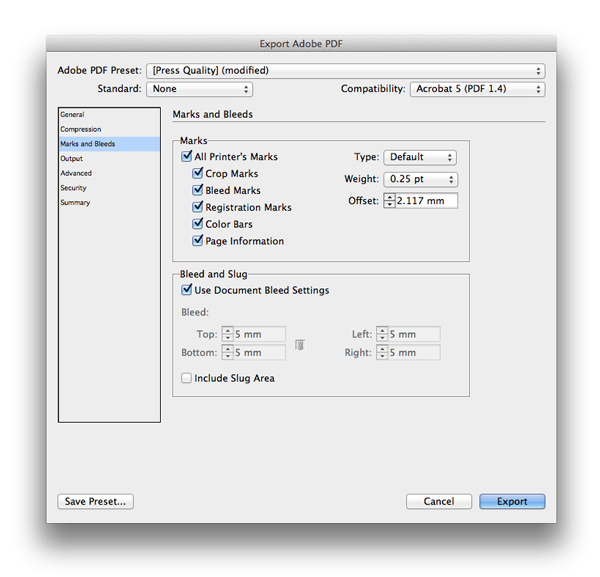
Click Export to create your print-ready cover.
Awesome!
In this tutorial you’ve learned how to give a classic book a modern makeover, and set up the full cover in Adobe InDesign.
Many of the skills you’ve picked up here will stand you in good stead for tackling other publication design projects. You can now:
How to Create a Fall-Themed Wedding Invite in Adobe InDesign