Posted on: Feb 12, 2020

Books
10 Essential InDesign Skills
10 Essential InDesign Skills PDF
InDesign Reference
InDesign Reference PDF
Getting Started with InDesign (Adobe Tutorial)
 Watch Video
What you learned: Make a new document
The Start screen appears when there are no documents open in InDesign. It lists your recent files (if available), presets, and more. You can also access various resources and search Adobe Stock from here. - Choose File > New > Document. In the New Document dialog box, start by choosing a preset. For example, the Print category shows various sizes and document options you can set for a new document.
Save your documents
Explore the different methods for saving your InDesign documents.

What you learned: Save your projects
- Choose File > Save or File > Save As.
- Save in InDesign (INDD) format to retain layers, type, and other editable InDesign content. It’s best to save your document in InDesign format while you’re working on it.
- Choose File > Save As and choose IDML to save your project as a file that is backwards-compatible with previous versions of Adobe InDesign starting with CS4.
Get around in InDesign
Take a hands-on tour of the workspace in Adobe InDesign.

What you learned: The InDesign workspace
- Document window (in the middle) displays the file you’re currently working on.
- Menu bar (at the very top) shows the File, Edit, and other menus that give you access to a variety of commands, adjustments, settings, and panels.
- Toolbox (on the left) contains tools for creating and editing artwork.
- Panels (on the right) include Properties, Pages, and CC Libraries.
Zoom and pan
Explore how to zoom and pan in an InDesign document.
What you learned: Zoom and pan
- The Zoom tool, located in the toolbox, can be used to show you more detail of a document. To change from Zoom In to Zoom Out, press Alt (Windows) or Option (macOS).
- The Hand tool, also located in the toolbox, allows you to pan across a document.
- The view menu below the document can be used to change the view of a document.
Importing Graphics Using InDesign CS5
View Tutorial
An Introduction to Threading Text in InDesign CS5
View Tutorial
Sample Files
What you learned: Add graphics to projects
In InDesign, you can bring raster images, like an image you take with your phone, or vector graphics, like a logo, into your documents:
- Choose File > Place to place a graphic (or multiple graphics) in your document.
- Click Open. If a frame was selected before placing, the graphic is placed within the frame.
- With the Selection tool in the toolbox, drag a corner point of a graphic frame to resize the frame and to reveal or hide parts of the image.
- Drag within the graphic area (not the center) to reposition the graphic and the frame.
Learn about linked graphics
Explore graphic linking using the Links panel.
 ](https://image-control-storage.s3.amazonaws.com/2020/01/19161806/bf8afb32_960x540.jpg)
What you learned: Graphic linking
Graphics placed in InDesign are linked by default to the original file outside InDesign. If a placed graphic is updated outside InDesign, the graphic is automatically updated in InDesign.
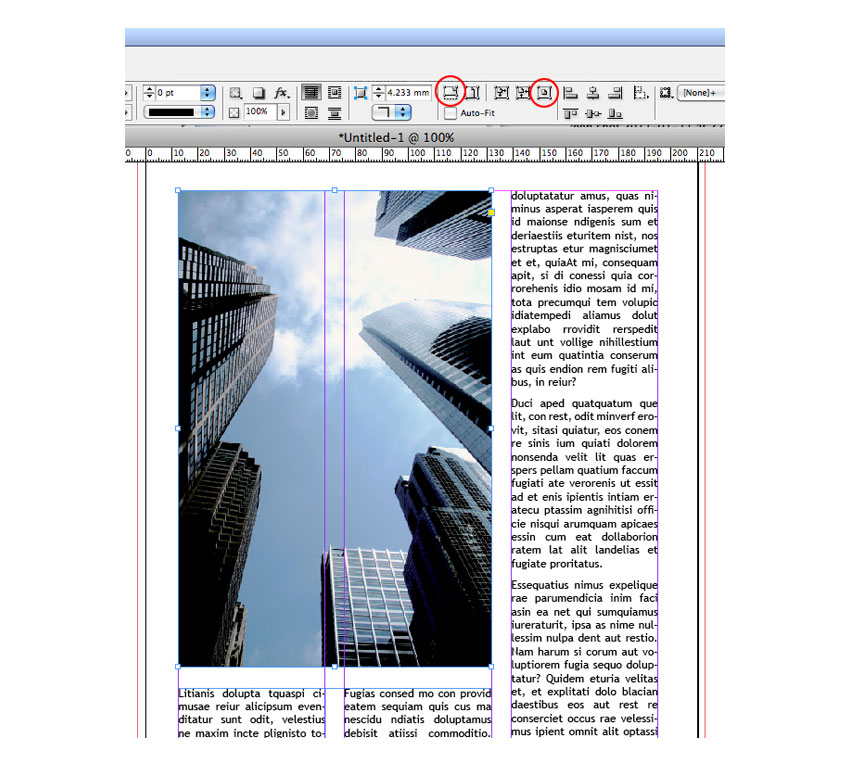
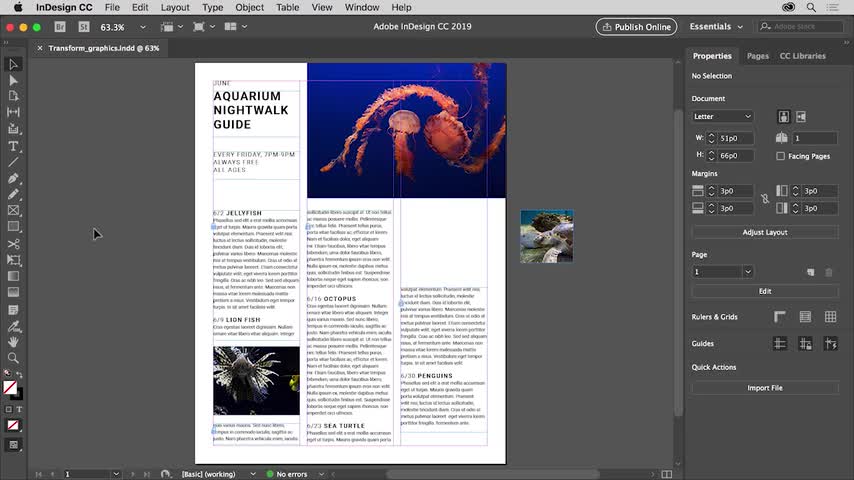
Wrap text around objects
Discover how to wrap text around content using the Text Wrap panel.
 ](https://image-control-storage.s3.amazonaws.com/2020/01/19161927/c60fb46a_960x540.jpg)
What you learned: Wrap text
You can wrap text around any object, including text frames, graphics, and objects you draw in InDesign. Text wrap is applied to the object being wrapped, not the text itself.
Change the color of content
Explore how to apply color to content using existing colors and colors you create.
 ](https://image-control-storage.s3.amazonaws.com/2020/01/19162911/b06a365c_960x540.jpg)
Sample Files
What you learned: Change the color of content
Content in InDesign can have a color stroke (border) and a color fill. Clicking the fill color or stroke color in the Properties panel reveals colors saved in a document, called swatches.
Save colors as swatches
Learn how to save a color you create as a swatch for later use.
 ](https://image-control-storage.s3.amazonaws.com/2020/01/19163038/973f3071_960x540.jpg)
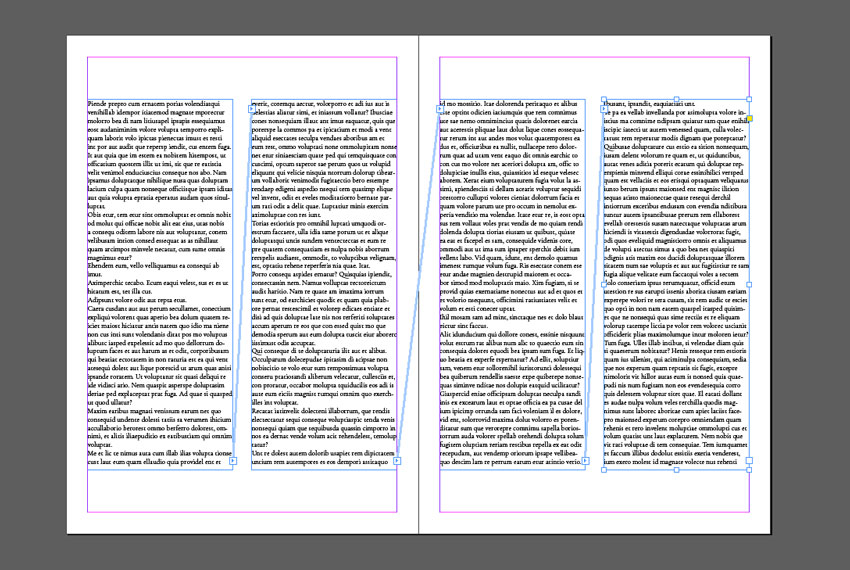
Create columns of text
Explore dividing text frames into multiple columns.
 ](https://image-control-storage.s3.amazonaws.com/2020/01/18180229/a951c009_960x540.jpg)
Watch Video
What you learned: Create columns of text
- Select the Type tool in the toolbox.
- With the Type tool selected, drag in the Document window to add a text frame to the document.
- With the text cursor in the text frame, by default, type your text.
- With the Selection tool in the toolbox selected, double-click a bounding box point around the frame to fit the frame to the text.
- Choose Object > Text Frame Options. Set the number of columns to 2 and select Balance Columns to balance the paragraphs of text. Set other options as needed, and then click OK.
Import text
Bring text files into Adobe InDesign from Microsoft Word, and more.
 ](https://image-control-storage.s3.amazonaws.com/2020/01/18180446/31e7c651_960x540.jpg)
Watch Video
What you learned: Import text
Text can be pasted, dragged, or placed into an InDesign document from an outside source, such as Microsoft Word. Text can be placed in an existing text frame or in a frame that InDesign created when placing the text.
- Choose File > Place to place a text file such as .DOC, .RTF, or .TXT. Depending on the file type, you may be able to set options, such as removing the formatting.
- Click to place the text in an existing text frame, or click (or click and drag) to have InDesign create a text frame.
- Click the Screen Mode button at the bottom of the toolbox to choose Preview and see the document without guides. Click the same button to choose Normal.
Flow text between frames
Discover how to flow text from one frame to another.
Watch Video
What you learned: Connect text frames
You can connect text frames so that text flows between them. This is called threading text. Text frames have an in port and out port that are used to connect text frames and also visualize any connections. A red plus in the out port indicates that text doesn’t fit in the frame. This is called overset text.
To thread text:
- With the Selection tool, click to select a text frame and then click the out port (or in port) to load a text cursor.
- Position the loaded text cursor within an existing text frame and click to thread the text or drag to create a new text frame.
- Choose View > Extras > Show Text Threads to see the threads between the frames.
Edit Content (Adobe Tutorial)
Watch Video
Sample Files
What you learned: Create and edit frames
Frames can be created and used as placeholders (a frame without content) and as graphic elements. The tools used to create frames are located in the toolbox. Press and hold the Rectangle Frame tool or Rectangle tool to reveal other tools. The Rectangle tool creates unassigned frames, which contain neither text or graphics to start and can be used for drawing a colored shape, for instance.
A frame size can be changed numerically in the Properties panel.
- With a frame selected, you can edit the corner radius by clicking the yellow box in the upper-right of a frame, then dragging a corner. The corner radius can also be edited for a selected shape by choosing Object > Corner Options, setting the options, then clicking OK.
Rotate, flip, lock, and hide content
Learn how to transform content with the Selection tool, Properties panel, and transform tools.

Watch Video
What you learned: To transform content
- To rotate content, select an object with the Selection tool. Move the pointer just off a corner, and when the rotate arrow appears, drag around the shape to rotate it.
- To flip content, select the content with the Selection tool. In the Properties panel, to see more options, click More Options in the Transform section of the panel. Click Flip Horizontal or Flip Vertical.
- Set a reference point in the Properties panel to transform content around a point other than the center.
- Temporarily locking content can prevent it from being accidentally edited. To lock content, select the content with the Selection tool and choose Object > Lock or press Control+L (Windows) or Command+L (macOS). A lock icon appears on the frame edge. To unlock an individual object, click the lock icon on the bounding box of the selected object. To unlock all locked content on a page, choose Object > Unlock All On Spread.
- Hide content by selecting it with the Selection tool and choosing Object > Hide. Hidden content is not printed or exported and can’t be selected. To show content again, choose Object > Show All On Spread.
Align and group content
Explore aligning content with the Align panel and working with groups of content.
Watch Video
What you learned: Align and group content
Smart Guides (View > Grids & Guides > Smart Guides) are temporary snap-to guides for alignment.
Grouping content:
- Select the Selection tool in the Tools panel. Drag across content or Shift-click to select it. Click the Group button in the Properties panel to group the objects.
- With the Selection tool, double-click an object in a group to edit it individually. Press Escape to stop editing and regroup the objects.
Aligning content:
- To align objects to one another, select the objects to align, then select an align option in the Properties panel or in the Align panel (Window > Object & Layout > Align).
- Choose an option from the Align To menu in the Properties panel to align content to the page, margins, or other elements on the page.
Create guides for alignment
Add page guides to your documents for alignment.

Watch Video
What you learned: Create guides for alignment
Ruler guides are nonprinting objects used for aligning content that can be positioned anywhere. There are two types of ruler guides: page guides and spread guides.
- With nothing selected, click the Show Rulers button in the Properties panel to show the page rulers. Drag from either the horizontal or vertical ruler into the page or pasteboard area to create a guide. Edit guides by dragging them or selecting them to edit using the X or Y value in the Properties panel.
- Use a guide for alignment by dragging objects close to the guide. When an object is close enough, the edge of the object will snap to (be pulled toward) the guide.
- Drag the zero point on the rulers to start the zero on each ruler from somewhere besides the default upper-left corner of the page. Double-click the zero point to reset the zero on each ruler to the upper-left corner of the active page.
- To lock guides, click the Lock Guides button in the Properties panel with nothing selected, or choose View > Grids & Guides > Lock Guides. To hide guides, click the Hide Guides button in the Properties panel with nothing selected, or choose View > Grids & Guides > Hide Guides.
How to Design a Classic Book Cover With a Modern Twist!

View Tutorial
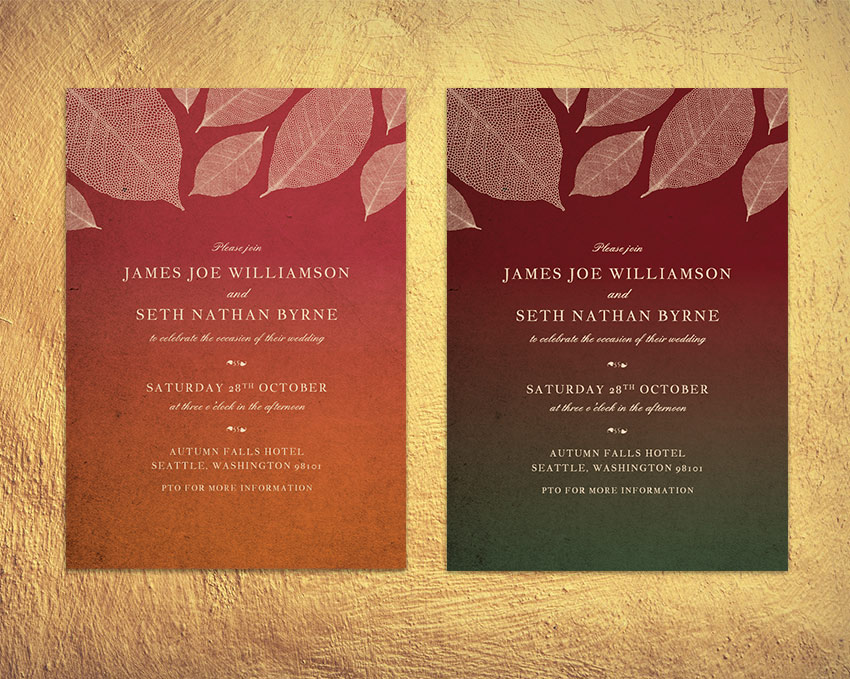
How to Create a Fall-Themed Wedding Invite in Adobe InDesign
View Tutorial
How to Create a Great Business Card in 10 Steps in Adobe InDesign

View Tutorial
How to Create a Space Travel Infographic in Adobe InDesign
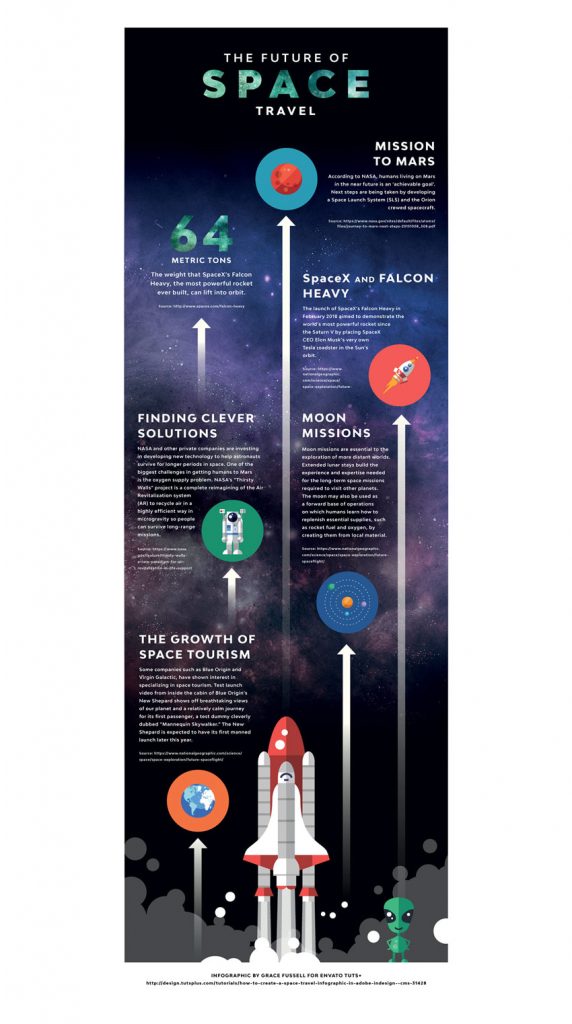
View Tutorial
How to Create a Climate Change Infographic in Adobe InDesign

View Tutorial
Books
10 Essential InDesign Skills
10-Essential-InDesign-Skills-by-InDesignSkills.pdf
InDesign Reference
InDesign Reference
How to Create a Calendar Template in InDesign

View Tutorial
How to Design a Stylish Real Estate Flyer Template in Adobe InDesign

View Tutorial
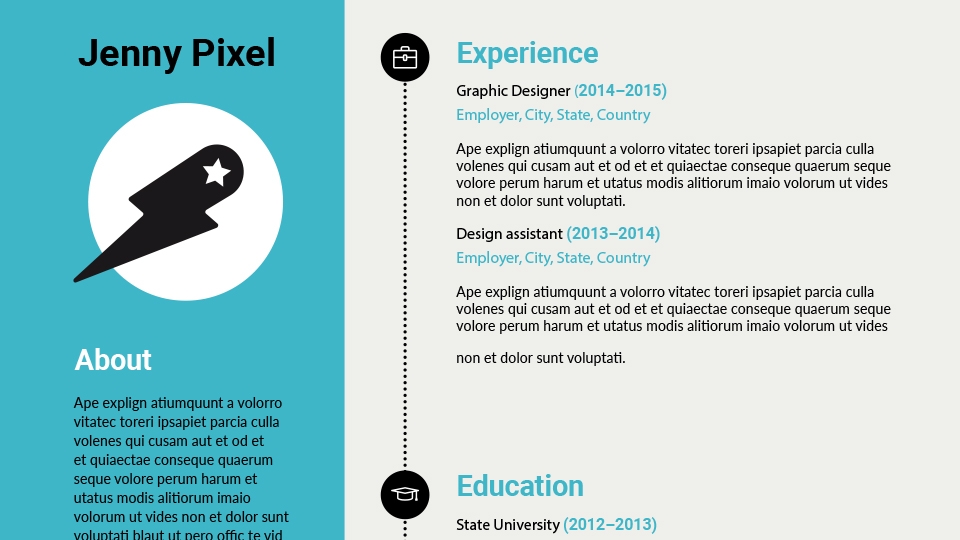
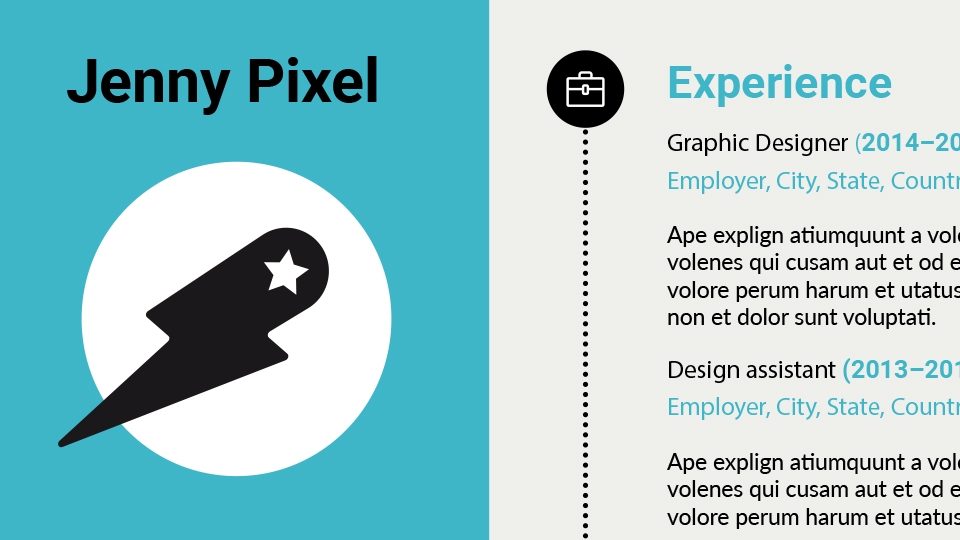
How to Create a Resume
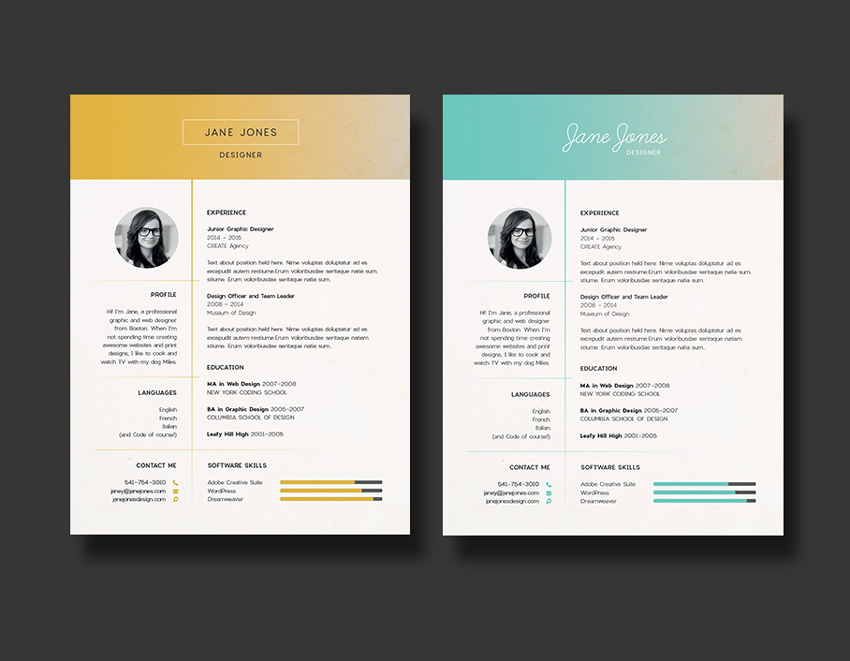
View Tutorial
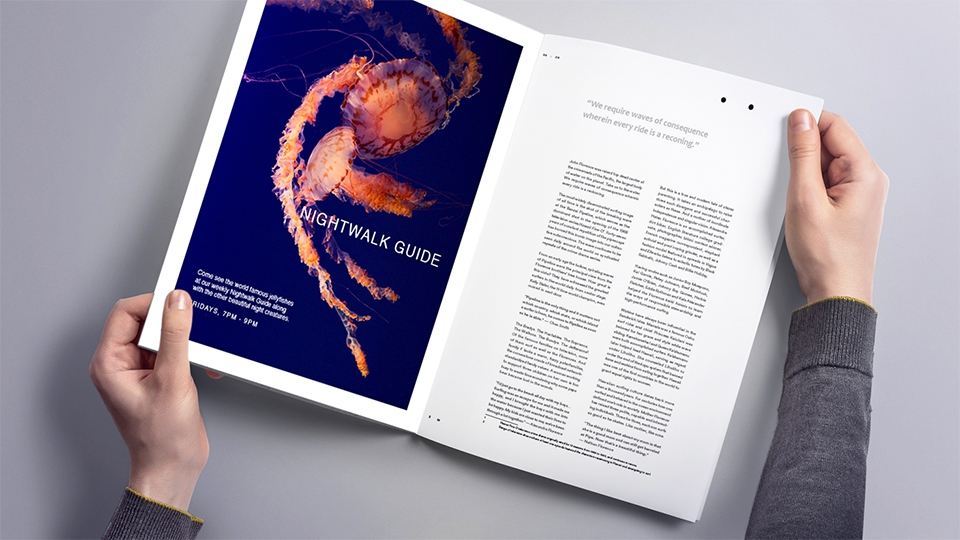
How to Create a Simple Magazine Template in Adobe InDesign
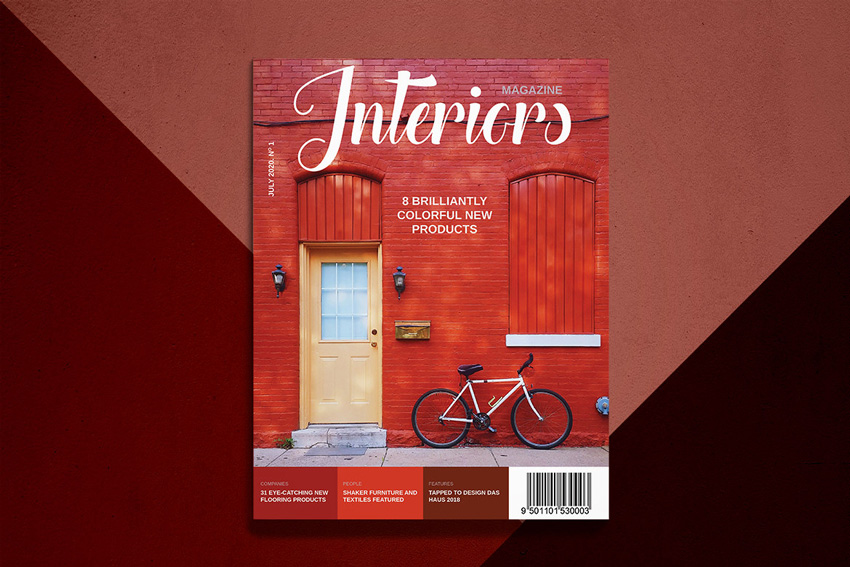
Watch Video
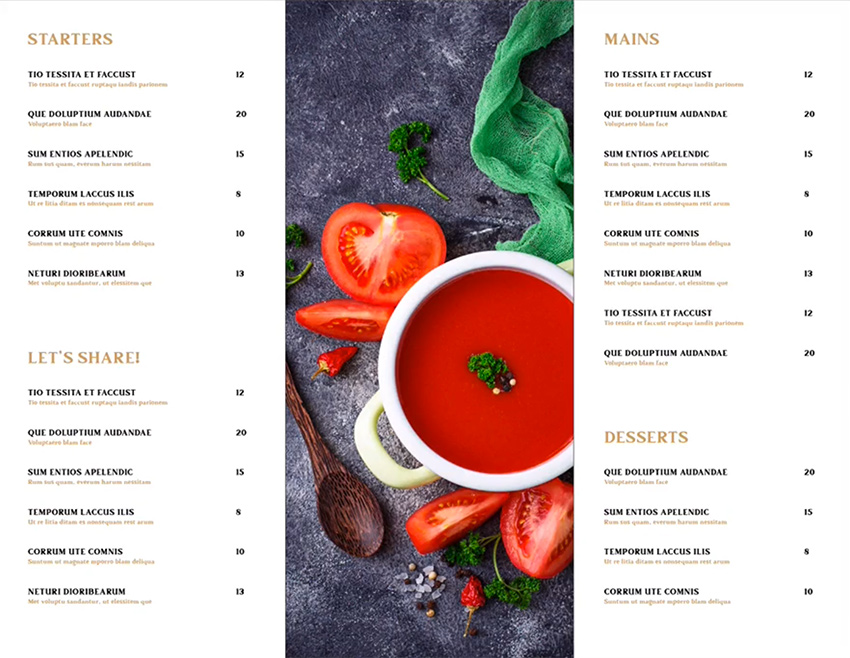
View Tutorial
Quick Tip: Creating New Documents, InDesign CS5

View Tutorial
How to Get Started With Adobe InDesign
If you’re putting together a magazine, brochure or book, it’s likely that you’ll encounter Adobe InDesign during your design process. This publishing program is the print designer’s everyday tool of choice, but you can also use it to do more unusual tasks, such as creating EPUBs (eBooks), formatting cool typography effects, and designing Pinterest-worthy posters.
Quick Tip: Creating New Documents, InDesign CS5
View Tutorial
How to Get Started With Adobe InDesign
If you’re putting together a magazine, brochure or book, it’s likely that you’ll encounter Adobe InDesign during your design process. This publishing program is the print designer’s everyday tool of choice, but you can also use it to do more unusual tasks, such as creating EPUBs (eBooks), formatting cool typography effects, and designing Pinterest-worthy posters.
Code
Art
Design
UI/UX
Video
Projects
Social