Posted on: Oct 04, 2017
How to Make a Portrait with City Elements in Photoshop
In this tutorial, I will show you how to make a portrait with city elements in Photoshop. This is an intermediate-level tutorial and can be a bit tricky, but why not give it a try!
The PSD file of this tutorial is available to buy on PSD Vault Shop, or via the PSD Vault VIP members area.
Note: This tutorial is created in Photoshop CC. Some screenshots may have a slightly different layout in earlier versions. Certain brushes are exclusive to Photoshop CS6 or above.
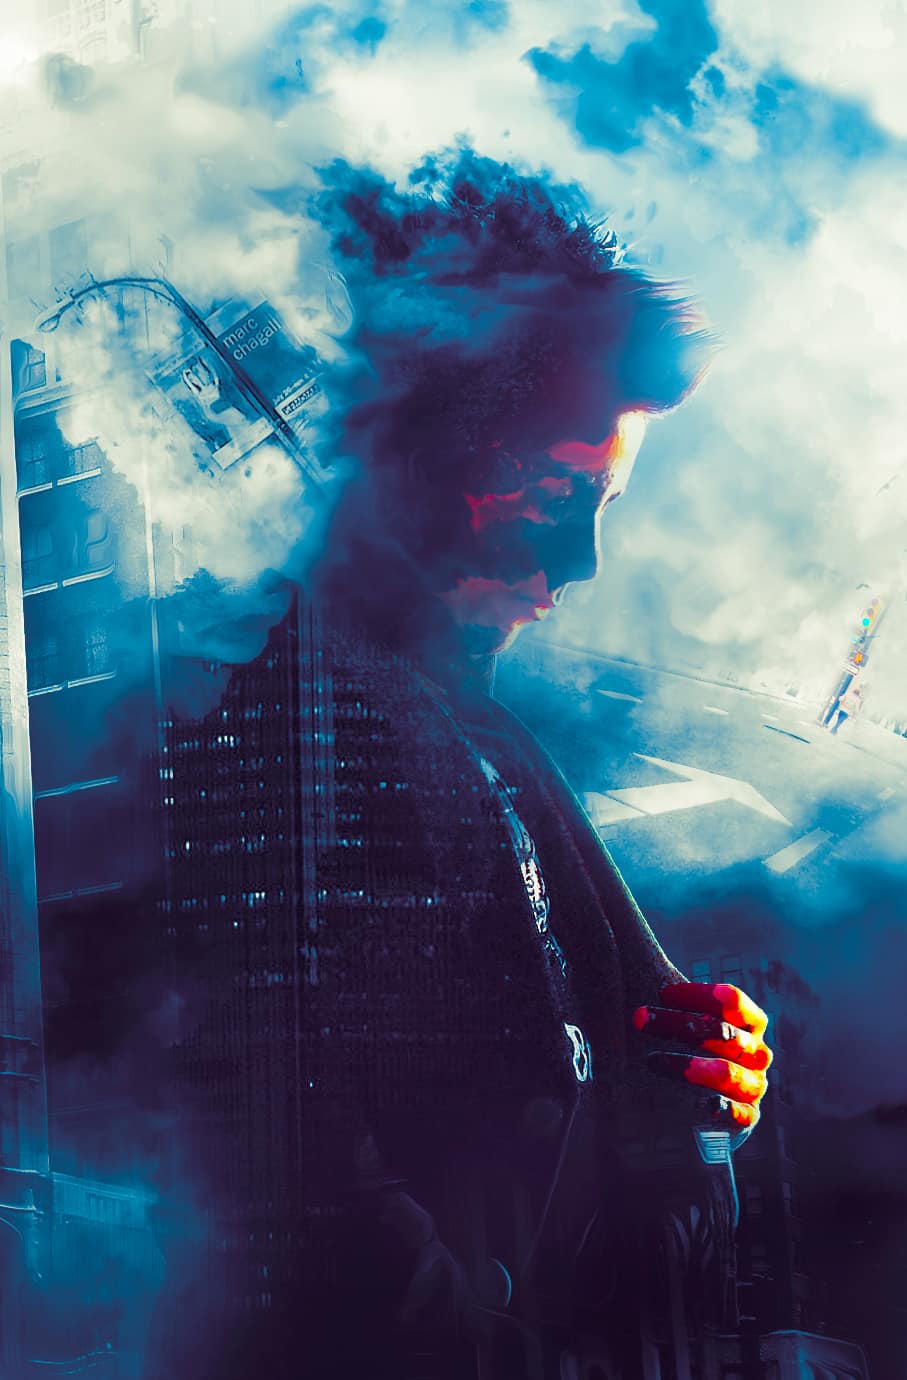
Here is a preview of the final effect:
PSD Vault VIP Membership
You can download the PSD file for this tutorial via the VIP Members Area for only $6.95/month (or less)! Along with this file, gain access to 200+ other PSD files, extra goodies, and exclusive Photoshop tutorials. Sign up now!
Stocks Needed for the Tutorial:
Tutorial Steps
Step 1: Prepare the Model
- Create a new document (907px x 1380px, white background).
- Load and cut out the model, then paste it onto the canvas.
- Use cloud brushes as erasers around the model’s hair and shoulders. Soften the lower parts to make space for additional elements.
Step 2: Add Adjustment Layers
- Black and White: Apply as a clipping mask, erasing portions with the splatter brush for effect.
- Curves: Adjust for better contrast.
Paint a cloud effect on a new layer below the model using the cloud brush.
Step 3: Add City Elements (City Stock 1)
- Select and paste a building from City Stock 1 onto the canvas. Adjust its opacity to 80%.
- Use the splatter brush to erase parts of the building for a seamless blend.
-
Apply the following adjustments as clipping masks:
- Black and White
- Levels
- Curves
Step 4: Integrate Additional Buildings
- Select and paste a building from City Stock 2 into the model’s body area.
- Adjust its shape using the Free Transform tool and blend it into the model.
- Add adjustments (Black and White, Levels) to match the tone.
Step 5: Add Roads and Signs
- Extract the road section from City Stock 3, adjust its shape, and place it under the model.
- Apply adjustments (Black and White, Levels, Curves) for a cohesive look.
Step 6: Add Traffic Elements
- From City Stock 1, extract a traffic light and position it on the canvas.
- Adjust using Curves and Levels.
- Add street lamps or advertisements from City Stock 3, blending them with Black and White and Levels adjustments.
Step 7: Final Touches
-
Apply global adjustments:
- Selective Color (adjust Reds, Whites, Neutrals, and Blacks).
- Vibrance for added color pop.
And here’s the final result:
That’s it for this tutorial! Feel free to leave questions or comments below, and I’ll try my best to help.
Happy editing!
Code
Art
Design
UI/UX
Video
Projects
Social