Posted on: Mar 18, 2020
Reference
Fussell, G. (2019). How to Create a Space Travel Infographic in Adobe InDesign: Envato Tuts+. Retrieved from Envato Tuts+.

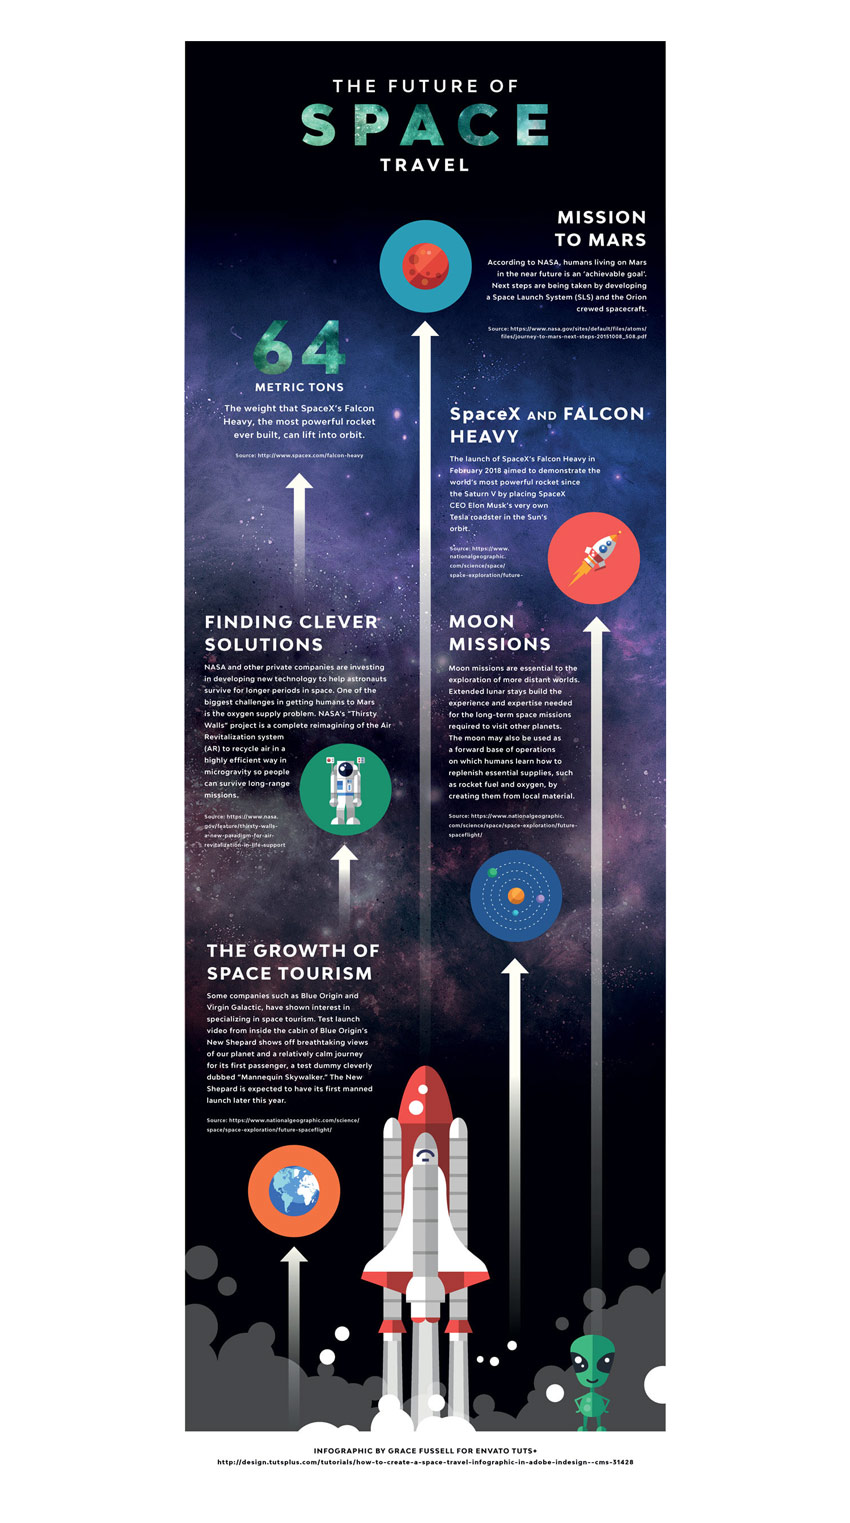
What You’ll Be Creating
If you’ve used Adobe InDesign before but are new to creating infographic layouts, this tutorial is a great introduction to combining type and graphics in a visually interesting way.
What You’ll Need to Create Your Infographic
You’ll need access to both Adobe InDesign and Adobe Illustrator, and to download the following images and fonts from Envato Elements:
Step-by-Step Instructions
1. How to Create a Web Document in InDesign
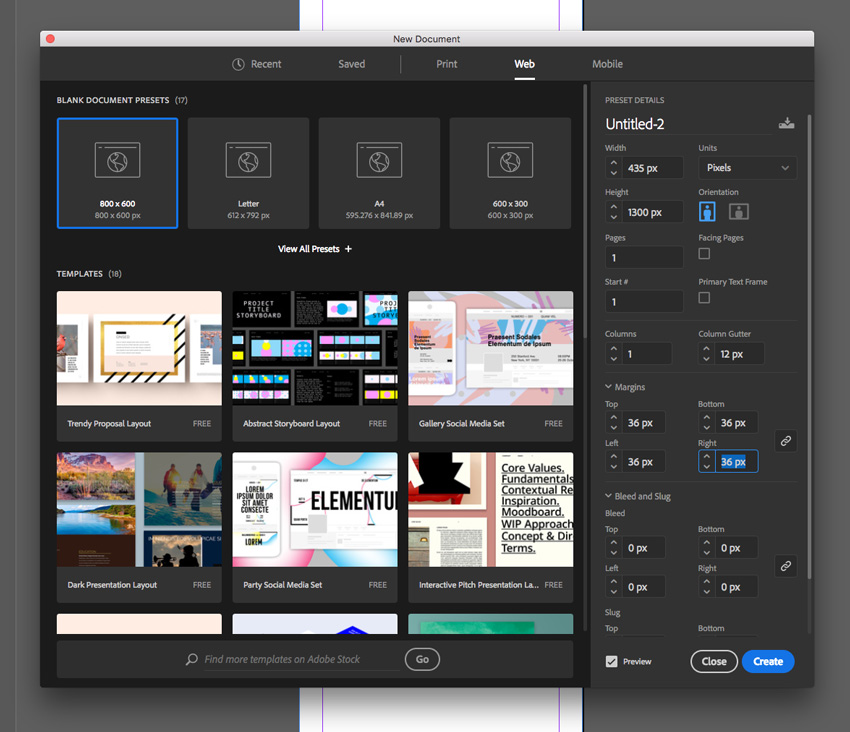
Step 1: Create a New Document
- Open InDesign and go to File > New > Document.
- Set Width to 435 px and Height to 1300 px.
- Set Margins to 36 px and click Create.
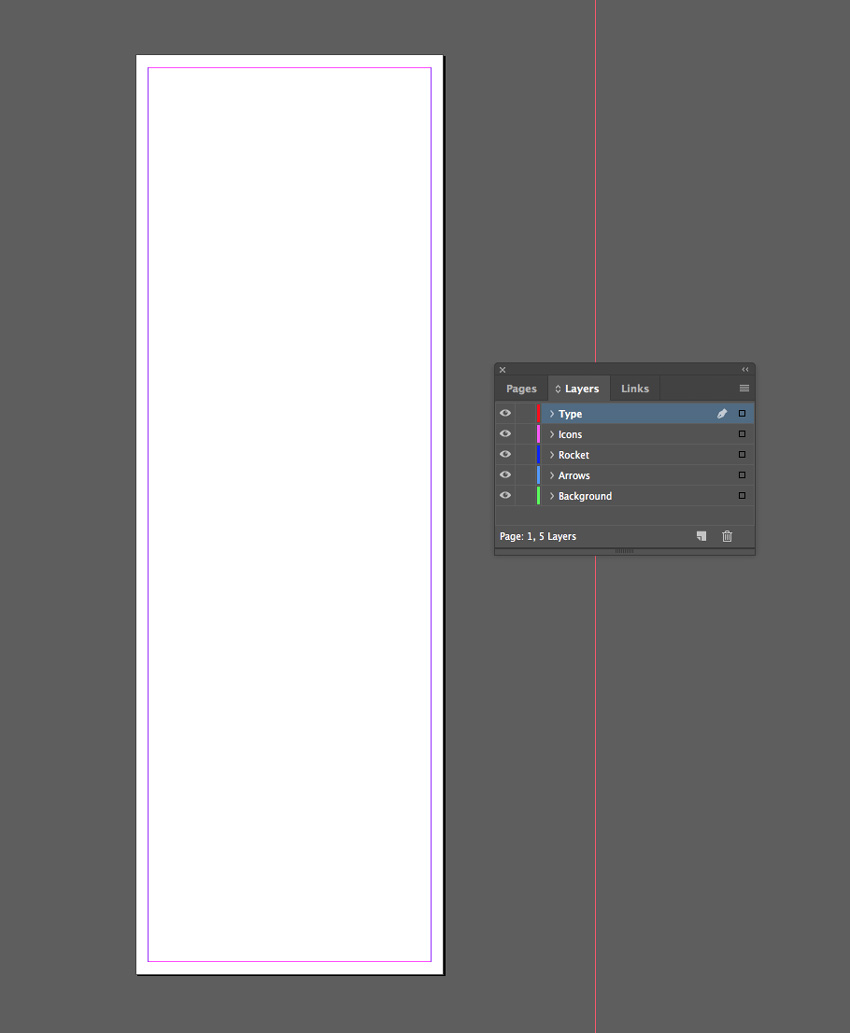
Step 2: Organize Layers
- Expand the Layers panel (Window > Layers).
- Rename Layer 1 to Background and add layers: Arrows, Rocket, Icons, and Type.
2. How to Create a Celestial Backdrop
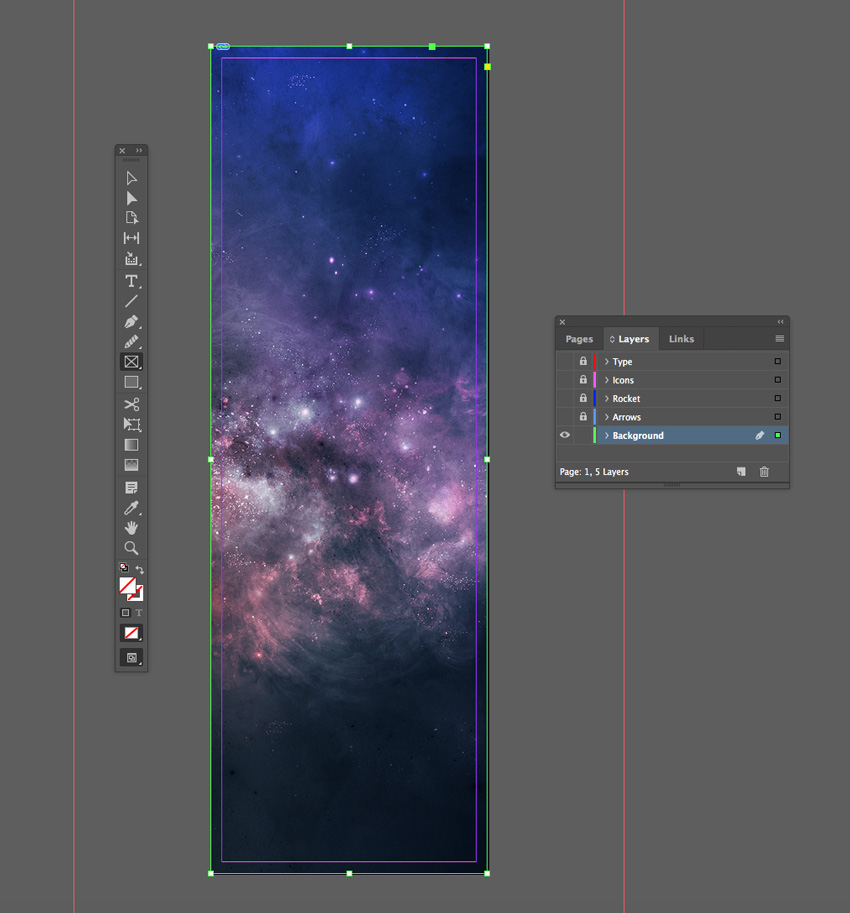
Step 1: Place the Background
- Use the Rectangle Frame Tool (F) to create an image frame.
- Go to File > Place, select a Space Background image, and click Open.
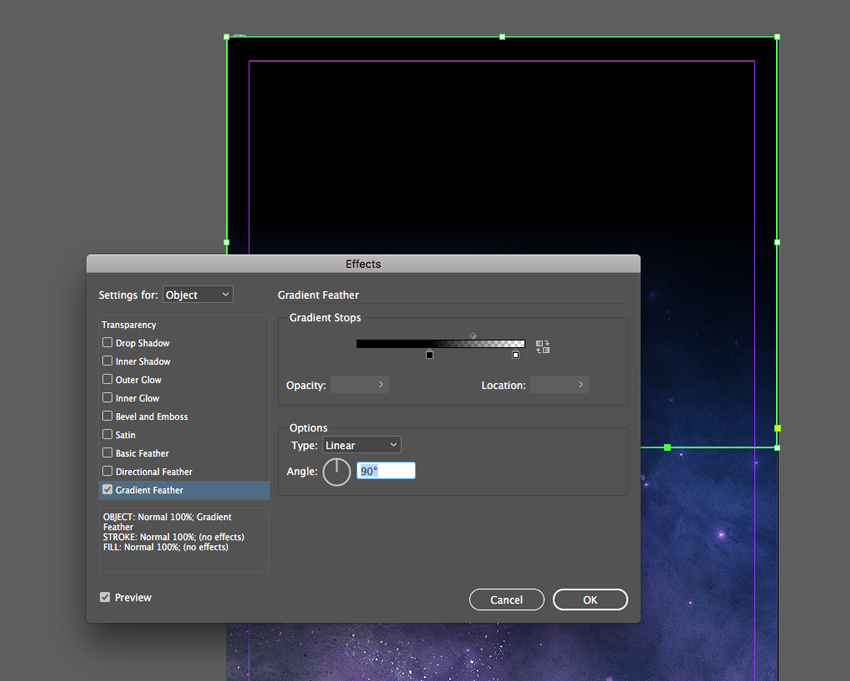
Step 2: Add a Gradient Shape
- Use the Rectangle Tool (M) to draw a shape at the top of the page.
- Fill it with black and apply a Gradient Feather (Object > Effects > Gradient Feather).
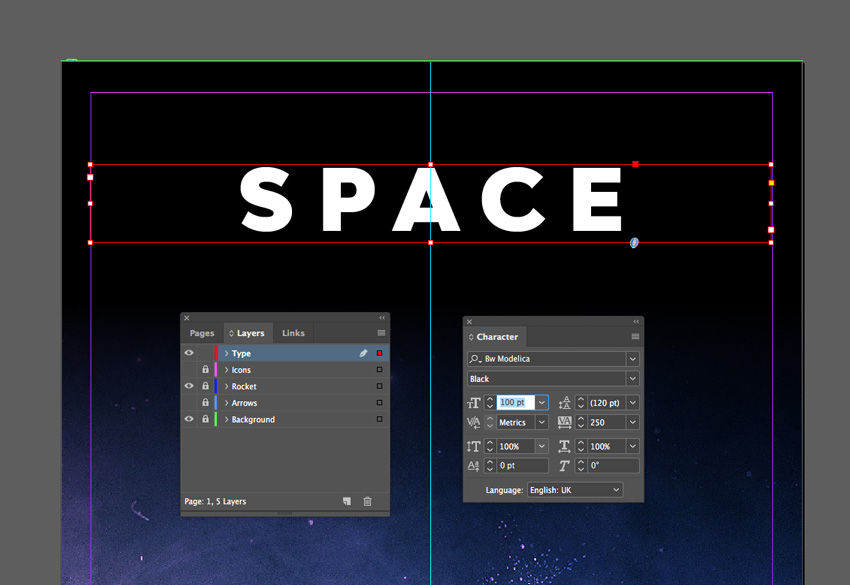
Step 1: Add Text
- Use the Type Tool (T) to add a text frame.
- Set the font to BW Modelica Black, Size 100 pt, Tracking 100, Align Center.
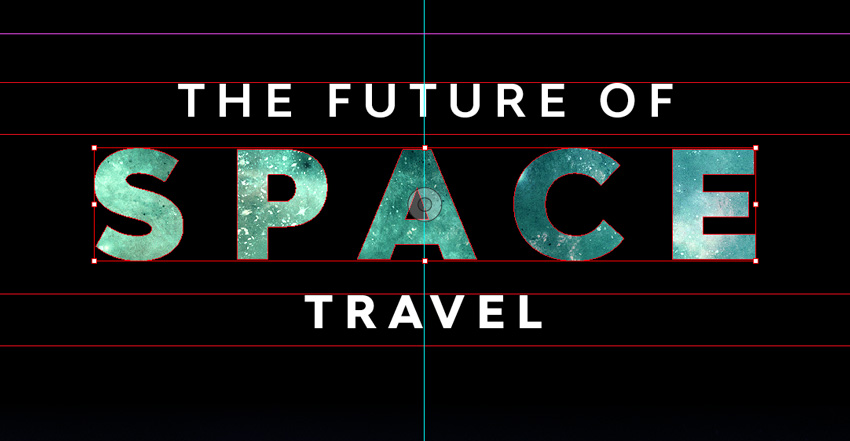
Step 2: Apply an Image Fill
- Create outlines for the text (Type > Create Outlines) and place a Space Background image within the text.
4. How to Build Up Graphics on Your Layout
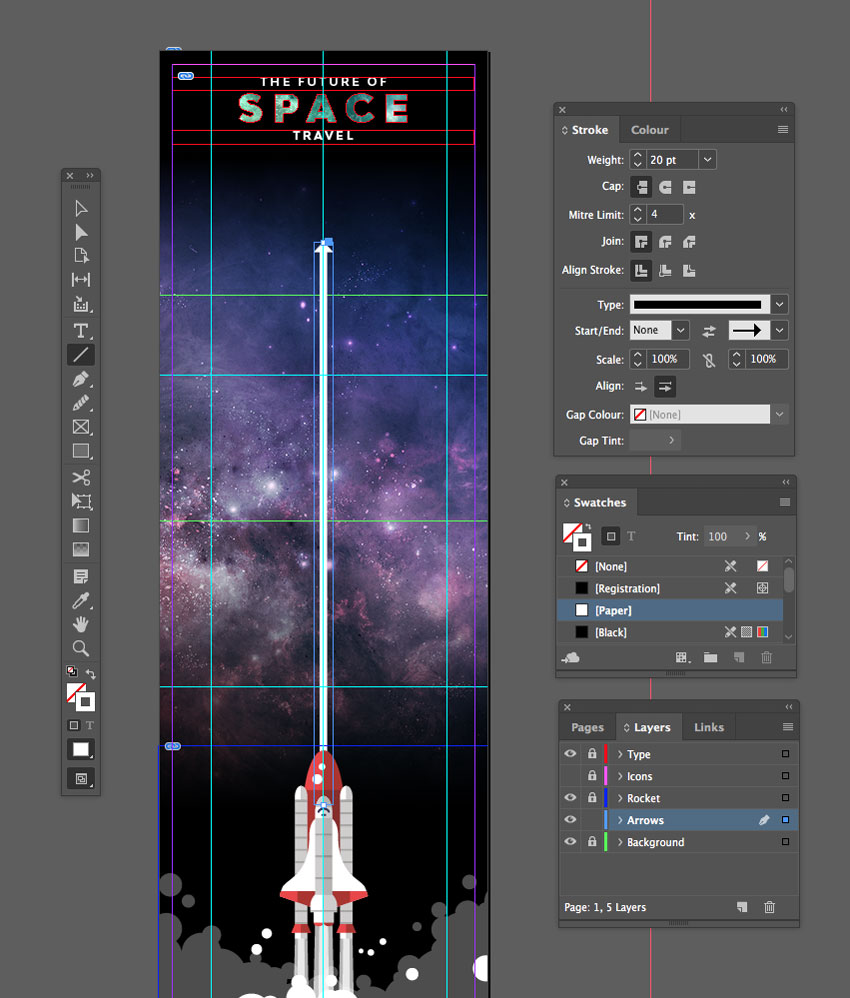
Step 1: Add Arrows
- Use the Line Tool to draw arrows with Stroke Weight 20 pt and add Triangle End Caps.
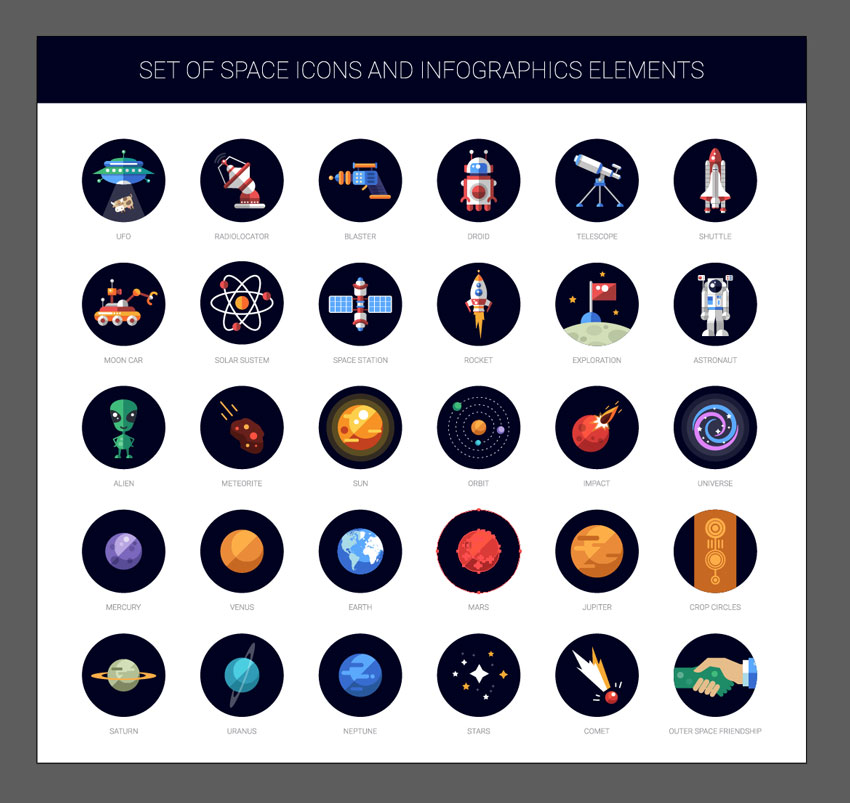
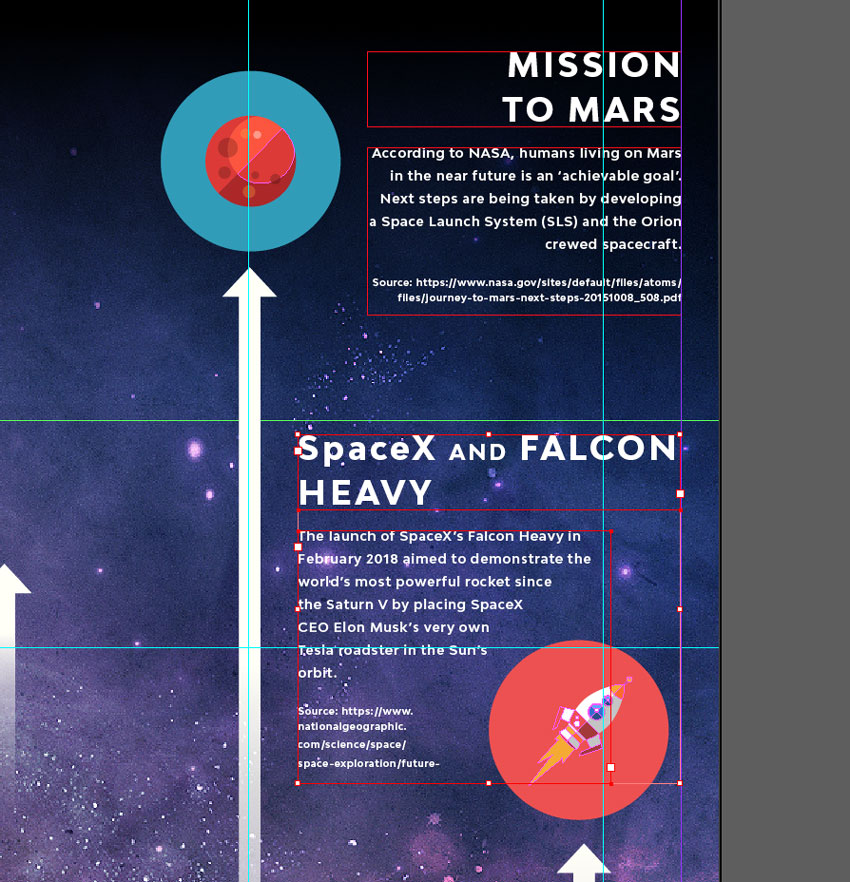
Step 2: Add Icons
- Open the Space Icon Set in Illustrator.
- Copy individual icons and paste them onto your InDesign document.
Step 3: Add Text
- Use the Type Tool to add titles and facts for each icon.
Conclusion: Your Finished Infographic
Your infographic is complete! You can now export it for sharing online as a PNG or JPEG file.
Code
Art
Design
UI/UX
Video
Projects
Social