Posted on: Oct 25, 2017
Circle Polyoramas are tiny, planet-like creations made from photographic panoramas. In this tutorial, you’ll learn how to craft your own polyorama using Photoshop. This technique works for Photoshop CS and above.
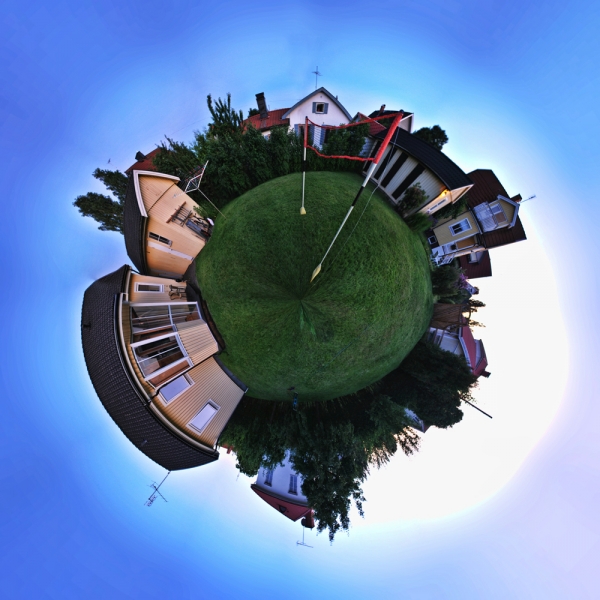
End result:
Steps to Create a Circle Polyorama
Step 1: Capture a Panorama
- Use a tripod-mounted camera to take a 360-degree panorama.
- Rotate the camera slightly between each shot until you cover the full 360 degrees.

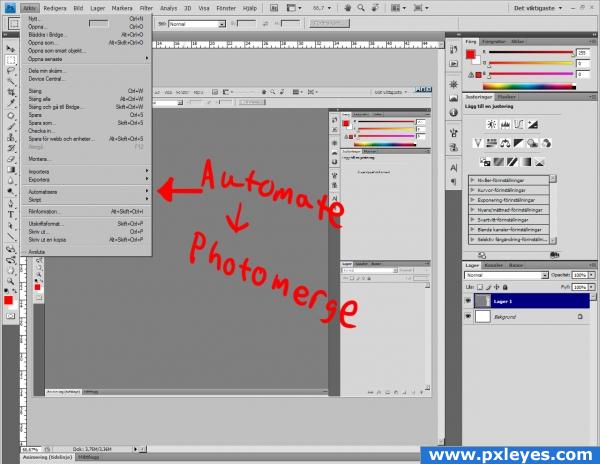
Step 2: Open Photoshop’s Photomerge
- Navigate to
File > Automate > Photomerge.
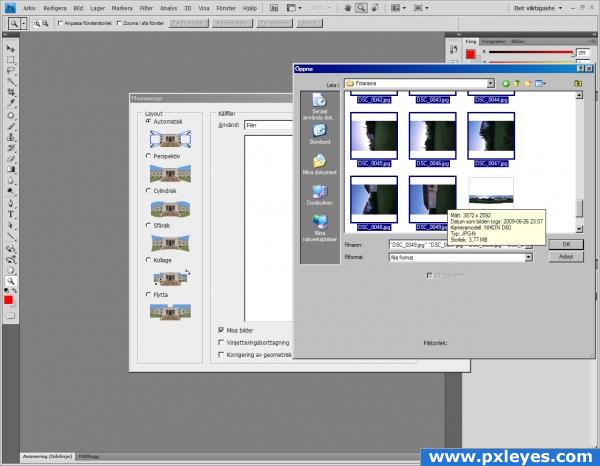
Step 3: Select and Import Photos
- Click “Browse” and locate the folder with your panorama images.
- Select all images by clicking the first and last while holding Shift.
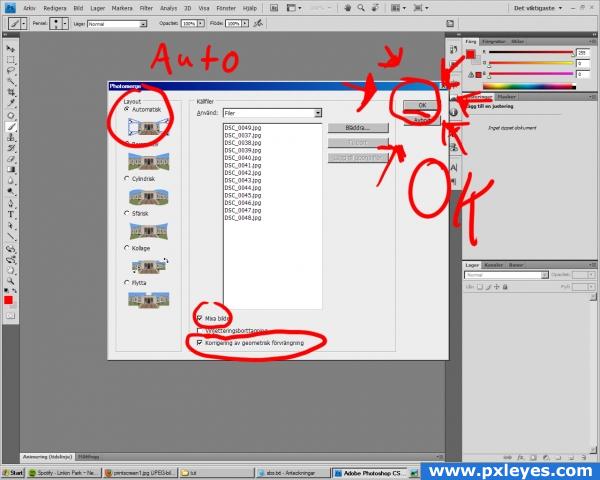
Step 4: Set Photomerge Options
- In Photomerge, check:
- “Auto”
- “Mix images”
- “Geometric distortion correction”
- Click “OK.”
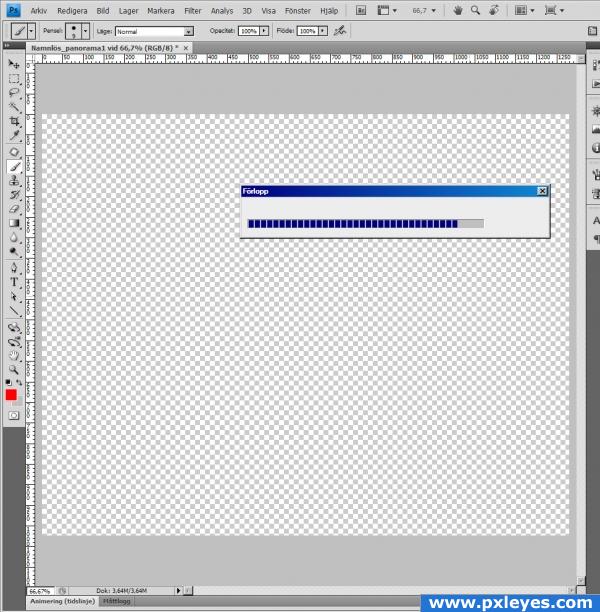
Step 5: Wait for Photomerge to Process
Let Photoshop stitch the panorama. Be patient; this may take time, depending on your system’s speed.
Step 6: Merge Layers
Once the panorama is stitched, merge all layers into one.
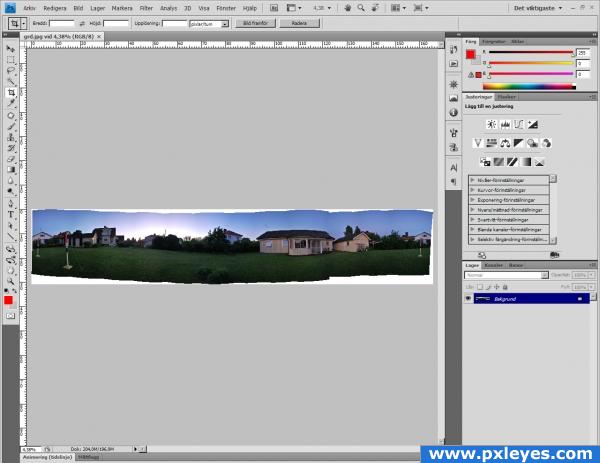
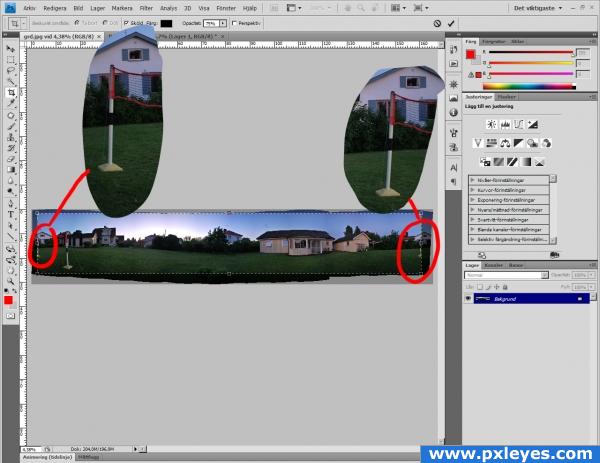
Step 7: Crop the Panorama
- Crop the panorama to ensure it covers exactly 360 degrees.
- If your panorama is less than 360 degrees, ensure the start and end blend seamlessly.
Step 8: Resize the Image
- Go to
Image > Image Size (Ctrl + Alt + I).
- Uncheck “Keep proportions.”
- Set the height and width to the same value, creating a square image.

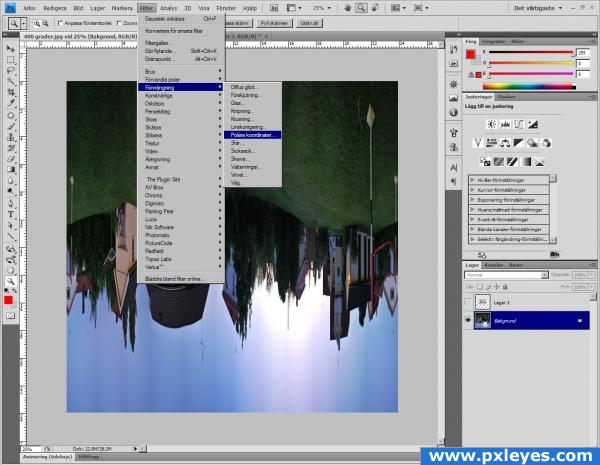
Step 9: Rotate the Image
- Rotate the image 180 degrees by navigating to
Image > Image Rotation > 180.
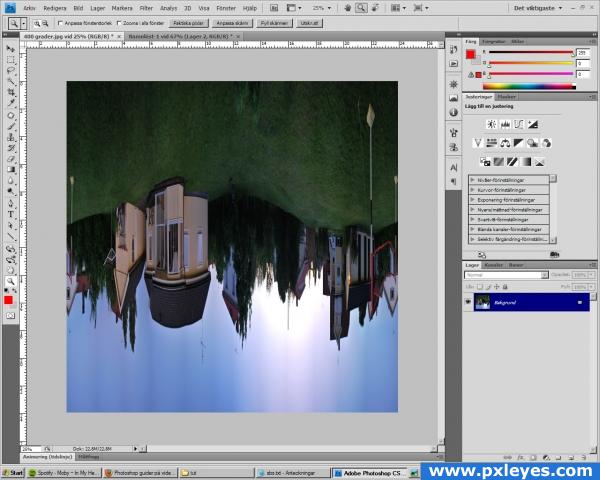
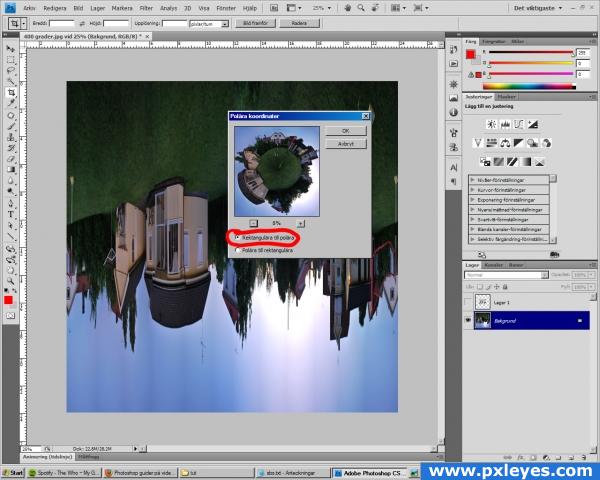
Step 10: Apply Polar Coordinates
- Go to
Filter > Distort > Polar Coordinates.
- Select “Rectangular to Polar” and click “OK.”
Marvel at your circular polyorama! Fine-tune as needed.
Step 12: Add Final Touches
Clone and color correct the image for a polished look.
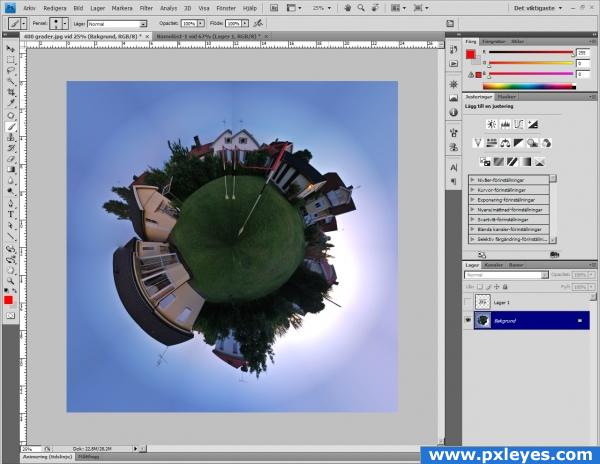
Step 13: Share Your Results
Here’s the final outcome after finishing touches. Show off your results and enjoy creating!
w
Code
Art
Design
UI/UX
Video
Projects
Social