 What You’ll Be Creating
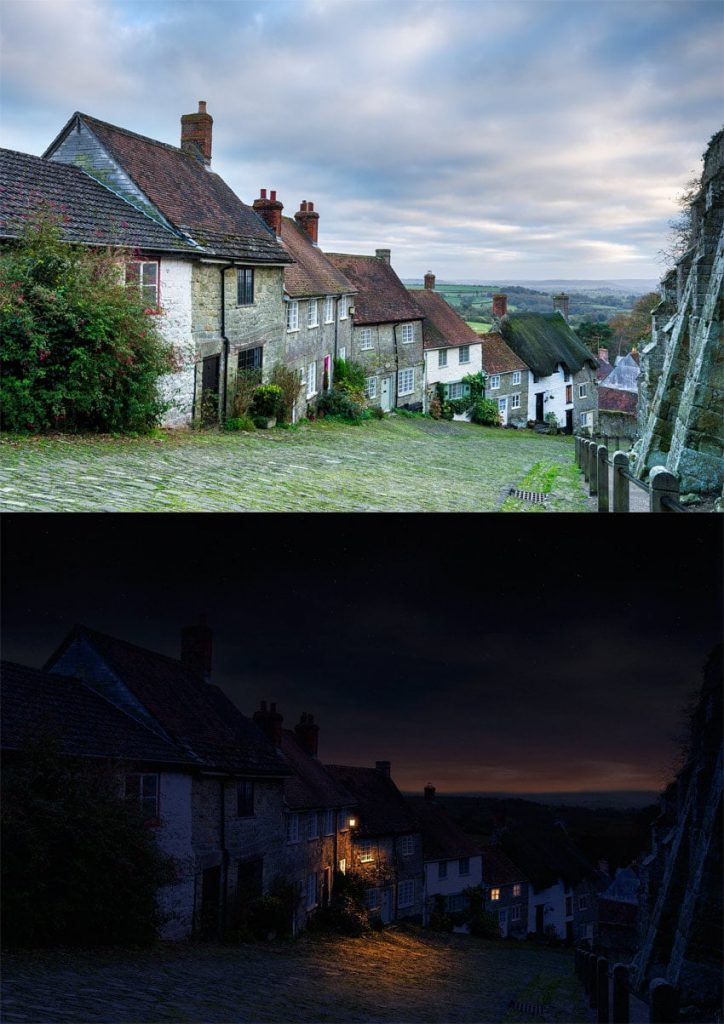
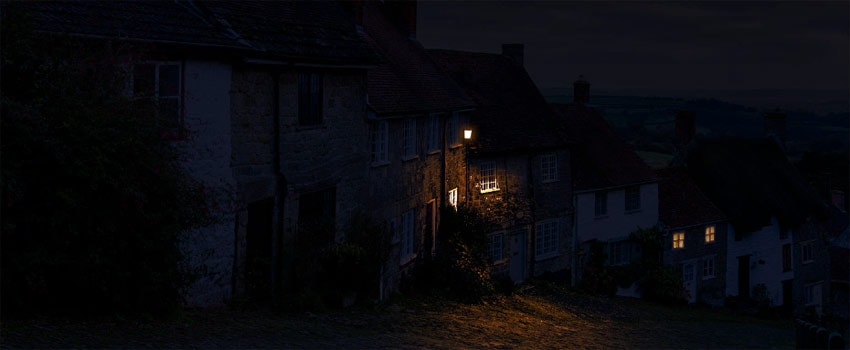
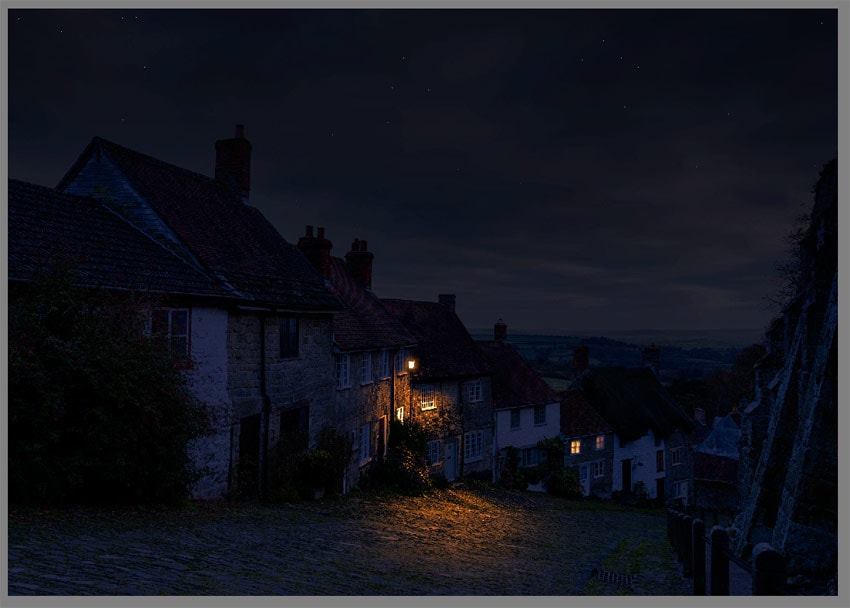
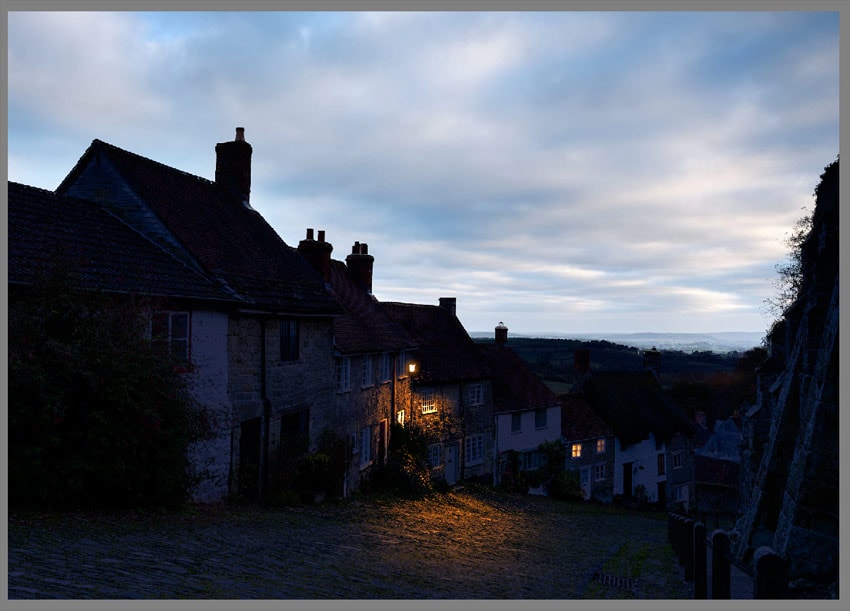
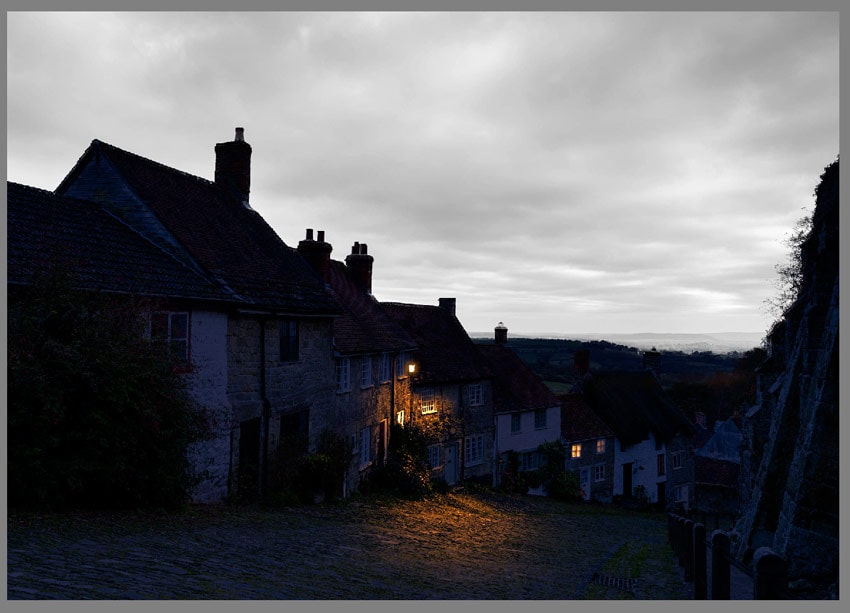
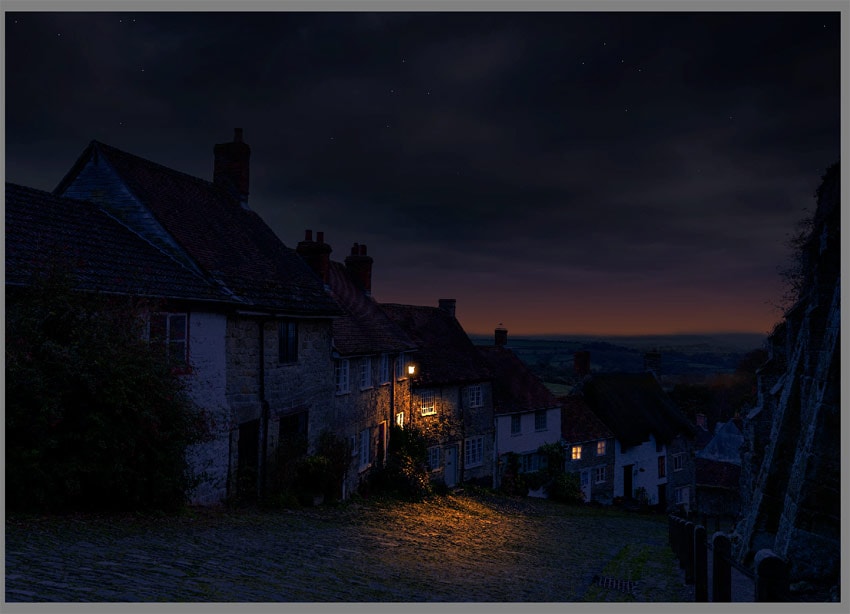
It’s not always easy to find the perfect photo for a photo manipulation. For example, you might want to create a night scene, but the available photos are too dark or heavily edited. With Photoshop, you can transform a day scene into a night scene! This tutorial will guide you through adjusting brightness, adding stars, and creating convincing light sources.
You can use any photo for this exercise. If you’d like to follow along, find a suitable village photo.
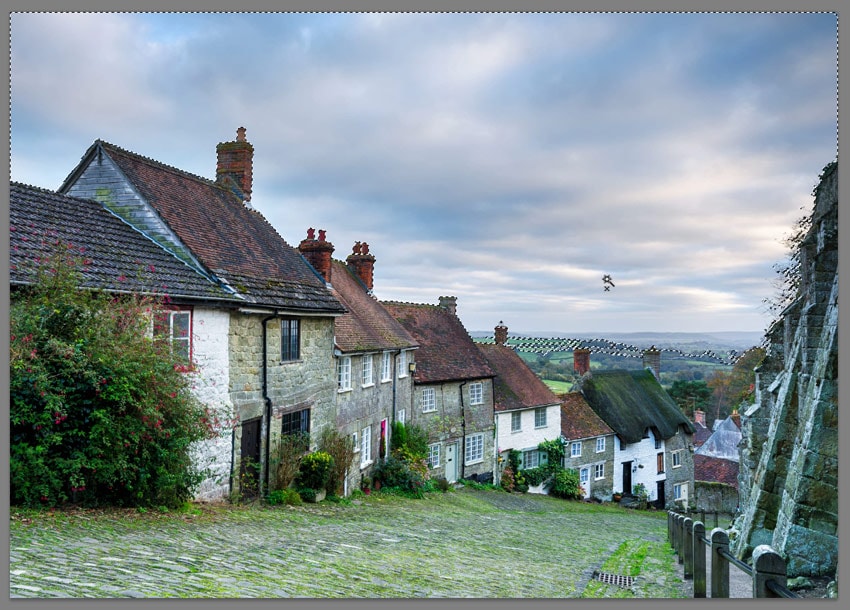
Open your photo in Photoshop. Take the Magic Wand Tool (W) and set Tolerance to 100.

Click the sky to select it.
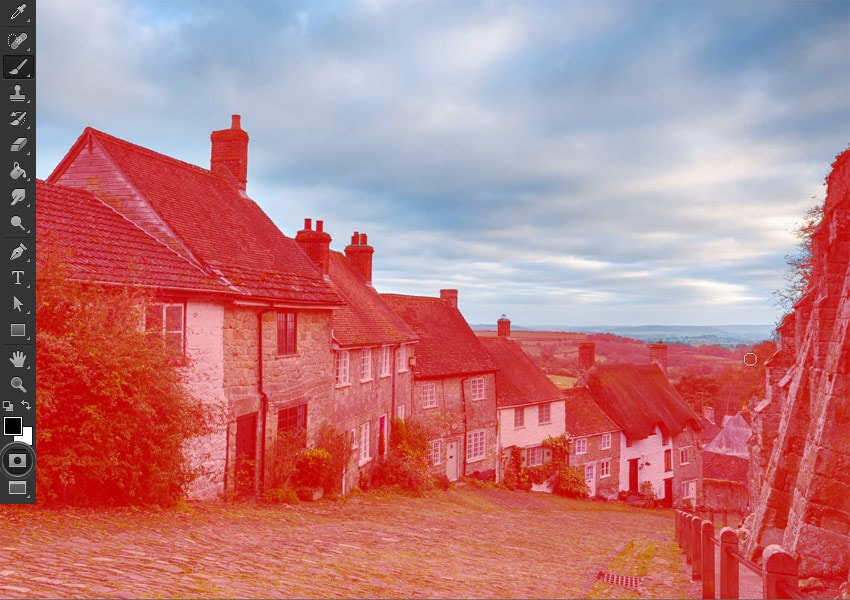
Enter Quick Mask Mode (Q) to refine the selection. Paint areas to add or subtract from the mask.
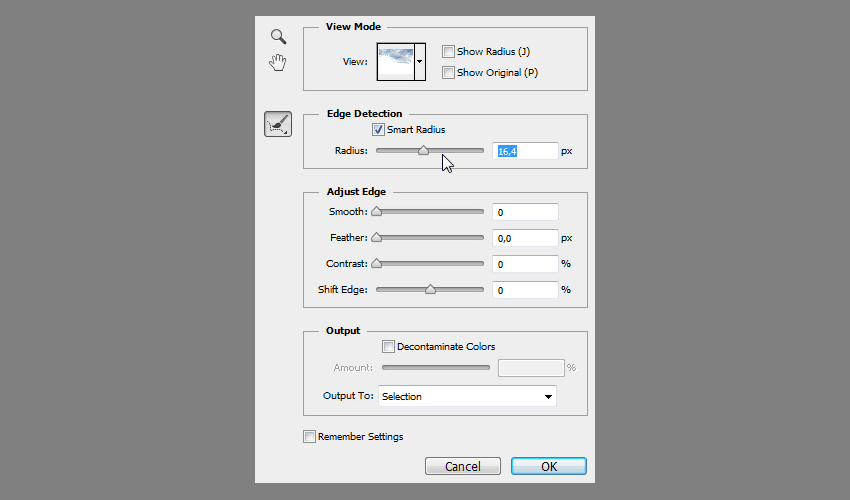
Exit Quick Mask Mode and go to Select > Refine Edge. Adjust sliders for a clean selection.
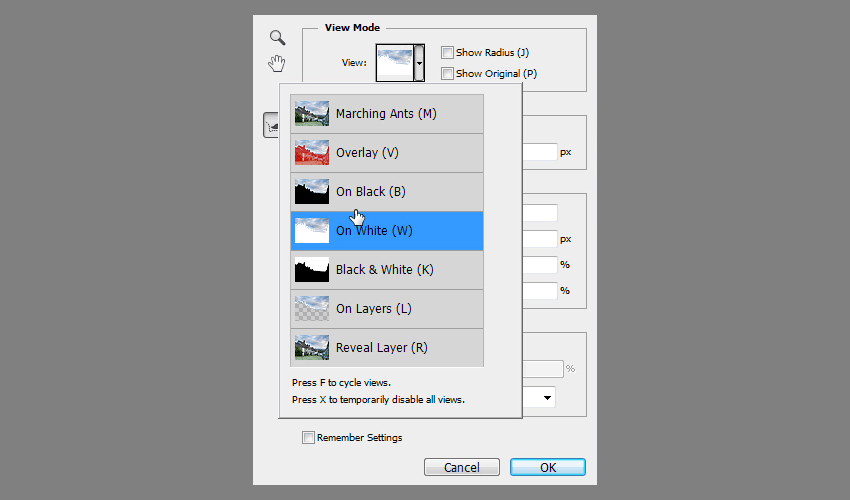
Enable Smart Radius and adjust the settings for the best result.
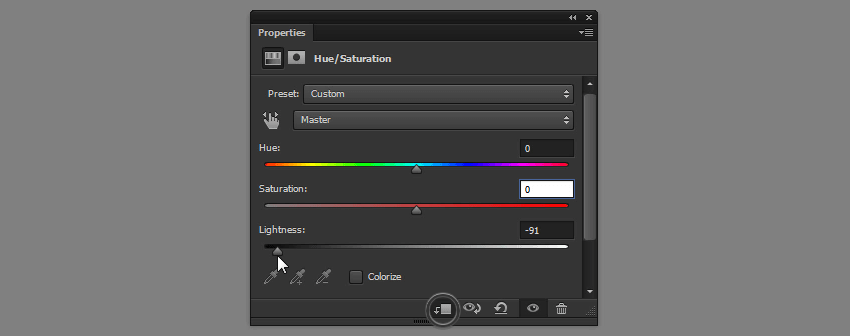
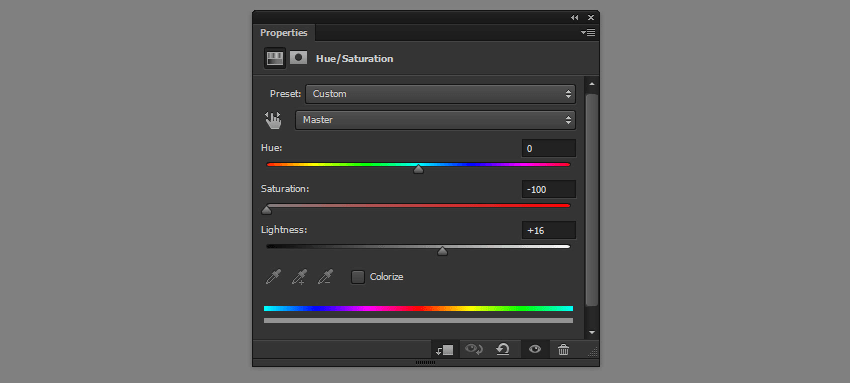
Open Adjustments and add a Hue/Saturation adjustment layer.

Clip the adjustment to the sky layer and lower Lightness to darken.
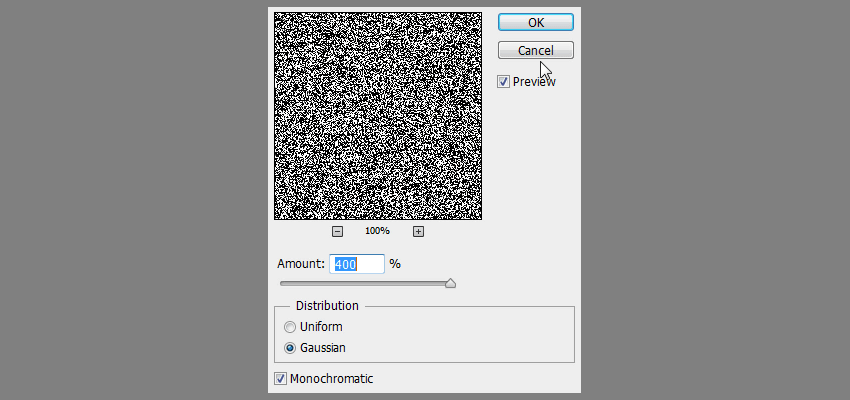
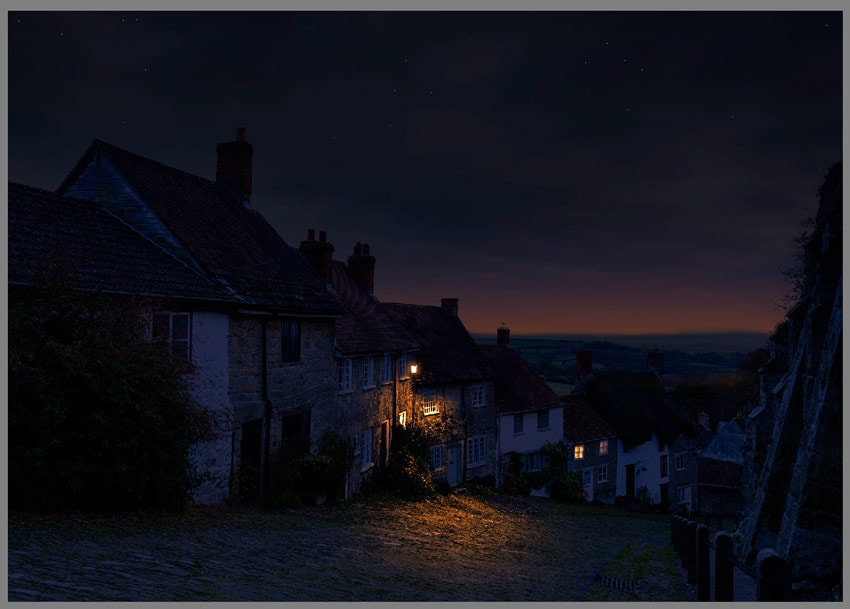
Create a New Layer and fill it with black. Add noise using Filter > Noise > Add Noise.
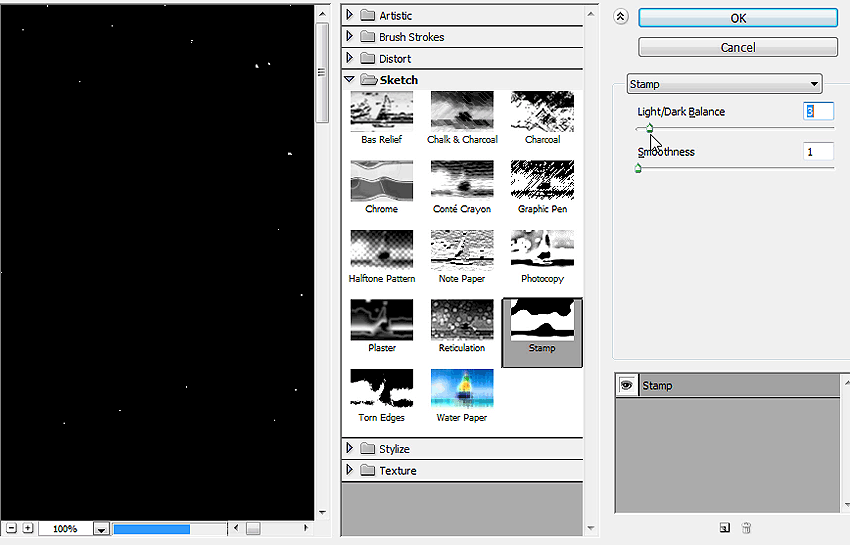
Use Filter Gallery > Sketch > Stamp to create star shapes.
Select windows using the Polygonal Lasso Tool (L).
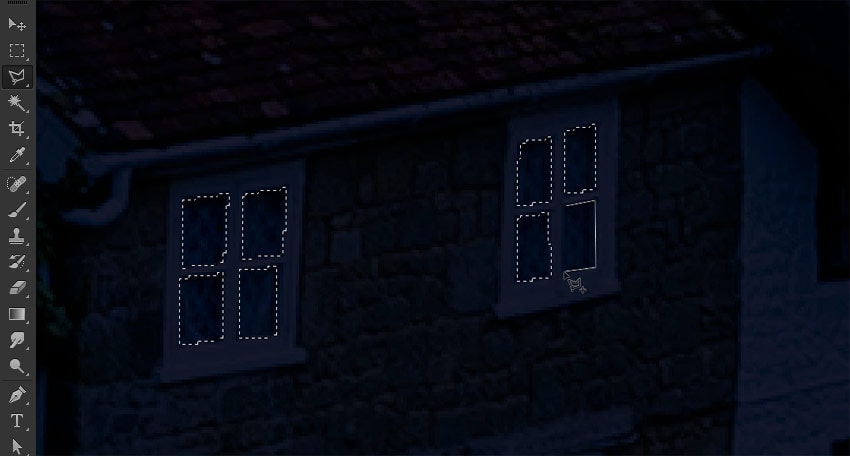
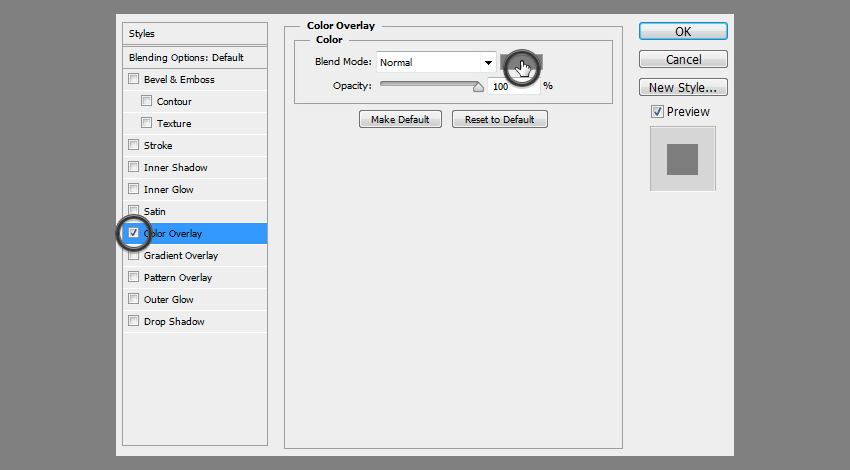
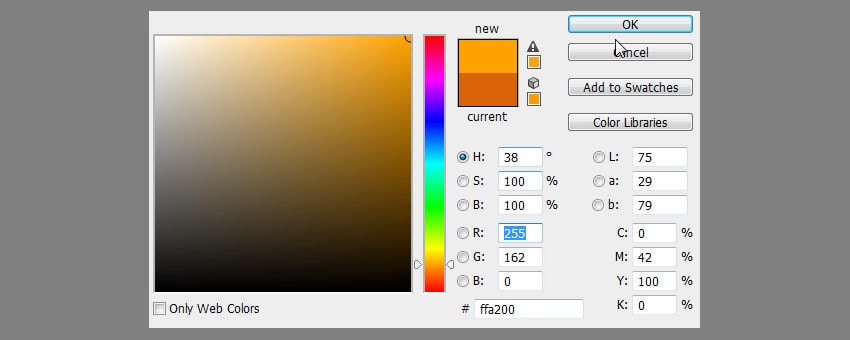
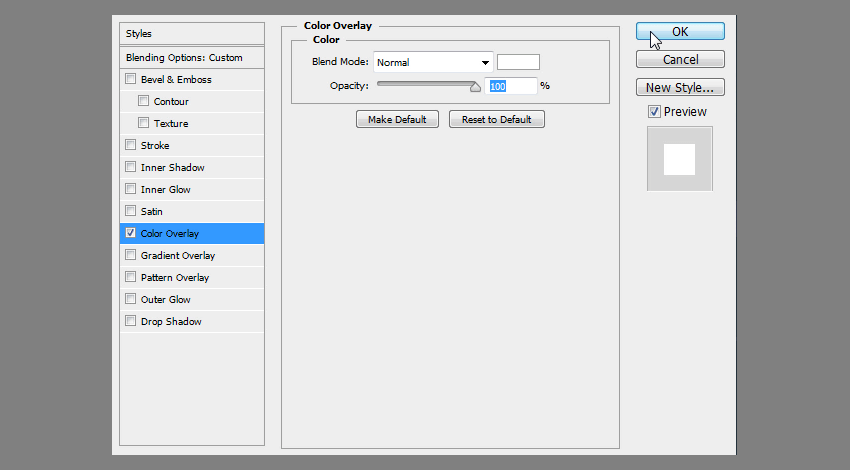
Duplicate the selection and apply a Color Overlay with bright orange.
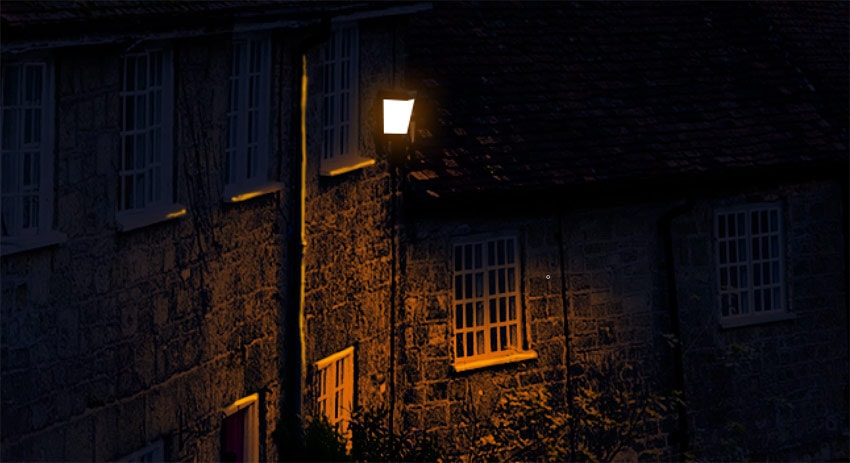
Select a lantern shape using the Polygonal Lasso Tool (L).
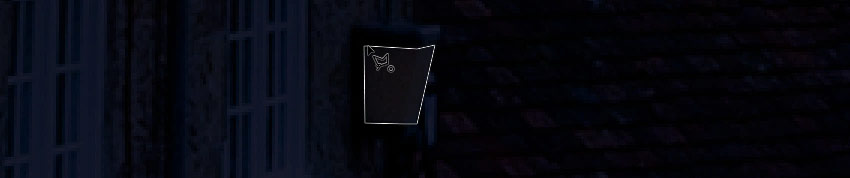
Duplicate the layer, apply a Color Overlay (white), and add an Outer Glow (bright orange).
Add a Layer Mask to this layer and paint the shadows on it. Nothing detailed—just make sure the light doesn’t reach to the parts blocked from it. Use black to paint the shadows and white to remove them, until you are happy with the result.
Create a New Layer and take a bright orange again.
Subtly paint some highlights on the protruding elements of the building to keep them 3D.
Change the Blend Mode and add a Layer Mask to make the effect more subtle.
Finally, duplicate the glow (Control-J) and change its color to white.
Then remove it from the darker parts, leaving it only on the bright elements of the building. They should reflect more light and shouldn’t be so vividly colored.
Change the Blend Mode and lower the Opacity to adjust the intensity of this effect.
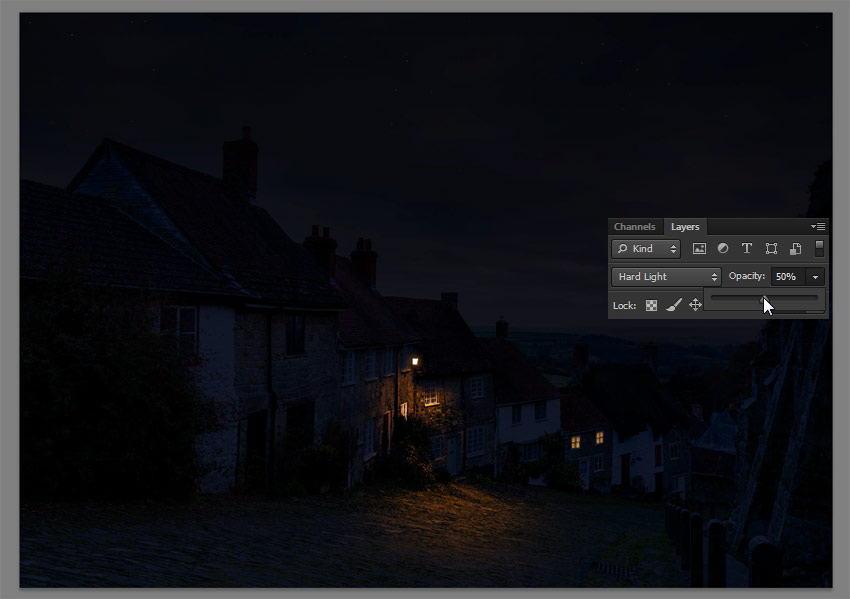
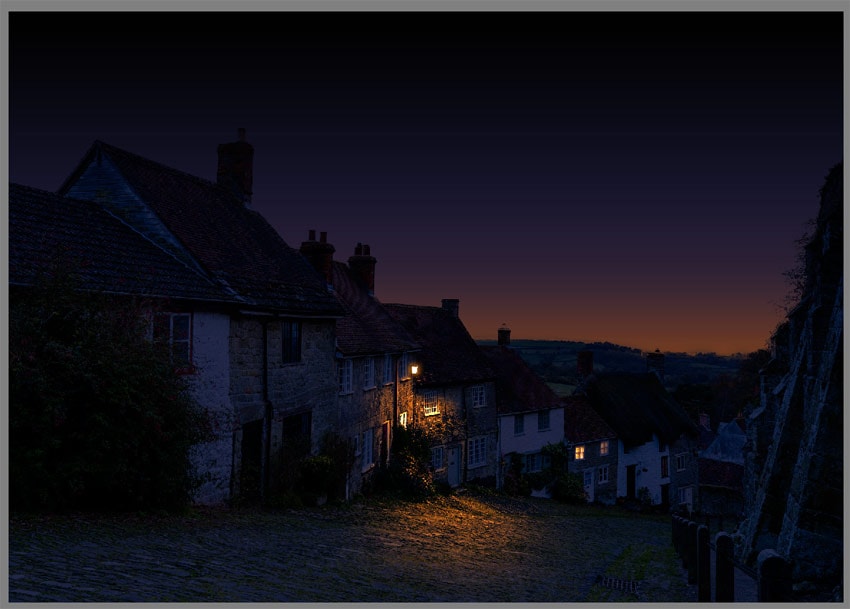
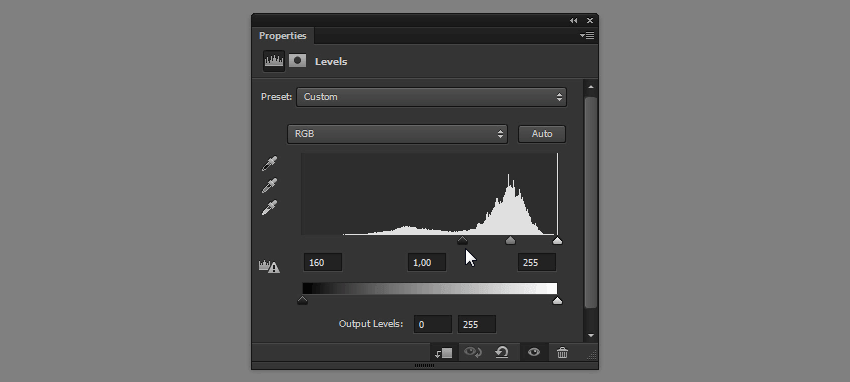
Let’s adjust the final brightness of the scene now, since we have it all together. Go to the top of the layers and add a new Adjustment Layer: Levels.

Drag the white marker to the left to increase the amount of bright shades in the scene.

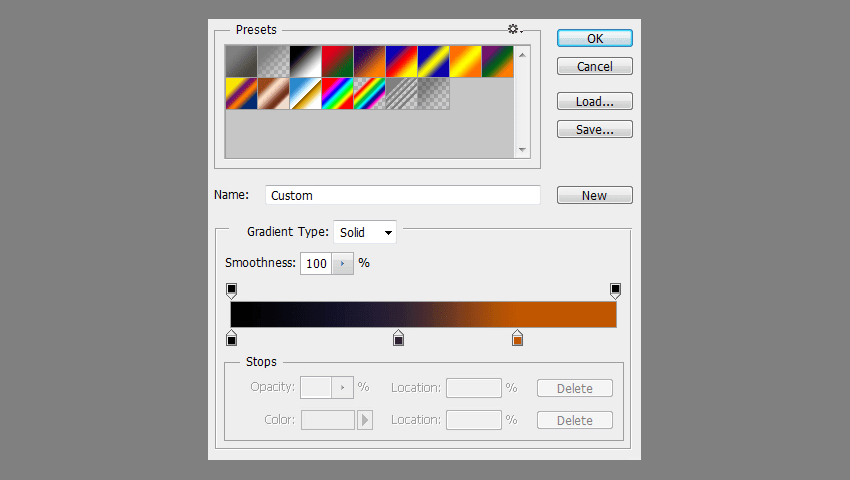
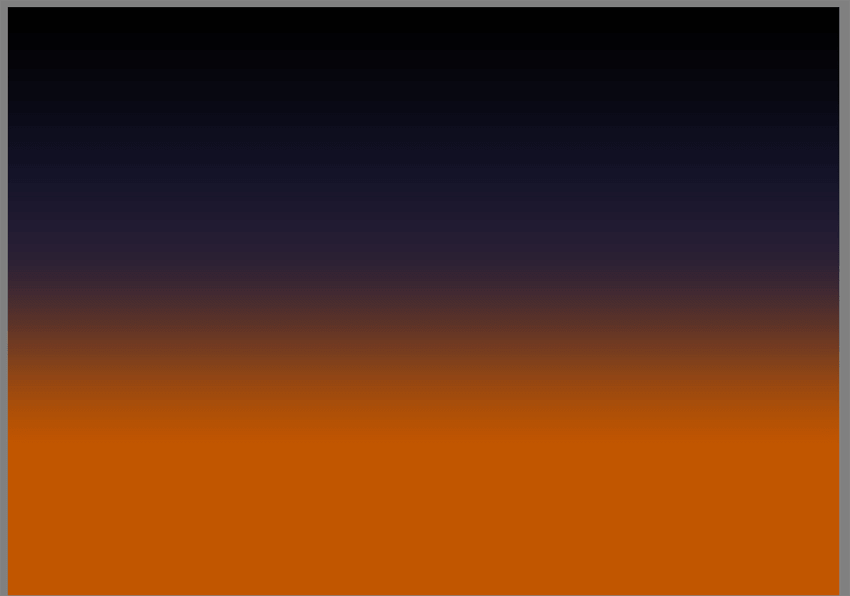
Create a New Layer. Fill it with black, and then go to its Blending Options and add Gradient Overlay.

Give it the colors of a low sun.
Hold Control and click the sky layer to get its outline.
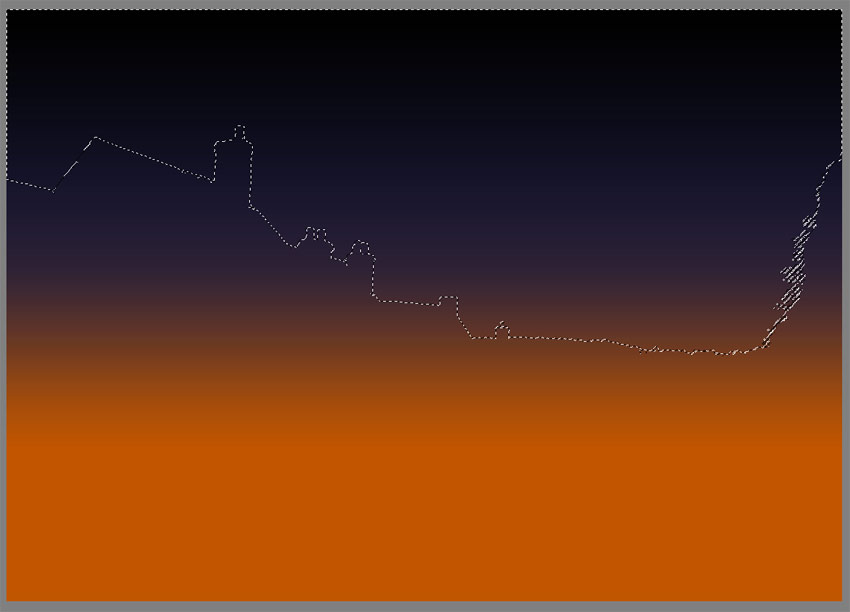
Click the gradient layer and add a Layer Mask. The selection will be automatically applied to the mask.
Paint on the mask to reveal the mountains in the background.
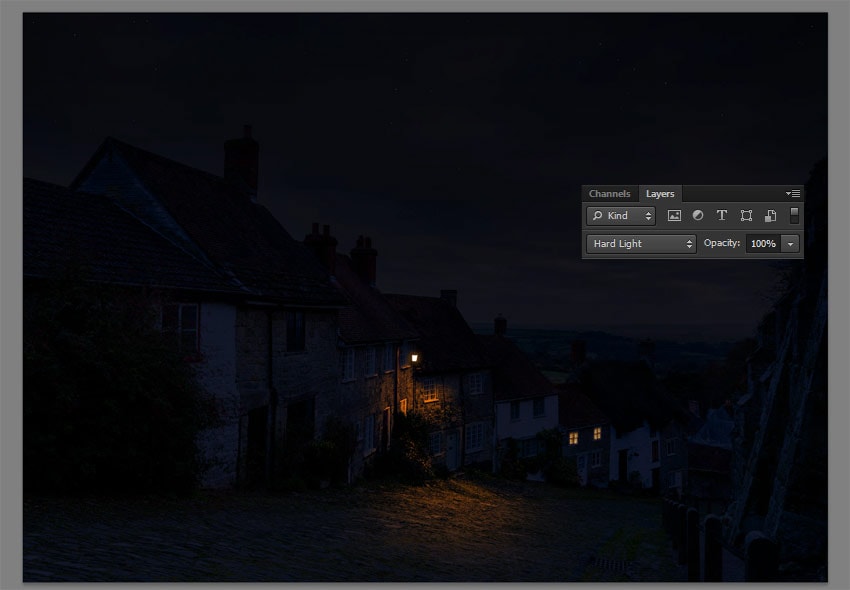
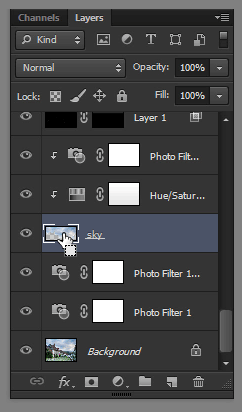
Duplicate the sky (Control-J) and drag it to the top. We’re going to add special effects to the clouds.
Add a Hue/Saturation adjustment.

Clip the Adjustment Layer to the duplicated sky, desaturate it, and make it slightly brighter.
Add a Levels adjustment, clip it, and add more contrast to the sky with it.
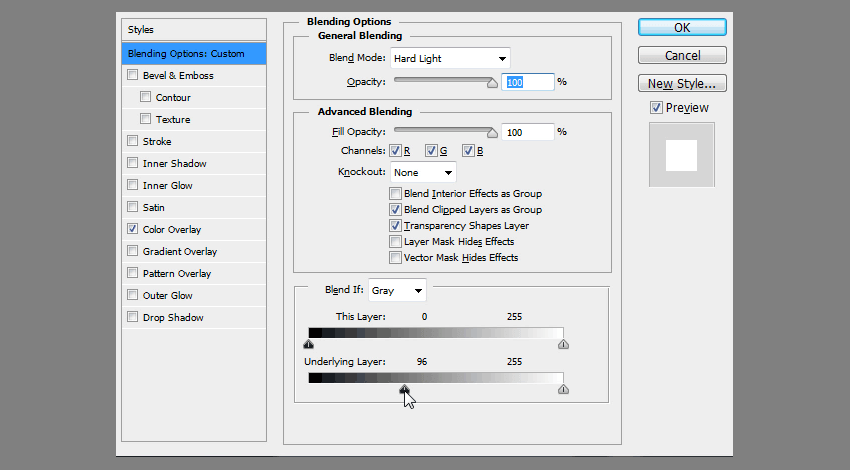
Select all three layers (the sky and its Adjustment Layers) and Merge them (Control-E). Then go to the Blending Options of this new layer and remove it from the bright parts of the sky using the lower white marker. Change its Blend Mode to Soft Light and lower the Opacity.
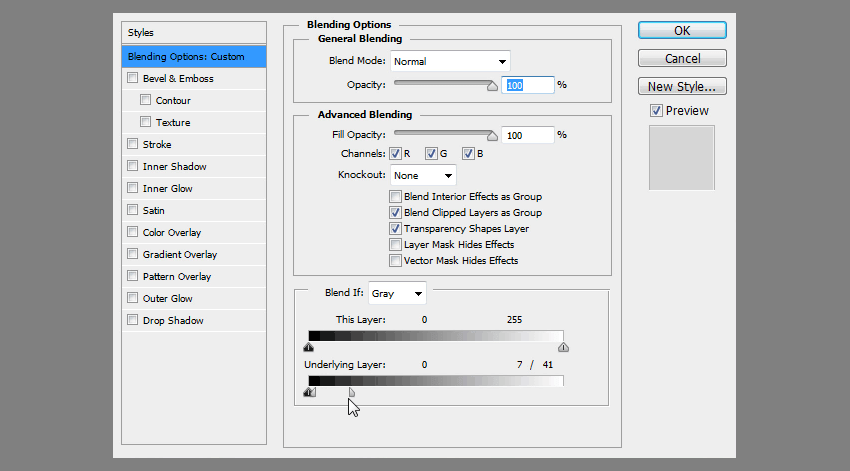
Duplicate (Control-J) the layer and play with its Blending Options too, this time removing it from the dark parts of the sky (the lower black marker). Change the Blend Mode to Soft Light as well, but leave the Opacity at 100%, adjusting it with a layer mask if needed.


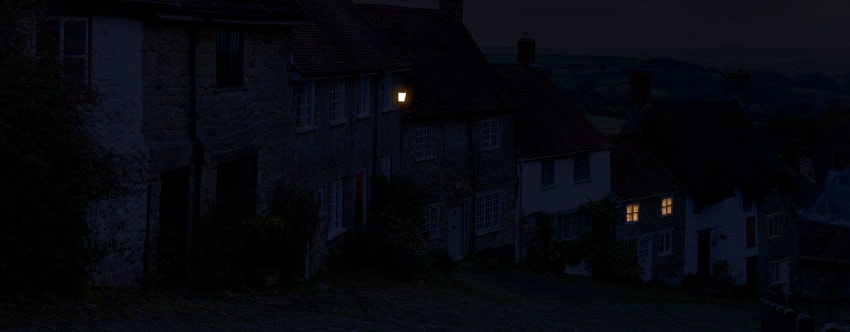
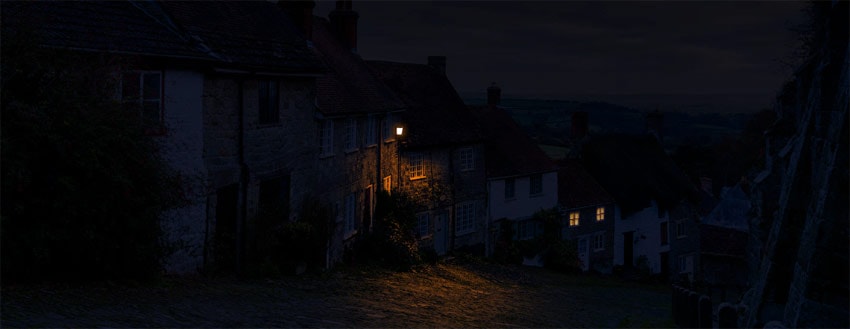
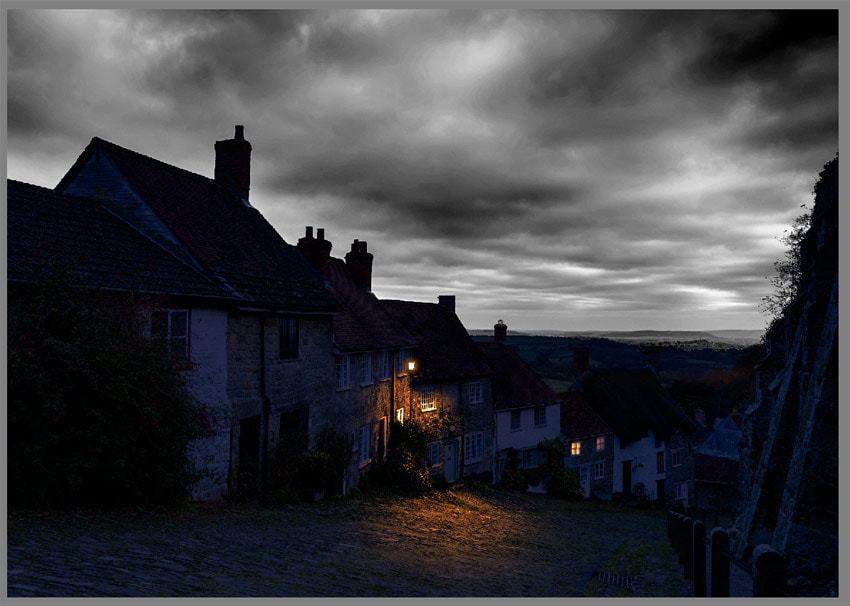
Time for some final adjustments. Add an Exposure adjustment on top to play with the overall brightness.

I’ve also decided to drag the sky slightly down to make the change of the colors more gradual (you can do it with a smart use of Layer Masks).
![final brightness adjustment](https://image-control-storage.s3.amazonaws.com/blog-images/2017/11/26173953/da