If you have a document with lots of text you’ll have to create multiple text frames. ‘Threading’ is how you connect the frames to allow text to flow through them.
Once you have created a text frame and inserted text into it (perhaps by Edit > Pasting from a Word doc. or by File > Placing the entire Word doc.) you may find there is too much text to sit in the frame without overflowing. You will see a small red + symbol at the bottom right-hand corner of the text frame.
The first thing to do is to set up a series of text frames to allow the text to flow into. Select the Type Tool (T) and drag to create new frames across the page(s) of your document.
Return to the first text frame and click once on the + symbol to load the cursor with text. A tiny script symbol will appear next to your cursor.
Hover over the next text frame and click once inside it. The text will flow into the frame. Continue this process until all your text is contained within text frames.
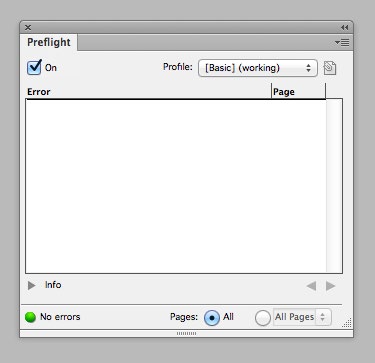
A green No errors notice will appear at the bottom left of the screen (from the Preflight panel) once all the text is visible in the document.
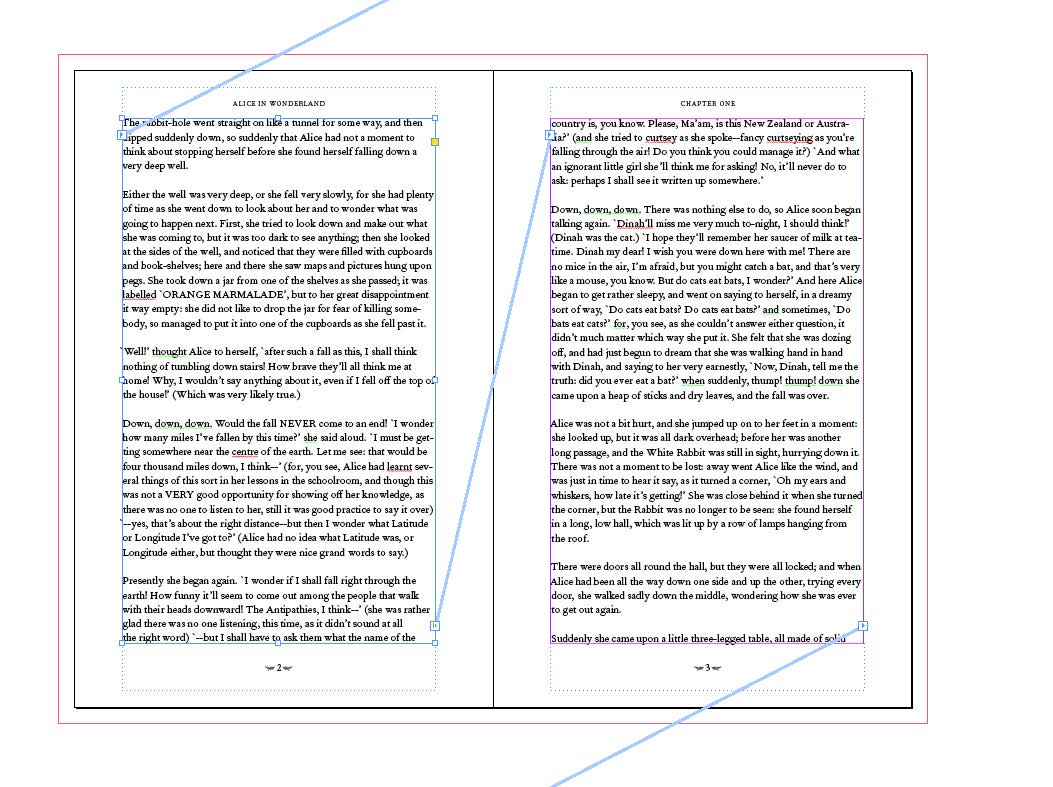
To view how the text frames are connected go to View > Extras > Show Text Threads. In Normal Mode (View > Screen Mode > Normal, or tap W on the keyboard), when you select a text frame, you will see the Threads connecting the frames, showing how the text is ordered throughout the document.
TOP SKILLS TIP: Sometimes you might want to empty a text frame of some or all of the text that is overflowing. When this is book-length, highlighting and deleting overflowing text manually is neither practical or fun! Place your cursor at the end of the section of text you want to keep, then press Ctl/Cmd- shift-End to select all the remaining overflow text, and hit Delete.