InDesign is primarily designed for creating print documents, which means it works by default in CMYK color when you set the Intent of your document to Print. You should know a little about how InDesign translates Swatches to final printed colors on your document before sending anything to print to avoid any problems at the press.
InDesign offers lots of different modes of color that you can use in the program, but the ones you need to know about are CMYK, Pantone and RGB.
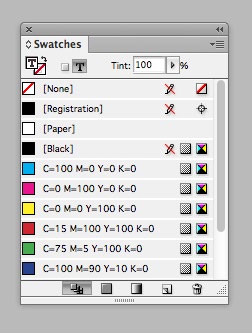
If you’re creating a document for print, you should always set colors as CMYK swatches, unless instructed directly otherwise by your printer (e.g. if they would recommend printing a certain color as a Pantone). InDesign will automatically work with CMYK swatches when you set the intent to Print in the new Document window.
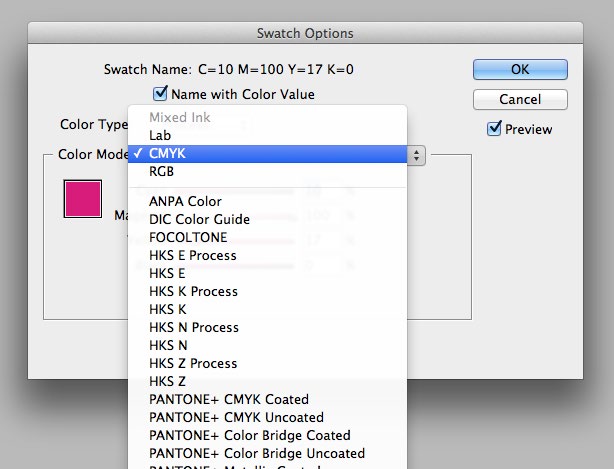
To view the color swatches when you create a new document, go to Window > Color > swatches. A default set of CMYK swatches will already be available to you in the swatches Panel. To add a new swatch click on the three bars at the top-right of the panel to open the drop-down menu. Select new Color swatch… and set the Color type to Process (not spot, unless you want to create a spot Color layer in your final PDF) and Mode to CMYK. Click add, and Ok.
To apply a color to text, a shape or a frame in your document, select the element and apply the swatch from either the swatches Panel or the control panel running along the top of the screen. You can apply a Fill and/or a stroke color by switching between the two square symbols in the top control panel or at the bottom of the tools Panel.

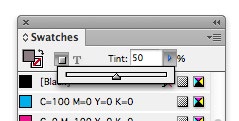
To apply a tint of a color to an element, select the element and apply the swatch as above. In the swatches Panel, or from the top control panel, click the arrow adjacent to tint: 100% to adjust the saturation of color.
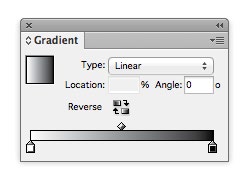
You can also apply a gradient effect to a colored element by going to Window > Color > gradient.