There are some basic rules about inserting images in InDesign. Once you’re clued up you can create all sorts of dynamic image-filled documents.
The first key rule to remember is that images are Placed and Linked in InDesign. They are not embedded, as you might do with a Word Document or in Photoshop.
When you Place an image, InDesign remembers the Link to that image’s location in the relevant folder on your computer. This means you can work quickly and efficiently without dealing with a large quantity of heavy images slowing down your work flow. If you move an image to another location on your computer, i.e. another folder or drive, InDesign will be unable to locate the image and will flag up a warning in the Preflight panel (Window > Output > Preflight).

The second rule to remember is that InDesign places images within a Frame. Whether you prepare a frame before placing the image, or you place the image straight into the document (File > Place) InDesign will contain the image within a four-sided frame by default.
You can choose from three Frame Shapes in the Tools panel (Window > Tools), Rectangle, Ellipse and Polygon. These are marked out as different to the Shape Tools by a x shape running through the center of them.
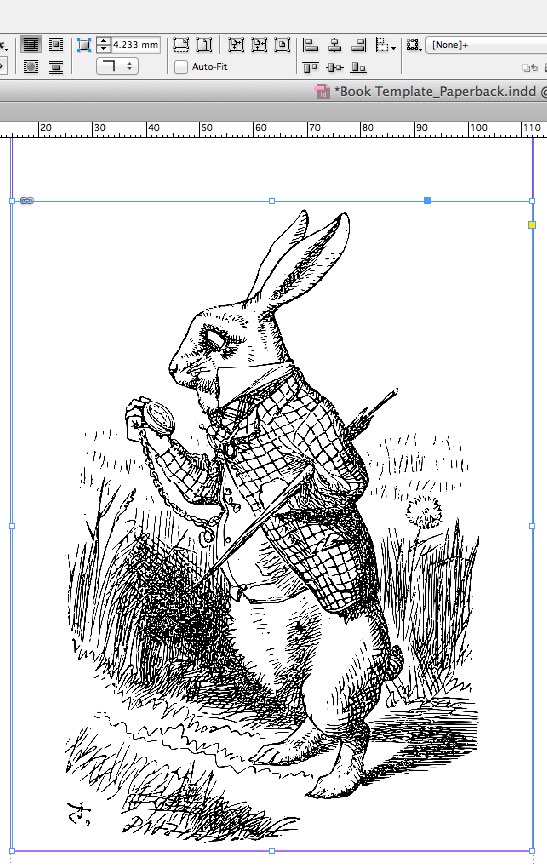
Select a Frame Tool, and click and drag to create a frame (hold Shift to create a perfect shape). With the frame selected, go to File > Place and select an image. Click Open.
You can arrange the image in the frame by Select a Frame Tool, and click and drag to create a frame (hold Shift to create a perfect shape). With the frame selected, go to File > Place and select an image. Click Open. You can arrange the image in the frame by double-clicking to select the image itself within the frame (it will be marked by a brown line around the edges) and holding Shift while readjusting. Or you can choose from the options available to you in the control panel which appears at the top of the screen. Fill Frame Proportionally is usually a good option to pick.
After inserting images, you can go to Window > Links to view the Links Panel and deal with any images that might be missing. These will be flagged up with a ! symbol. Click on the name in the panel to select the missing image and select the icon to locate the missing image on your computer.