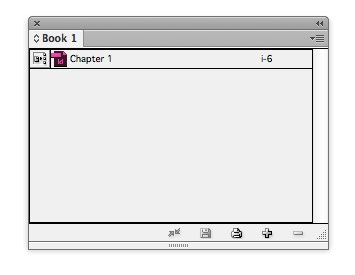
Before you create a New Document for your book in InDesign you should first create a separate Book File. A Book File brings together a number of different documents (e.g. you might create a separate document for each chapter of a Book, or section of a Report) into a single panel.
The numbering system is carried forward over each document included in the Book File, and is automatically updated when you make a change. So, for example, if you add an extra page to Chapter 5, all the other later Chapters in the Book will have their page numbers updated accordingly.
To create a Book File, either select New…Book from the Welcome window when you open InDesign, or go to File > New > Book. You will be prompted to give the Book a Name, and to Save it in an appropriate place.
The Book will open as a small panel in InDesign. When you click the + icon at the bottom right of the panel, you will be asked to locate an InDesign document to add to the Book. You should create your chapter documents first, as basic templates, before adding them in the correct order to the Book.


Be sure to include a simple page numbering system (see Page 5) throughout your documents. These page numbers will appear in the Book panel, to the right of the relevant chapter name. The Book File makes editing individual pages very simple – you can easily see and click on the document containing the page you want to edit.
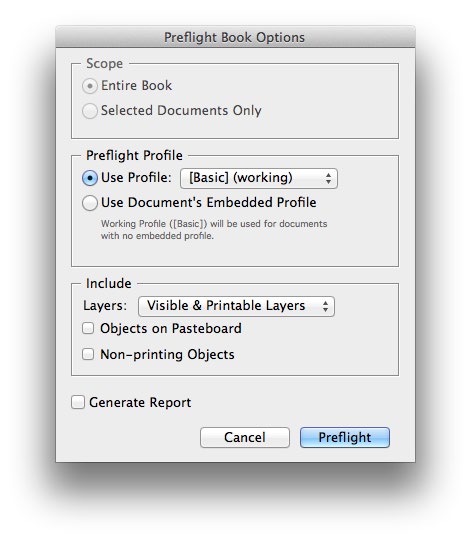
When you’ve filled up your Book File with all your documents and are happy with the final result, you can check for errors by clicking on the drop-down menu in the Book panel > Preflight Book.
Once all errors have been corrected, you can export the Book for print by selecting Export Book to PDF… from the drop-down menu in the Book panel.