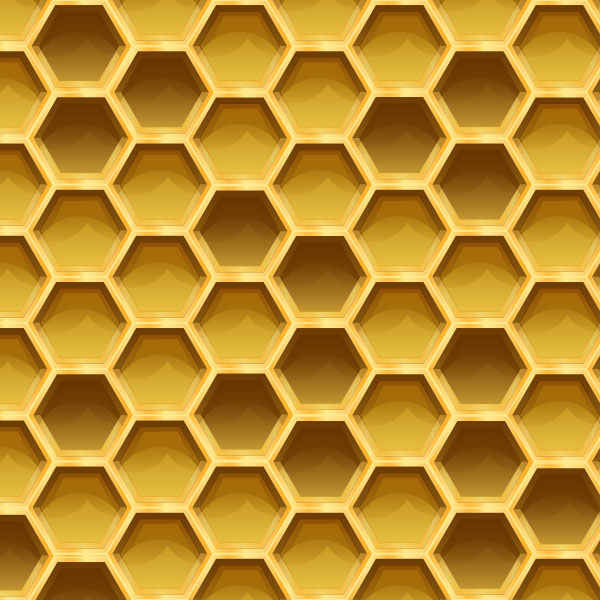
What You’ll Be Creating
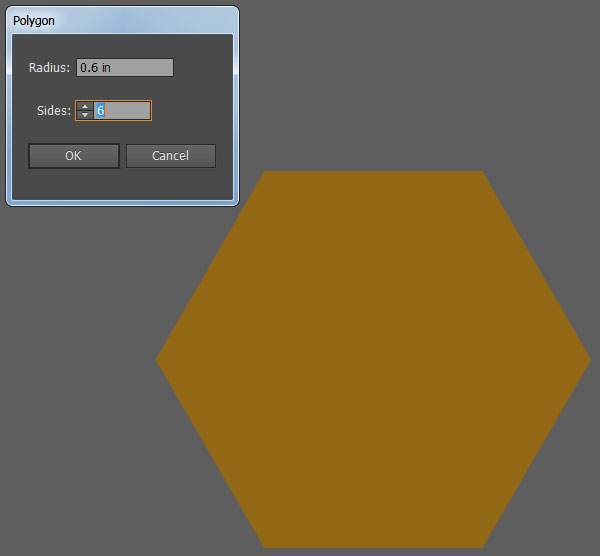
Let’s start with the Polygon Tool. Create a hexagon with a 0.6in radius in a dark mustard yellow (R=147 G=104 B=20).
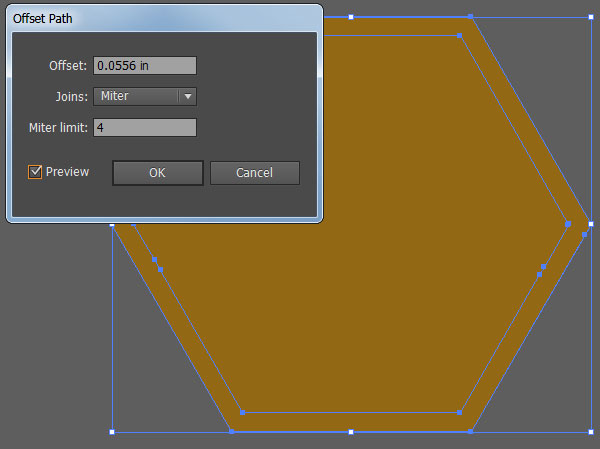
In order to create a perfect border behind our first hexagon, go to Object > Path > Offset Path and enter 4px as the Offset (it’ll immediately convert to whatever unit of measurement your copy of Illustrator is set to).
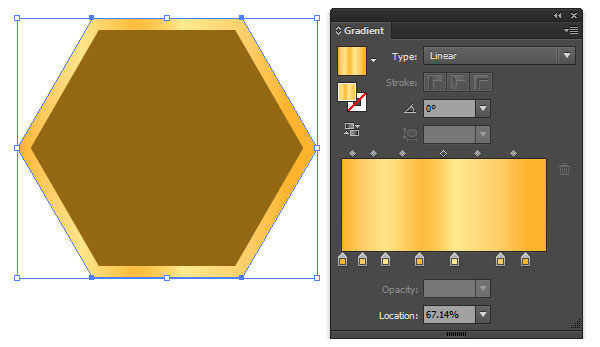
Apply a Linear Gradient to the offset hexagon with the Gradient Tool (G). The colors, arranged in the Gradient panel from left to right, are as follows:
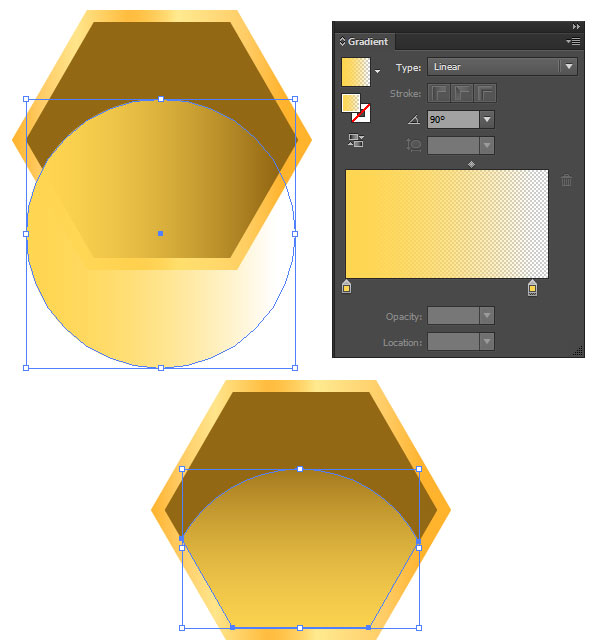
Using the Ellipse Tool (L), draw a circle covering the lower half of the hexagons. Apply a Linear Gradientgoing from R=255 G=214 B=82 at 100% to 0% Opacity and angled at 90°. Select the inner hexagon and the gradient circle. Using the Shape Builder Tool (Shift-M), select the portion of the gradient circle that does not overlap the inner hexagon. Deselect and delete for a clean half circle over the honeycomb.
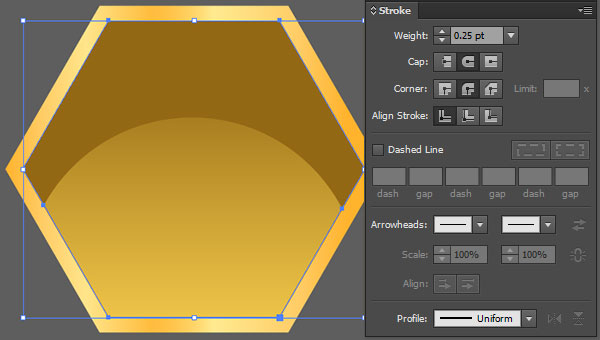
Copy (Control-C) and Paste (Control-V) the inner hexagon and change the fill color to null and the stroke to R=153 G=102 B=51 and a 0.25 weight line.
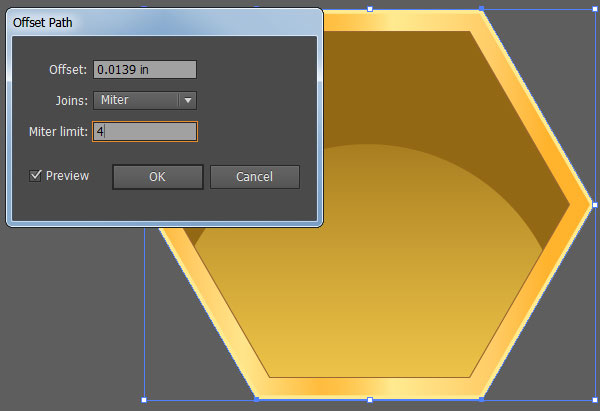
Select the gradient hexagon and Offset by 1px. Set the fill color to R=255 G=234 B=144.
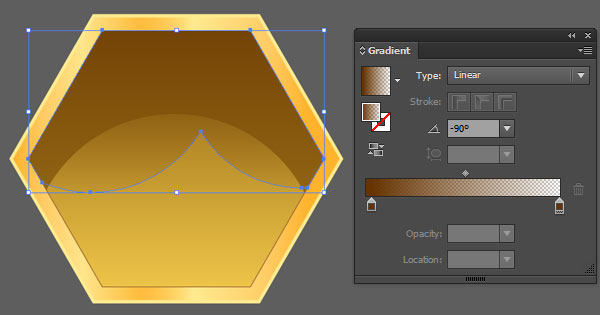
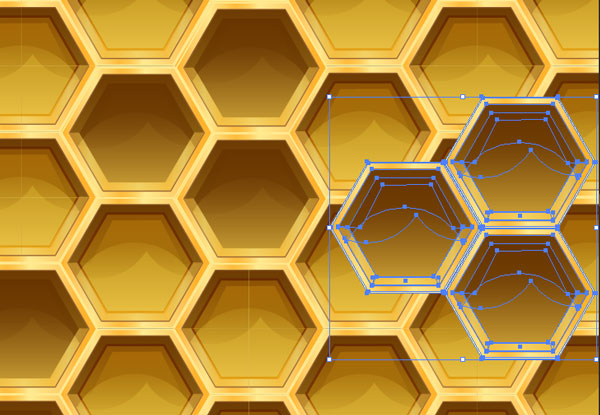
Repeat Step 1 from Section 2 with two overlapping circles. Add them in Pathfinder before beginning the process of deleting the non-intersecting component from the inner hexagon. Set the Linear Gradient at-90° that goes from R=102 G=51 B=0 at 100% to 0% Opacity.
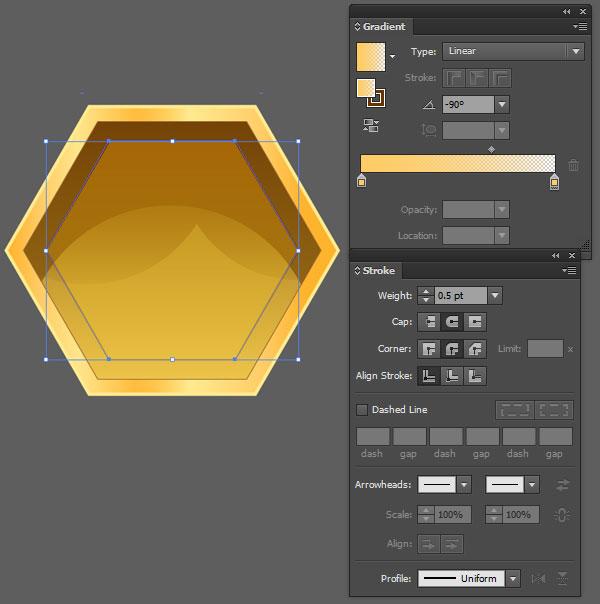
Offset the inner hexagon by -4px and apply a Linear Gradient of R=255 G=204 B=102 from 100% to 0% Opacity. Set the Stroke Weight to 0.5pt and color to R=102 G=51 B=0.
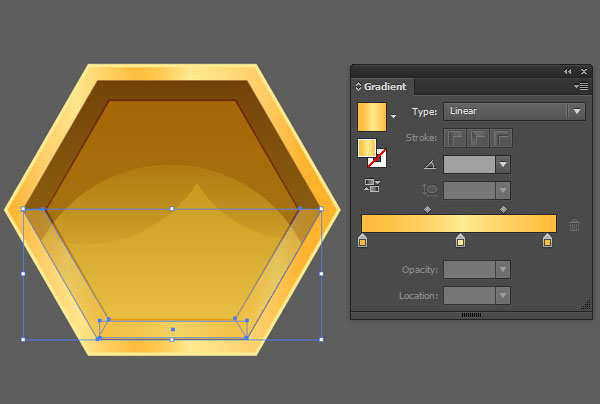
I used the Rectangle Tool (M) to draw three simple shapes on the bottom three edges of the original inner hexagon (the dark mustard one). Use the Direct Selection Tool (A) to angle the two shapes on the side so they mimic the angles of the hexagons within the honeycomb shape. Apply a Linear Gradient to each going from R=255 G=189 B=63 to R=255 G=234 B=144 and back again. Reduce the Opacity of each shape in the Transparency panel to 42%.
Using the Pen Tool (P), draw an eight-sided shape that overlaps the inner hexagons.Apply the same gradient from Step 4. Group (Control-G) everything together.

Select the honeycomb group and hit Make Pattern in the Pattern Options panel. Choose Hex by Column as your Tile Type and when satisfied with the pattern you’ve created, hit Done.
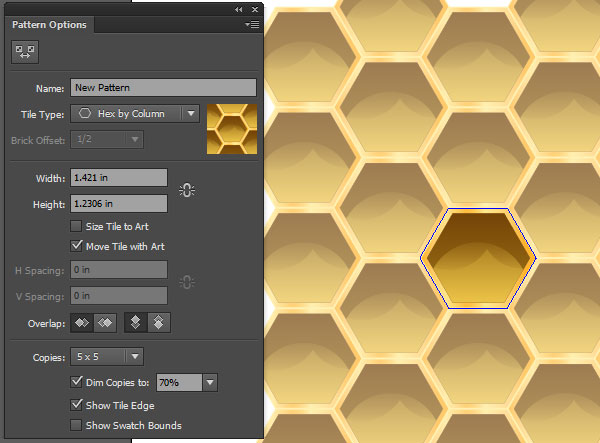
Use the Rectangle Tool to apply the pattern you just created over your artboard (select it in the Swatches panel).

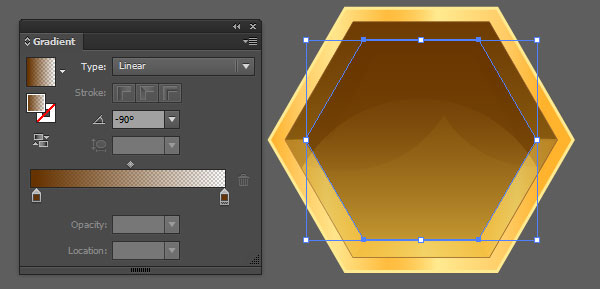
In order to make your honeycomb print a bit more realistic you’ll need some of the holes to be empty and free of honey (or larvae). Copy and Paste the original honeycomb group and delete some of the brighter gradient shapes. Change the middle hexagon shape to the same brown gradient used in Section 2, Step 4. Group this second hexagon group together.
Finally, Paste the darker honeycomb pieces around the pattern-filled rectangle so they overlap the hexagons of the original pattern. Group some together in sets of twos, threes, and fours (depending on how large your pattern is).
Your honeycomb design is complete. Use it as a wallpaper for your desktop or phone, apply it as a text effect, or create some bees and drippy honey to go with it.